The Best Focal Length for a Cinematic Look?
Sep 28, 2026Most people choose a focal length after deciding how wide or tight the shot needs to be. I prefer to reverse that process: choose the lens for the way it renders the world, then move the camera until the composition is right.
That distinction matters because two shots can give the subject nearly the same size in the frame while creating completely different relationships between the subject and the background. One can describe the location. Another can compress it into graphic layers. A third can make the environment almost disappear.
There is no single “cinematic” focal length. The more useful question is: what do I want the audience to experience about this space?
One lens does not equal one shot size
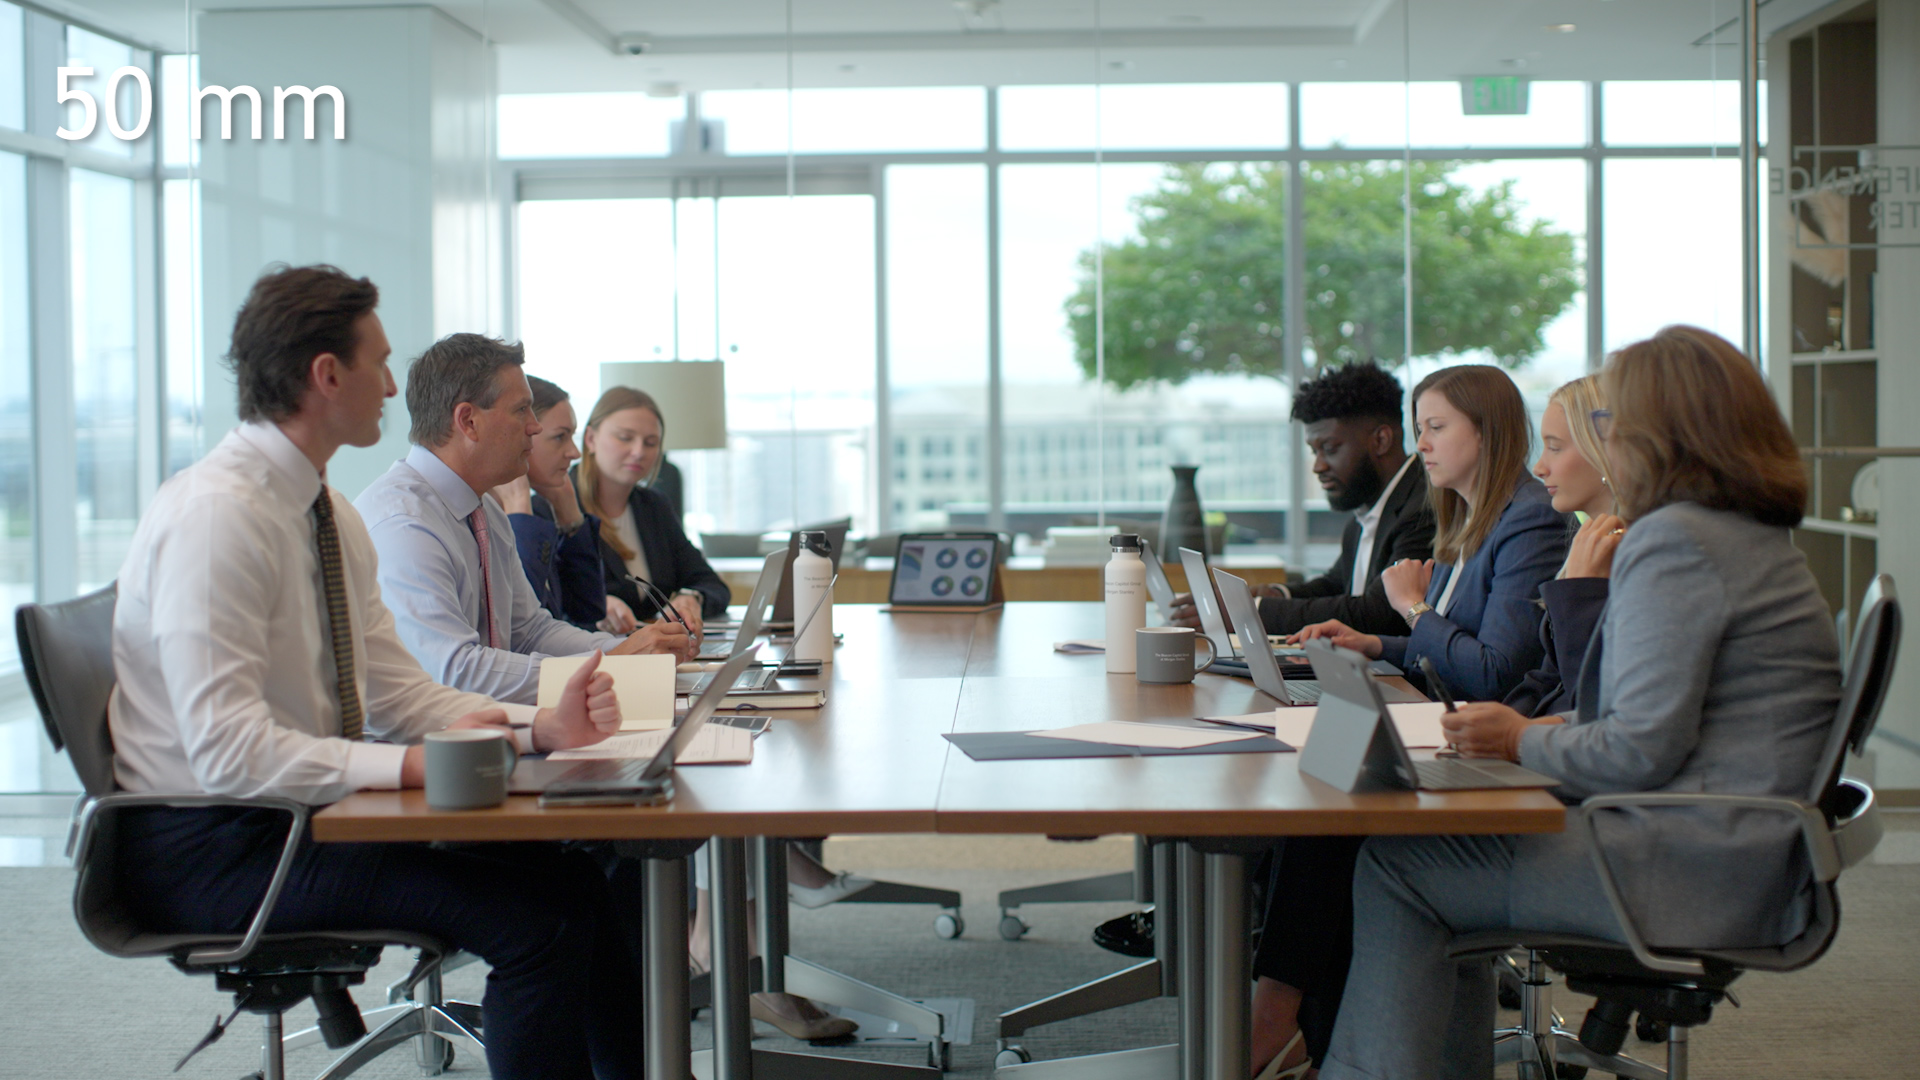
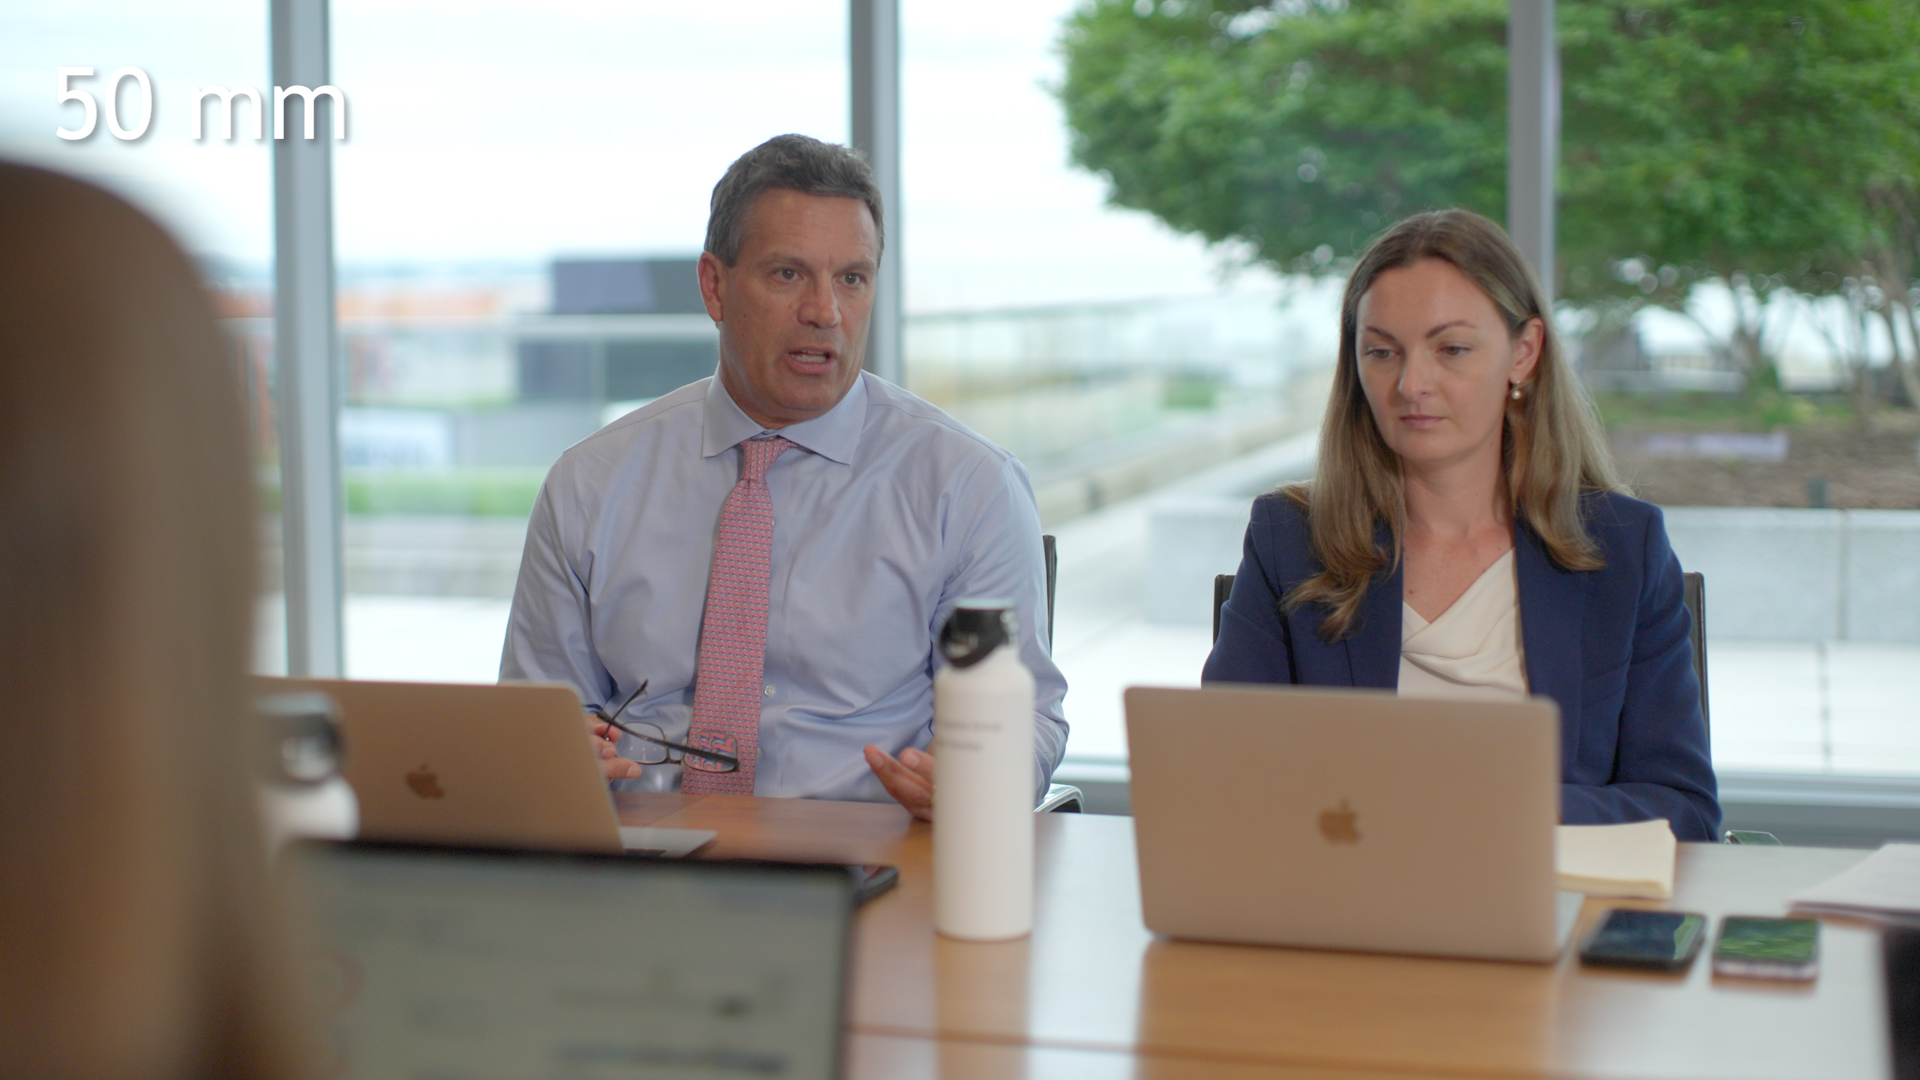
A 50mm is not a “medium-shot lens,” just as a 24mm is not automatically a “wide-shot lens.” Shot size comes from the relationship between the camera and the subject. If the space allows it, the same lens can create the wide, medium, and close coverage for a scene.
In this office, I kept the 50mm on the camera and changed the composition by moving:
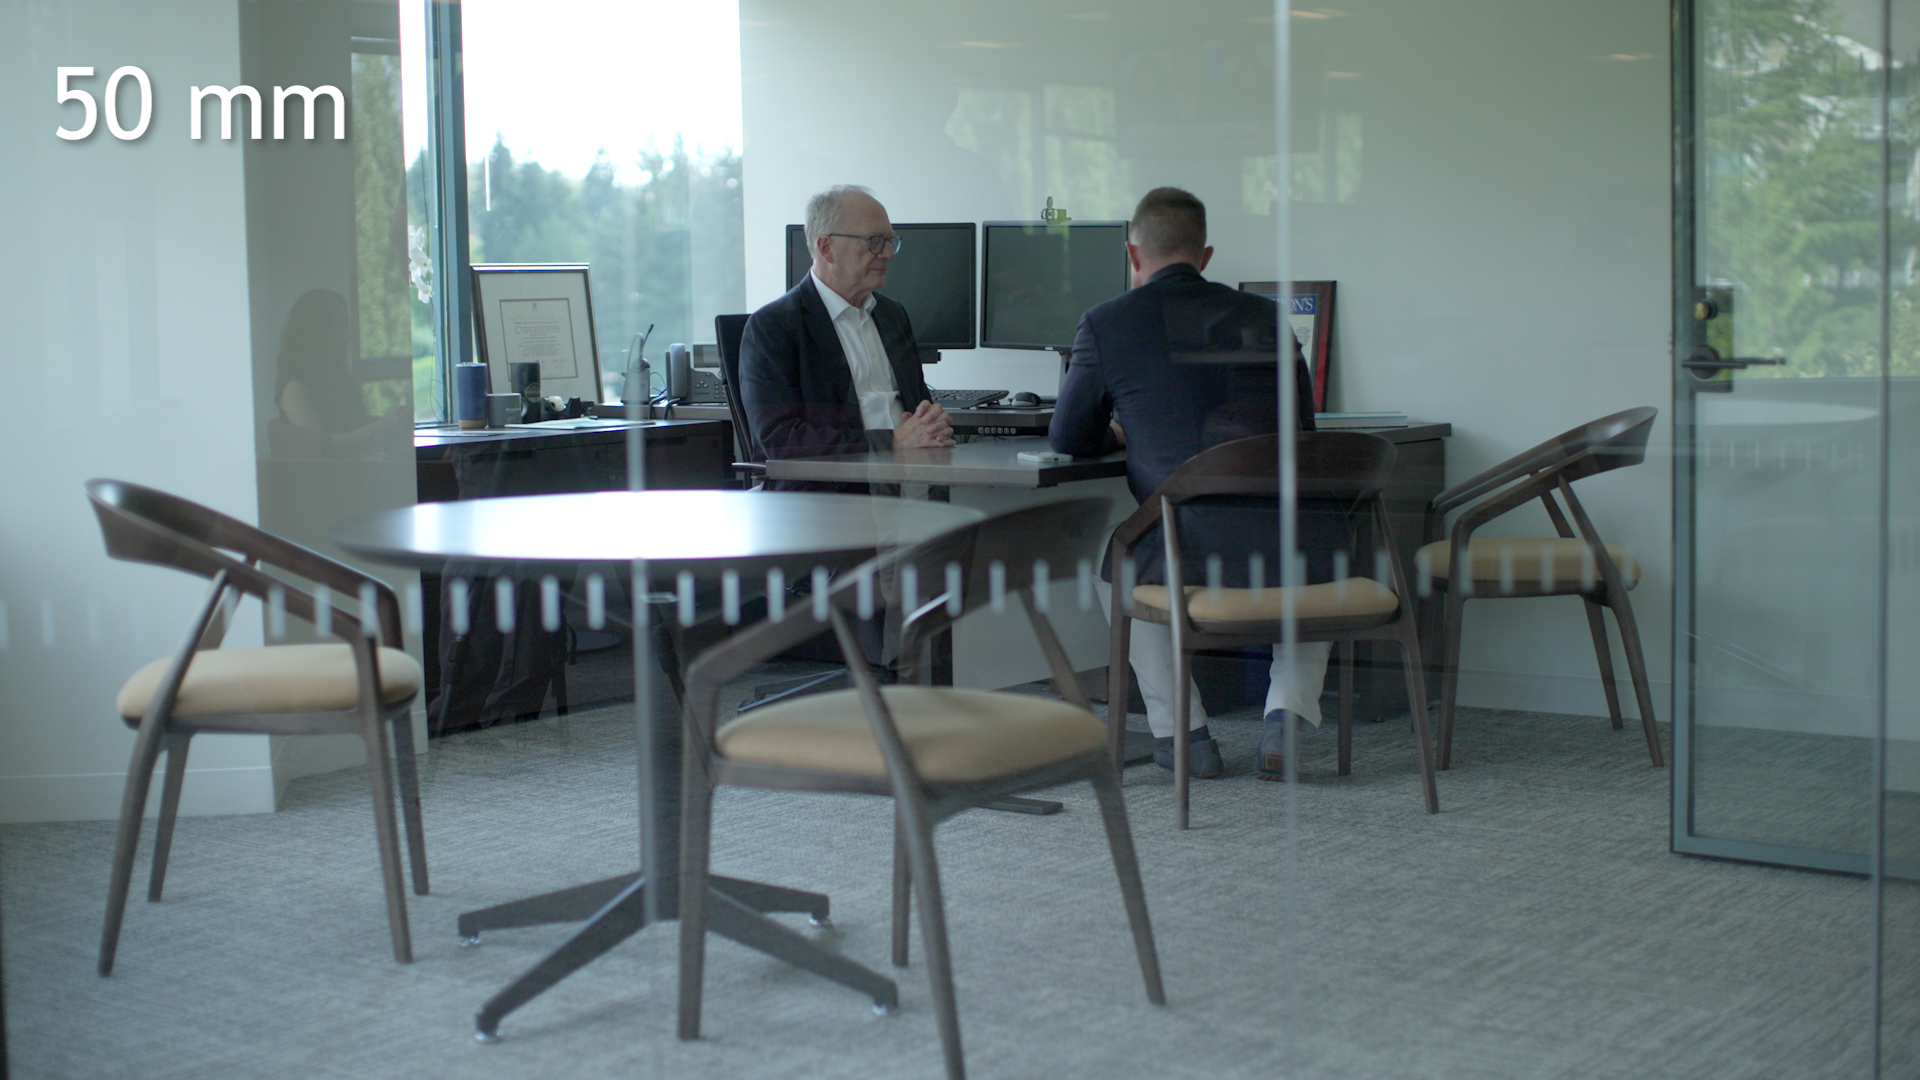
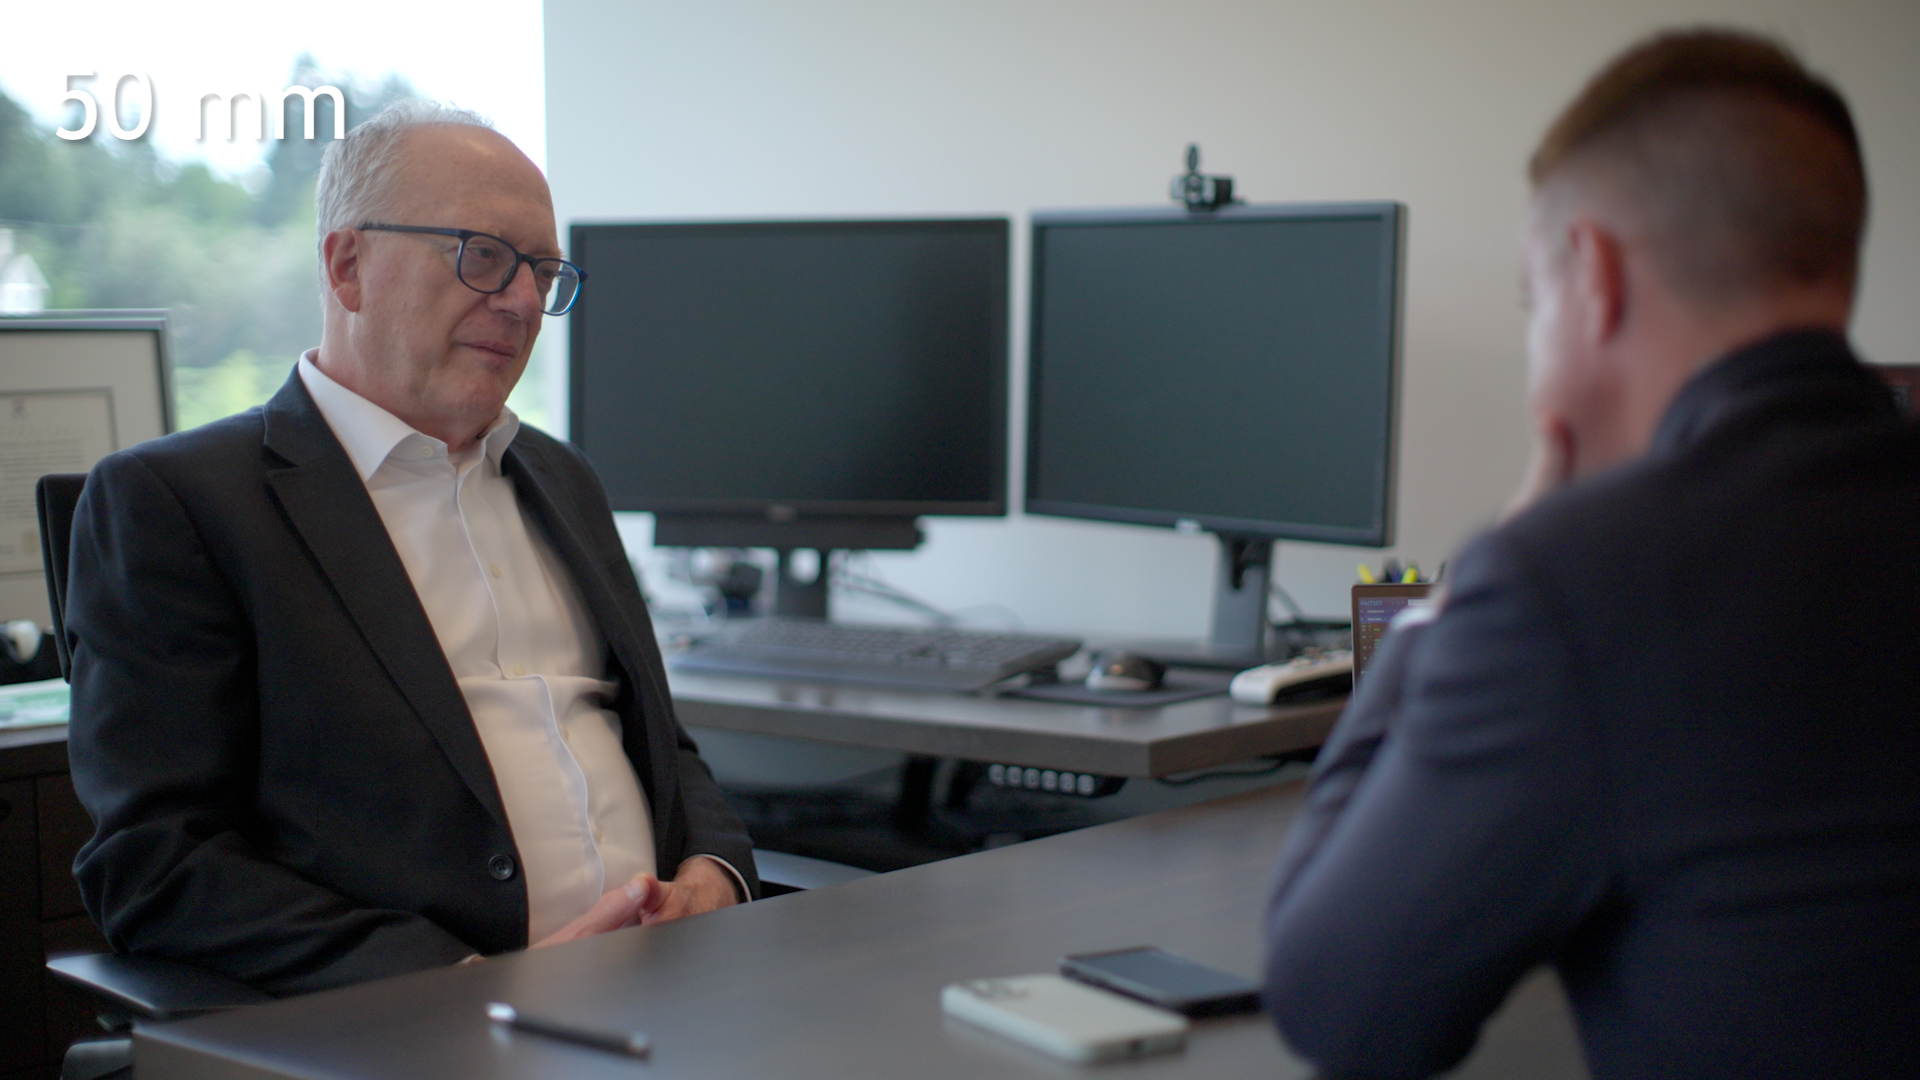
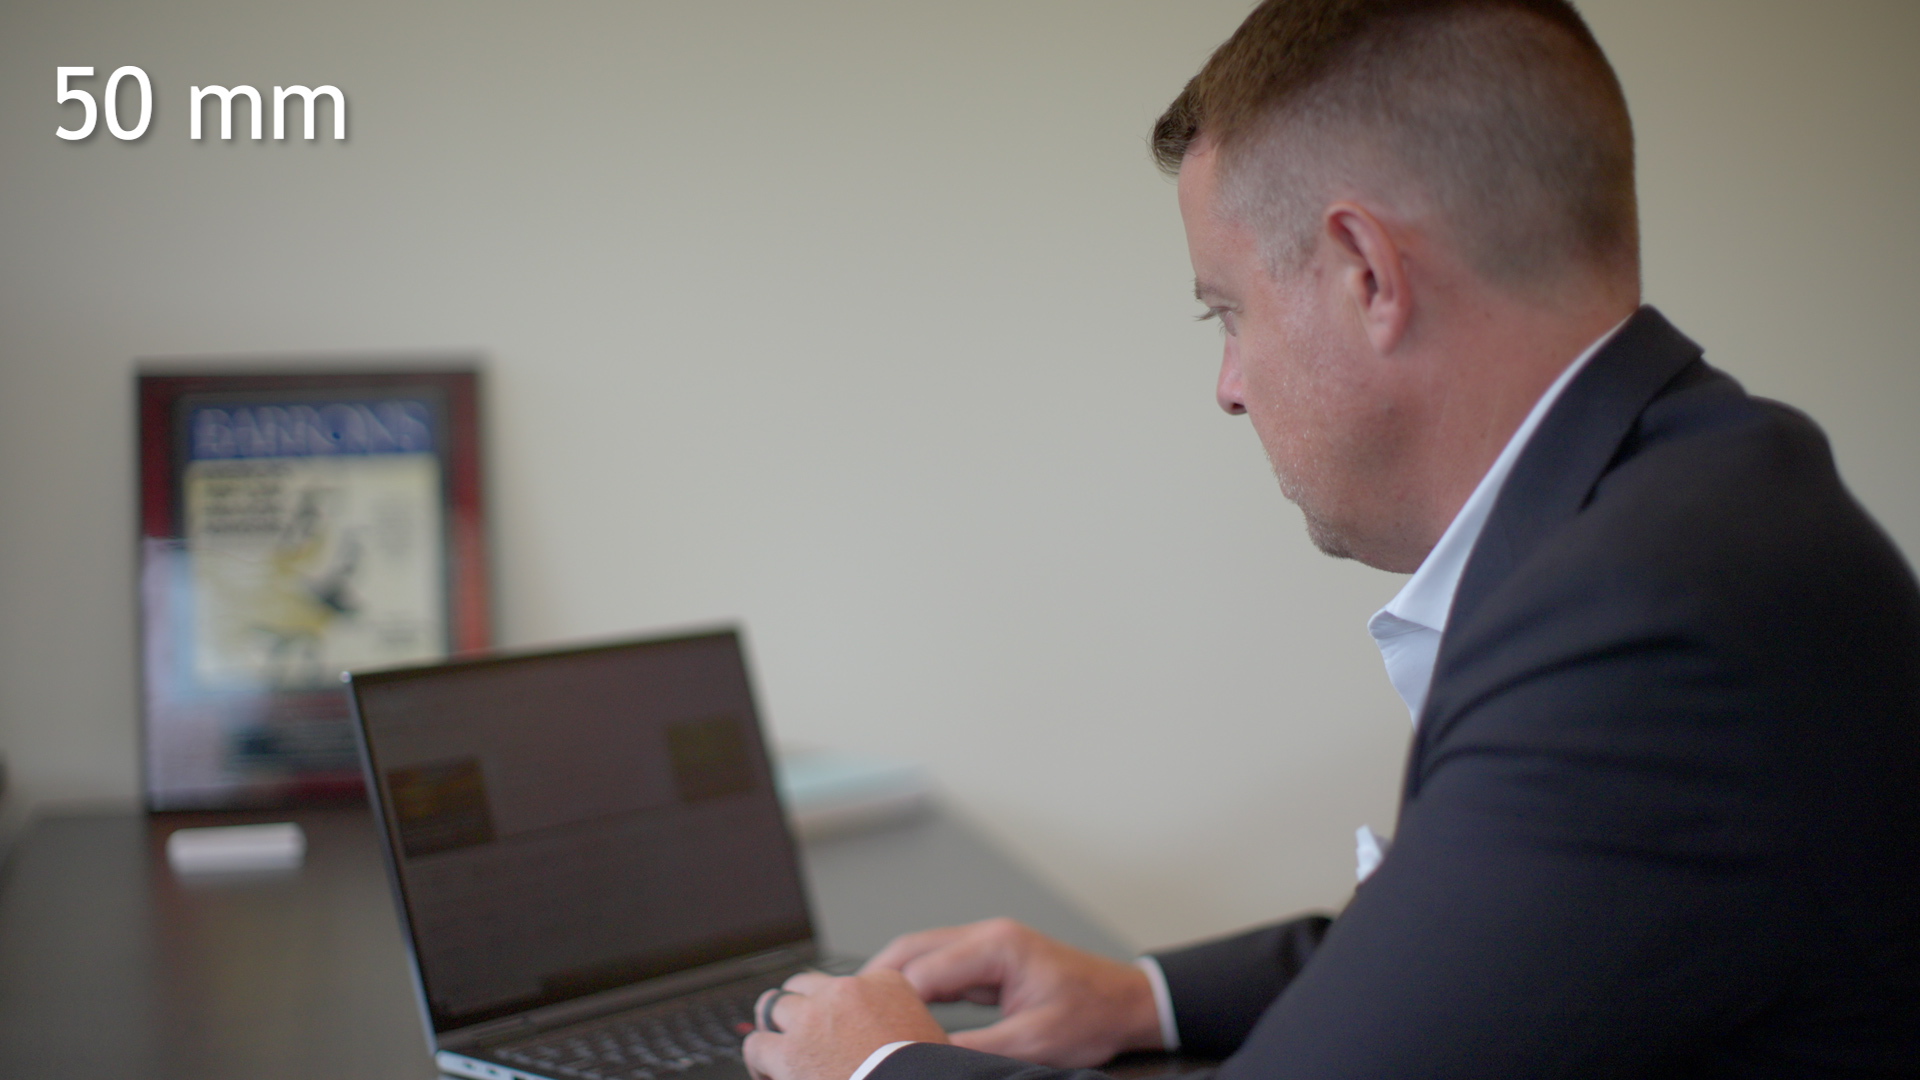
This is the reason I try to move the camera before reaching for another lens. If I already like the spatial relationship and rendering that the 50mm gives me, changing the camera position lets me build coverage while preserving that look.
Change the lens when you want to change the world
Every frame contains relationships: the subject to the background, foreground to midground, one person to another, and the camera to all of them. Your lens and camera position decide how those relationships feel.
A wider lens used from close to the subject tends to emphasize depth. Near objects feel larger, distant objects feel farther away, and the location becomes an active part of the image. A longer lens used from farther back tends to flatten those layers. Background elements appear larger behind the subject, and the frame becomes more selective.
Look at how the same basic setup changes across four focal lengths:
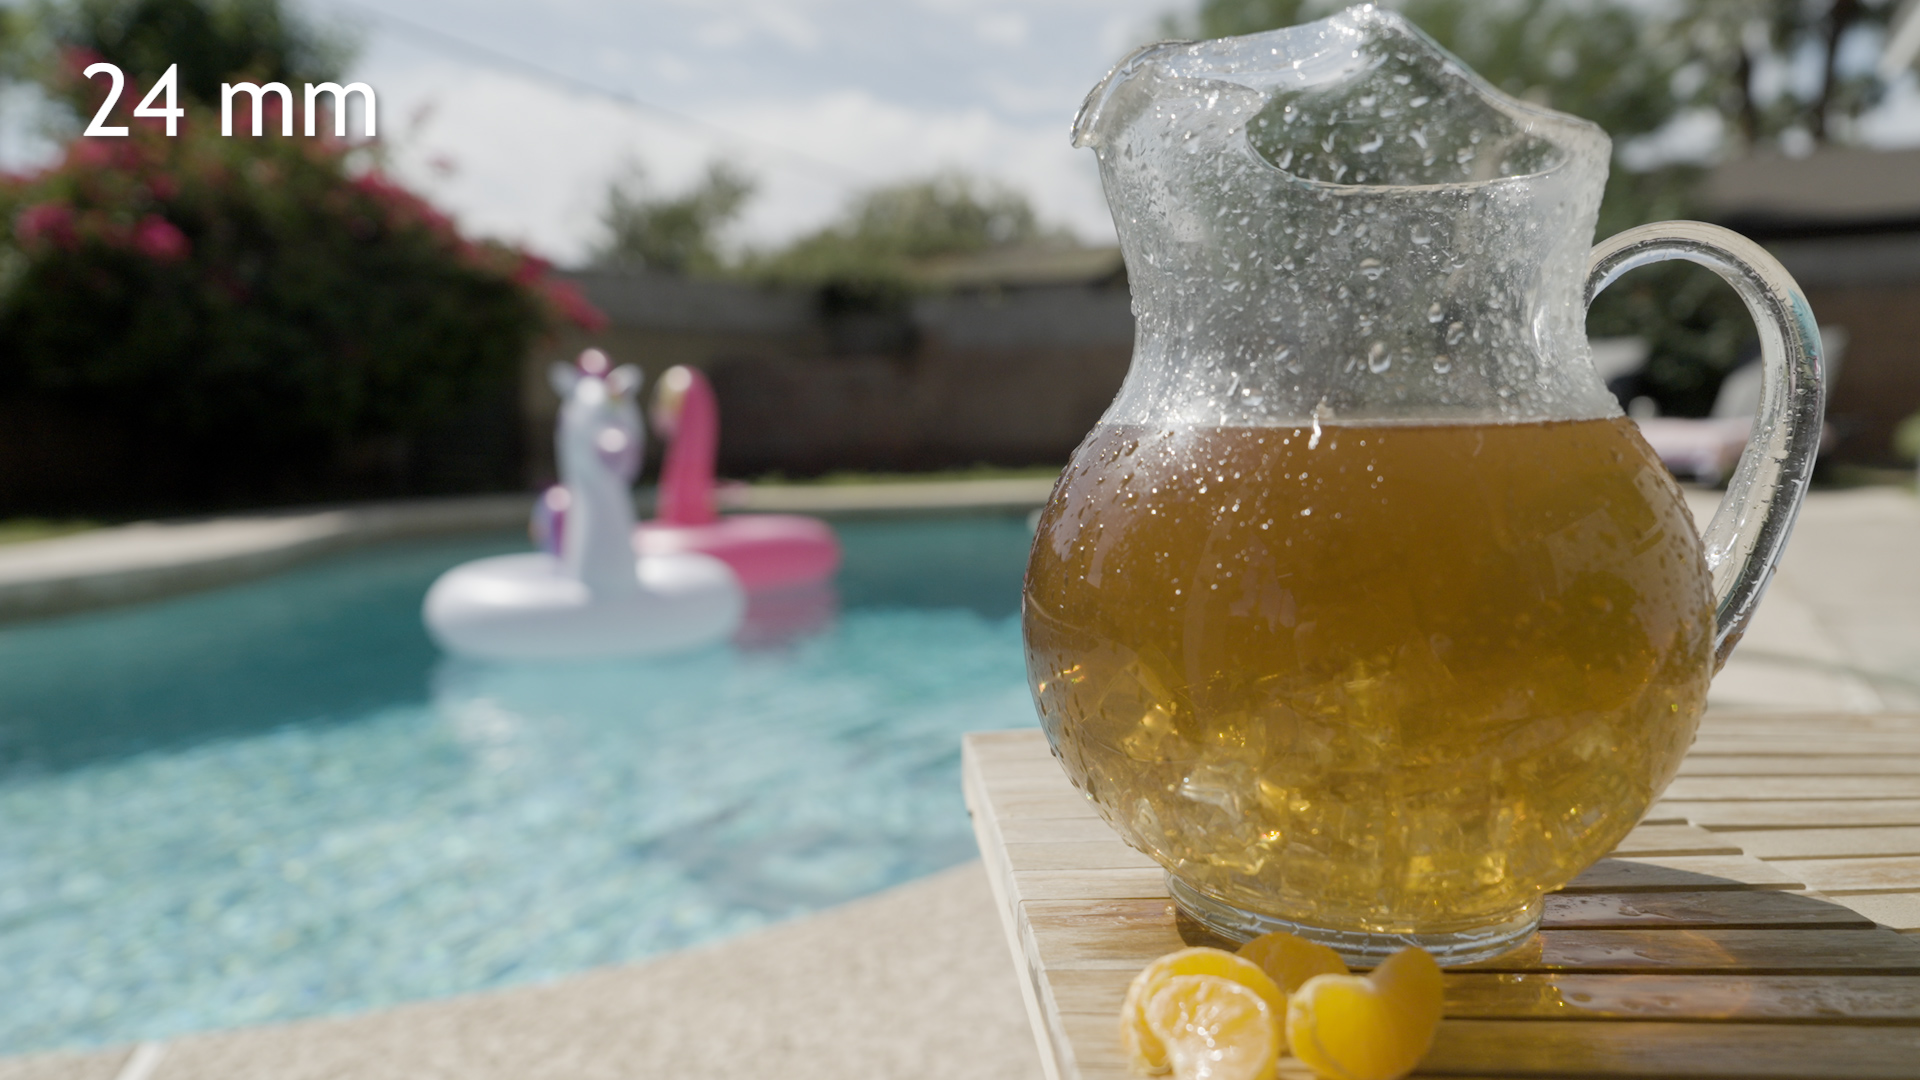
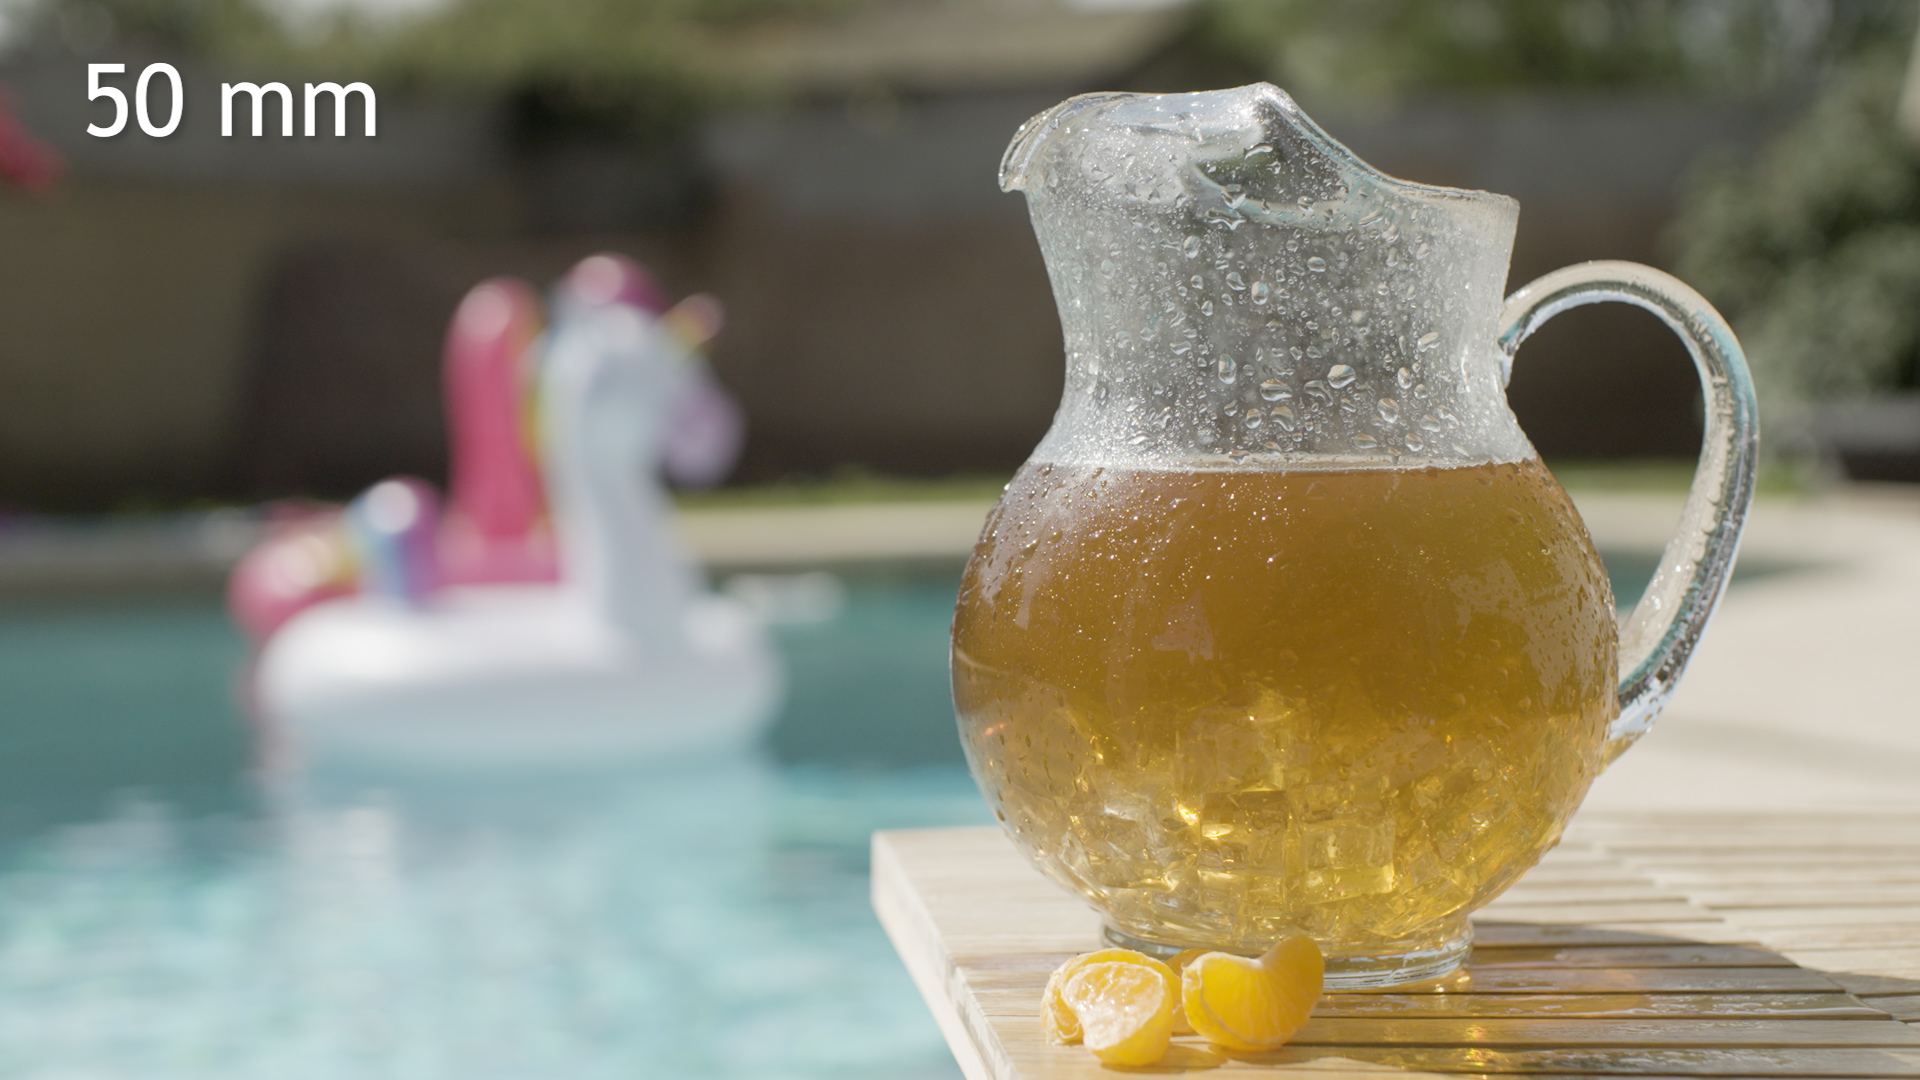
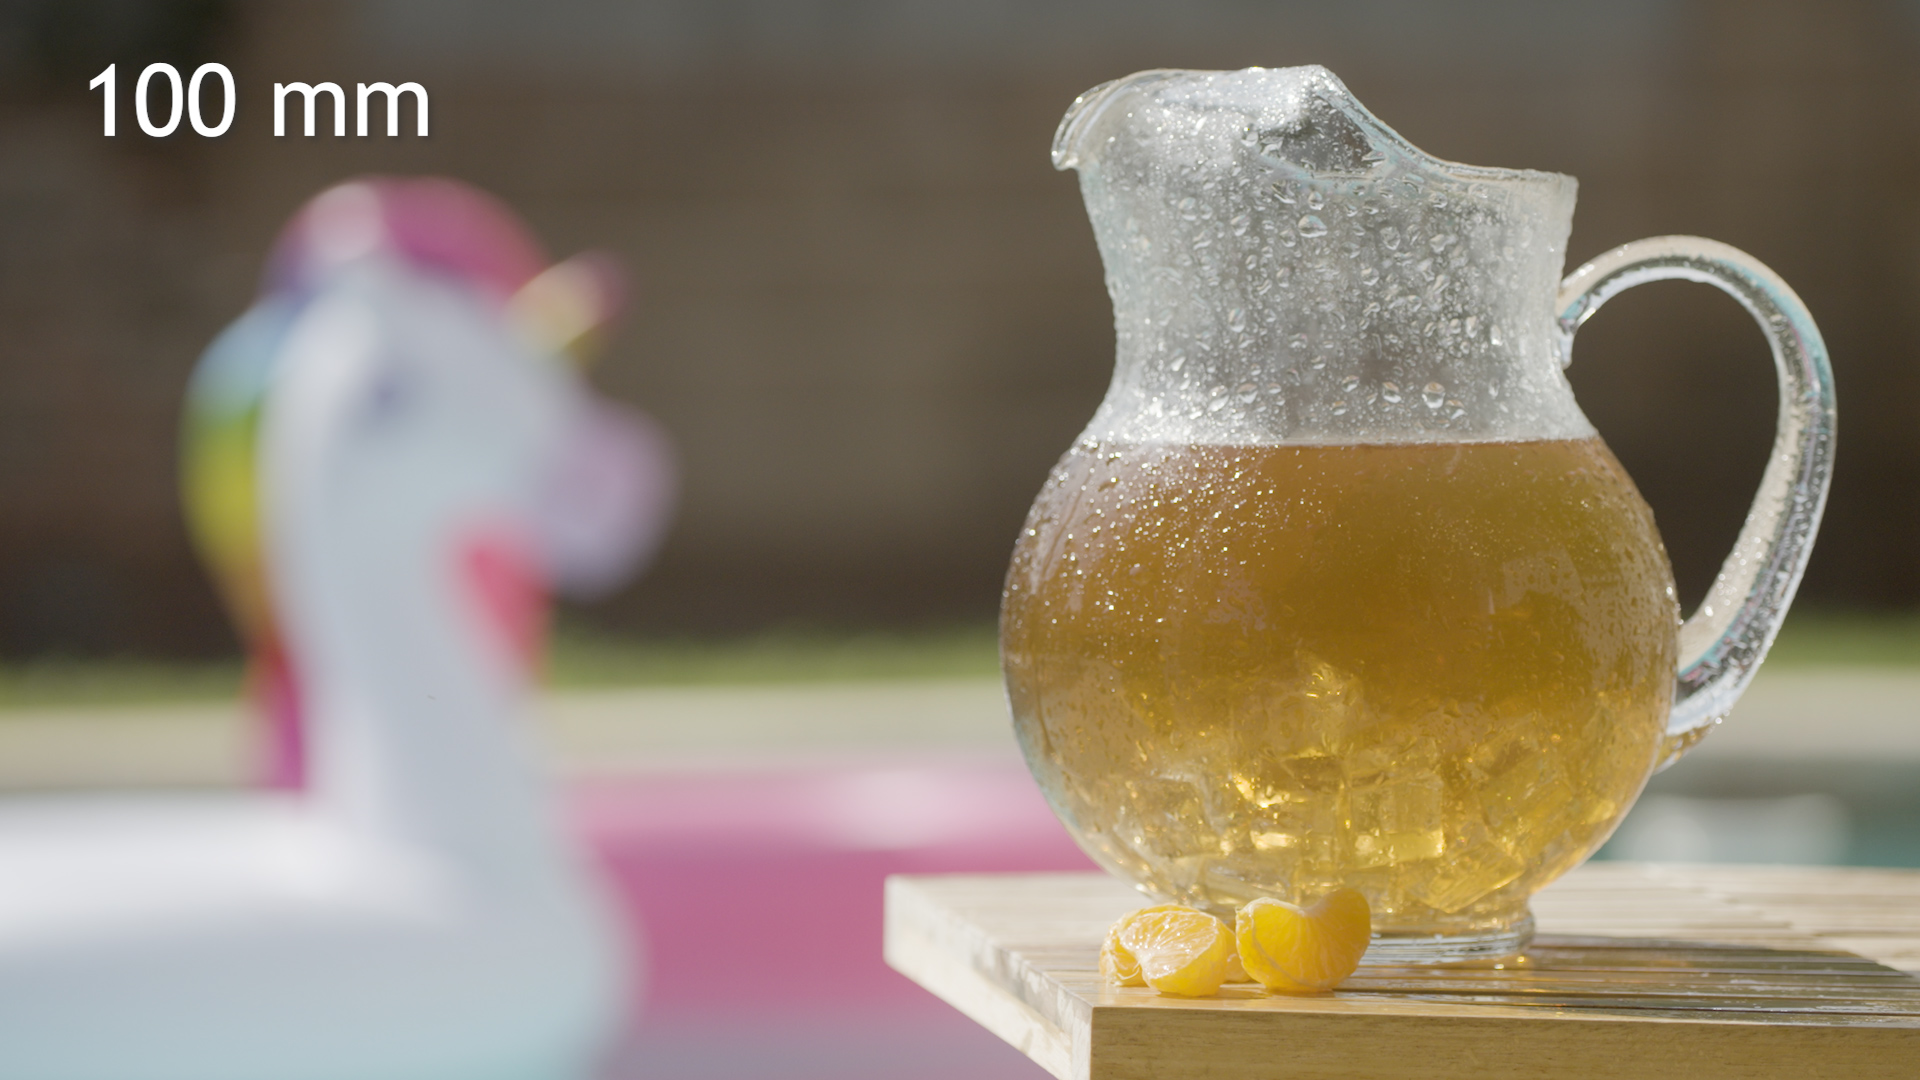
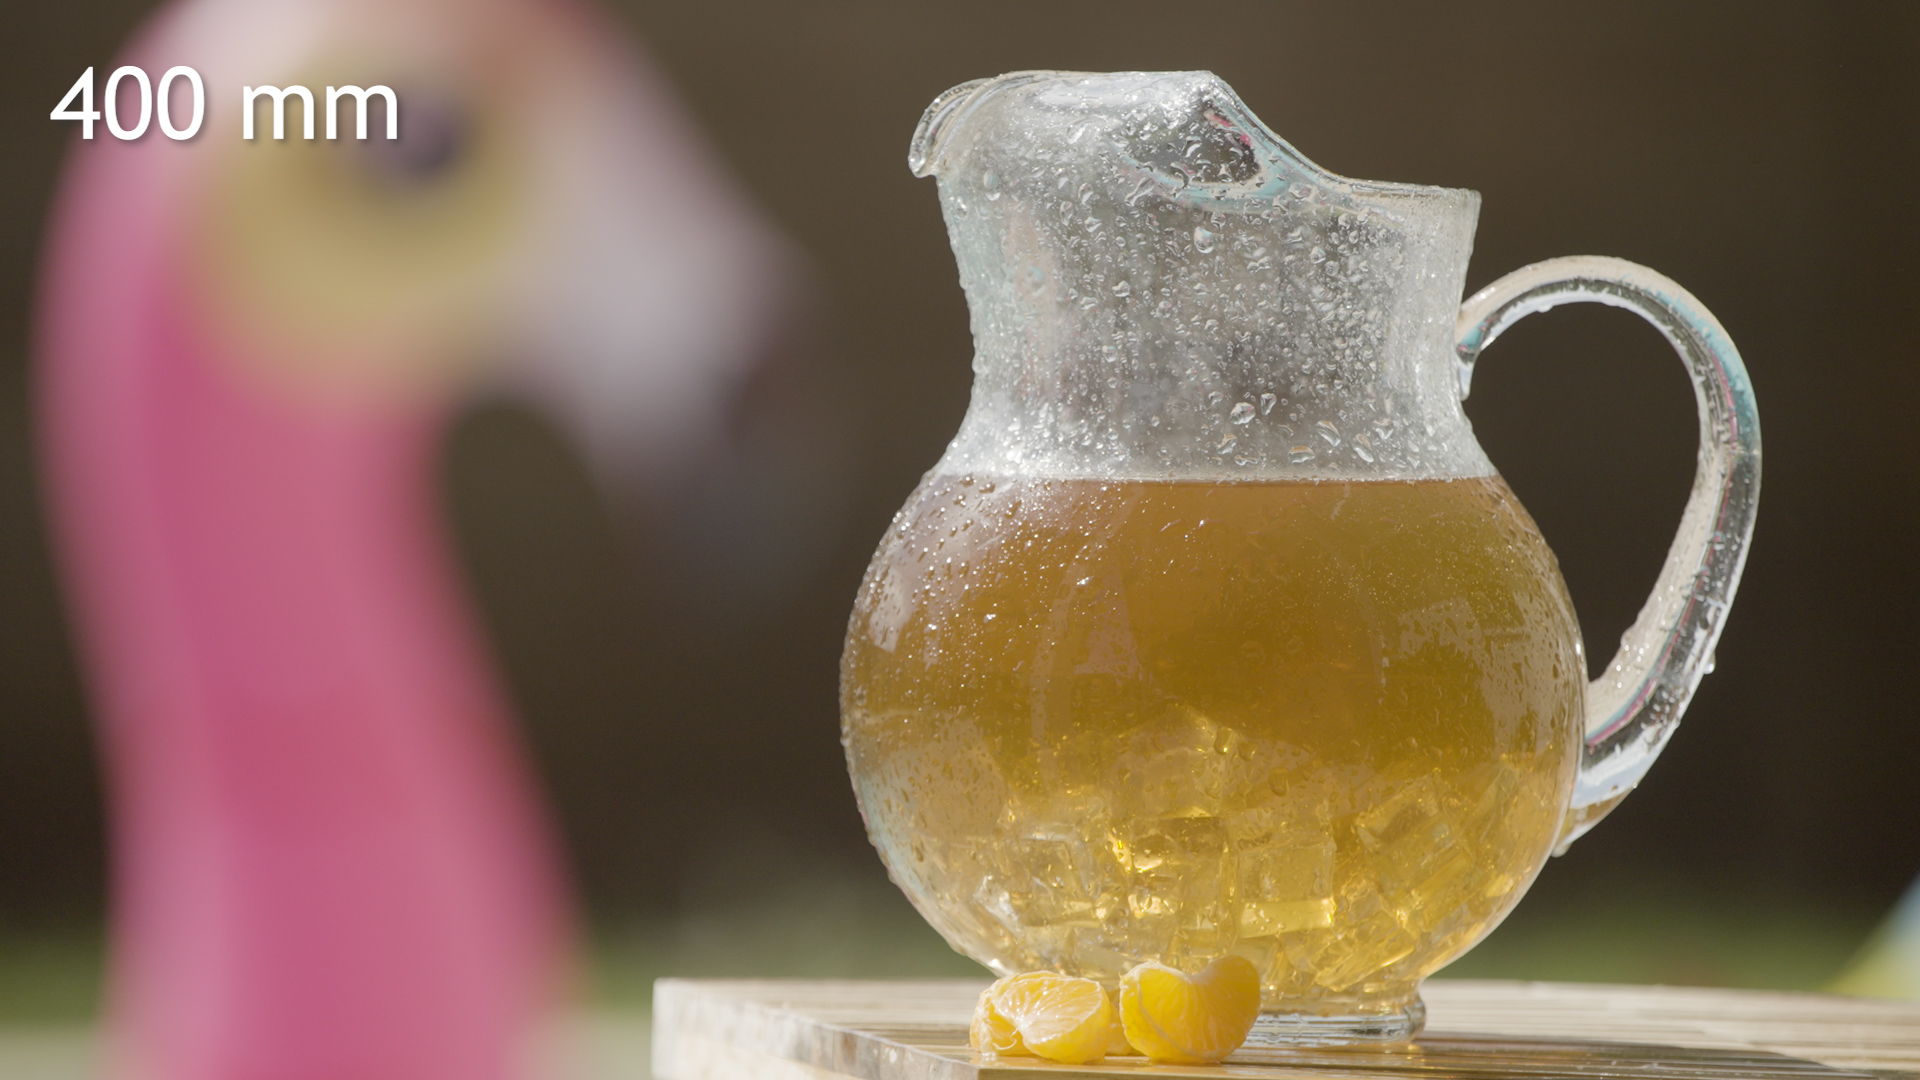
None of these images is automatically more cinematic than the others. Each one communicates different information. The choice depends on which relationship best serves the scene.
A technical clarification: focal length and perspective are a pair
We often say that a long lens “compresses” the background. Technically, camera position determines perspective, while focal length determines the angle of view. But on a real set, those two decisions are connected.
If you change from a 24mm to a 100mm lens and want the subject to remain roughly the same size in the frame, you must move the camera farther away. It is that new camera position that changes the apparent distance between the subject and background. The focal length lets you keep the desired framing from that position.
That is why choosing a lens only by shot size misses the point. The better workflow is to treat focal length and camera position as one creative decision.
Start by deciding what the background should do
Before reaching for a lens, decide what role the background needs to play. I usually think about three possibilities:
- Describe the world. Use the environment to give the audience information about the location, scale, or activity around the subject.
- Support the subject. Keep enough context to give the image depth and meaning, but simplify it so it does not compete for attention.
- Abstract the world. Use compression, shallow depth of field, color, and shape to make the background more emotional than informational.
This decision gives the lens a job. Instead of asking, “Which lens gives me a wide shot?” you can ask, “How much of this room needs to remain legible?”
Why the 50mm became my workhorse
When I bought my first Canon cinema prime, I could afford only the 50mm. That limitation became useful. Instead of changing lenses every time I wanted a new shot size, I moved the camera—exactly as the wide, medium, and close examples above demonstrate.
I learned how the 50mm rendered space, how close I could work, how much background separation I could expect, and how to create a wide, medium, or close shot without losing the visual character I liked. Today, it still covers most of my work.
My 35mm is there when a conference room or office will not let me move far enough back. It gives me more room without going as wide as a 24mm, which often includes more of the location than I want. My 90mm—used in crop mode for roughly a 135mm full-frame equivalent—gives me tighter coverage when furniture, crew, or other people prevent me from moving the 50mm closer.
That three-lens kit is not a formula everyone should copy. It reflects the spaces I work in and the way I want those spaces to feel. Your preferred set may be completely different.
A better way to test your lenses
You do not need a formal lens test or a perfect location. Choose one subject and a background with recognizable layers, then photograph the same basic composition with several focal lengths.
- Frame the subject with your widest lens.
- Switch to the next focal length and move the camera until the subject is approximately the same size.
- Repeat with the rest of your lenses.
- Compare the scale of the background, the apparent depth of the space, the subject’s proportions, and how practical each camera position would be on a real job.
Do not judge only sharpness or bokeh. Ask which version makes you feel the way you want the audience to feel. Then repeat the test in the kinds of locations where you actually work.
The number on the lens is not the look
A 50mm does not look identical on every sensor format, and a focal length does not tell you everything about a lens. Anamorphic lenses, spherical lenses, sensor size, close-focus behavior, distortion, contrast, and aperture all influence the result.
Recently, I worked with a six-lens Atlas anamorphic set. Even though every focal length was available, I kept returning to the 72mm because it created the balance I wanted between width, subject shape, and background separation. The useful lesson was not that 72mm is the “right” anamorphic focal length. It was that testing the whole set revealed which lens best matched my visual instincts.
Choose the experience first
Cinematography is always a negotiation between creative intention and physical reality. The room may be too small for the lens you prefer. A longer lens may place the camera in a hallway. A wide lens may reveal lights, crew, or parts of the location that weaken the composition.
Those limitations are real, but they should come after the creative question: How do I want the audience to experience this world?
Once you know that, choose the focal length and camera position that create the right spatial relationship. Then solve the practical problems around that decision.
The cinematic look is not hidden inside one particular lens. It comes from making that choice intentionally.
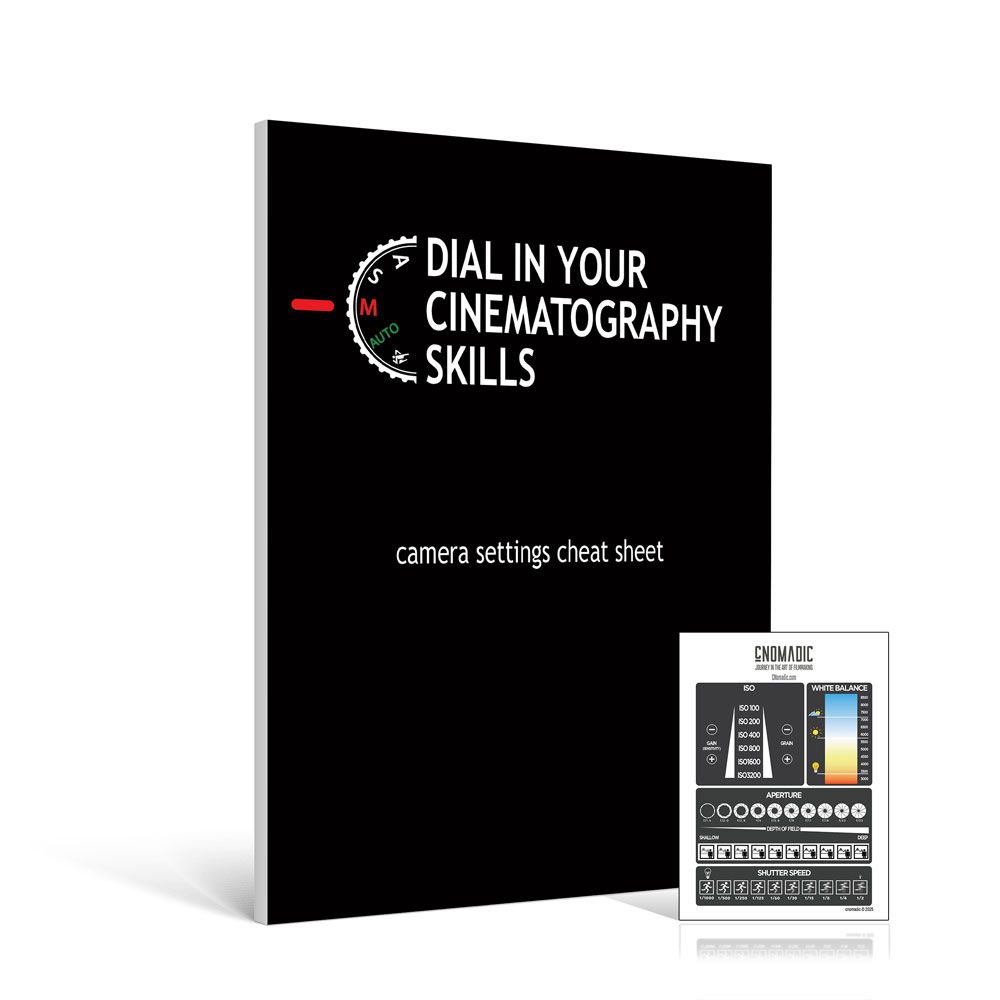
If you would like to learn more about lighting, exposure, composition, and creating more intentional images, be sure to check out my online course, Essential Camera Settings.
by Chris Tinard © cNOMADIC 2026
Learn more about cNOMADIC's cinematography philosophy and training at cNOMADIC.com.