What Old Henry Teaches Us About Placing Exposure
Nov 11, 2026Correct exposure is not a number the camera can choose for us. It is the result of deciding what the image needs to preserve—and what it can afford to lose.
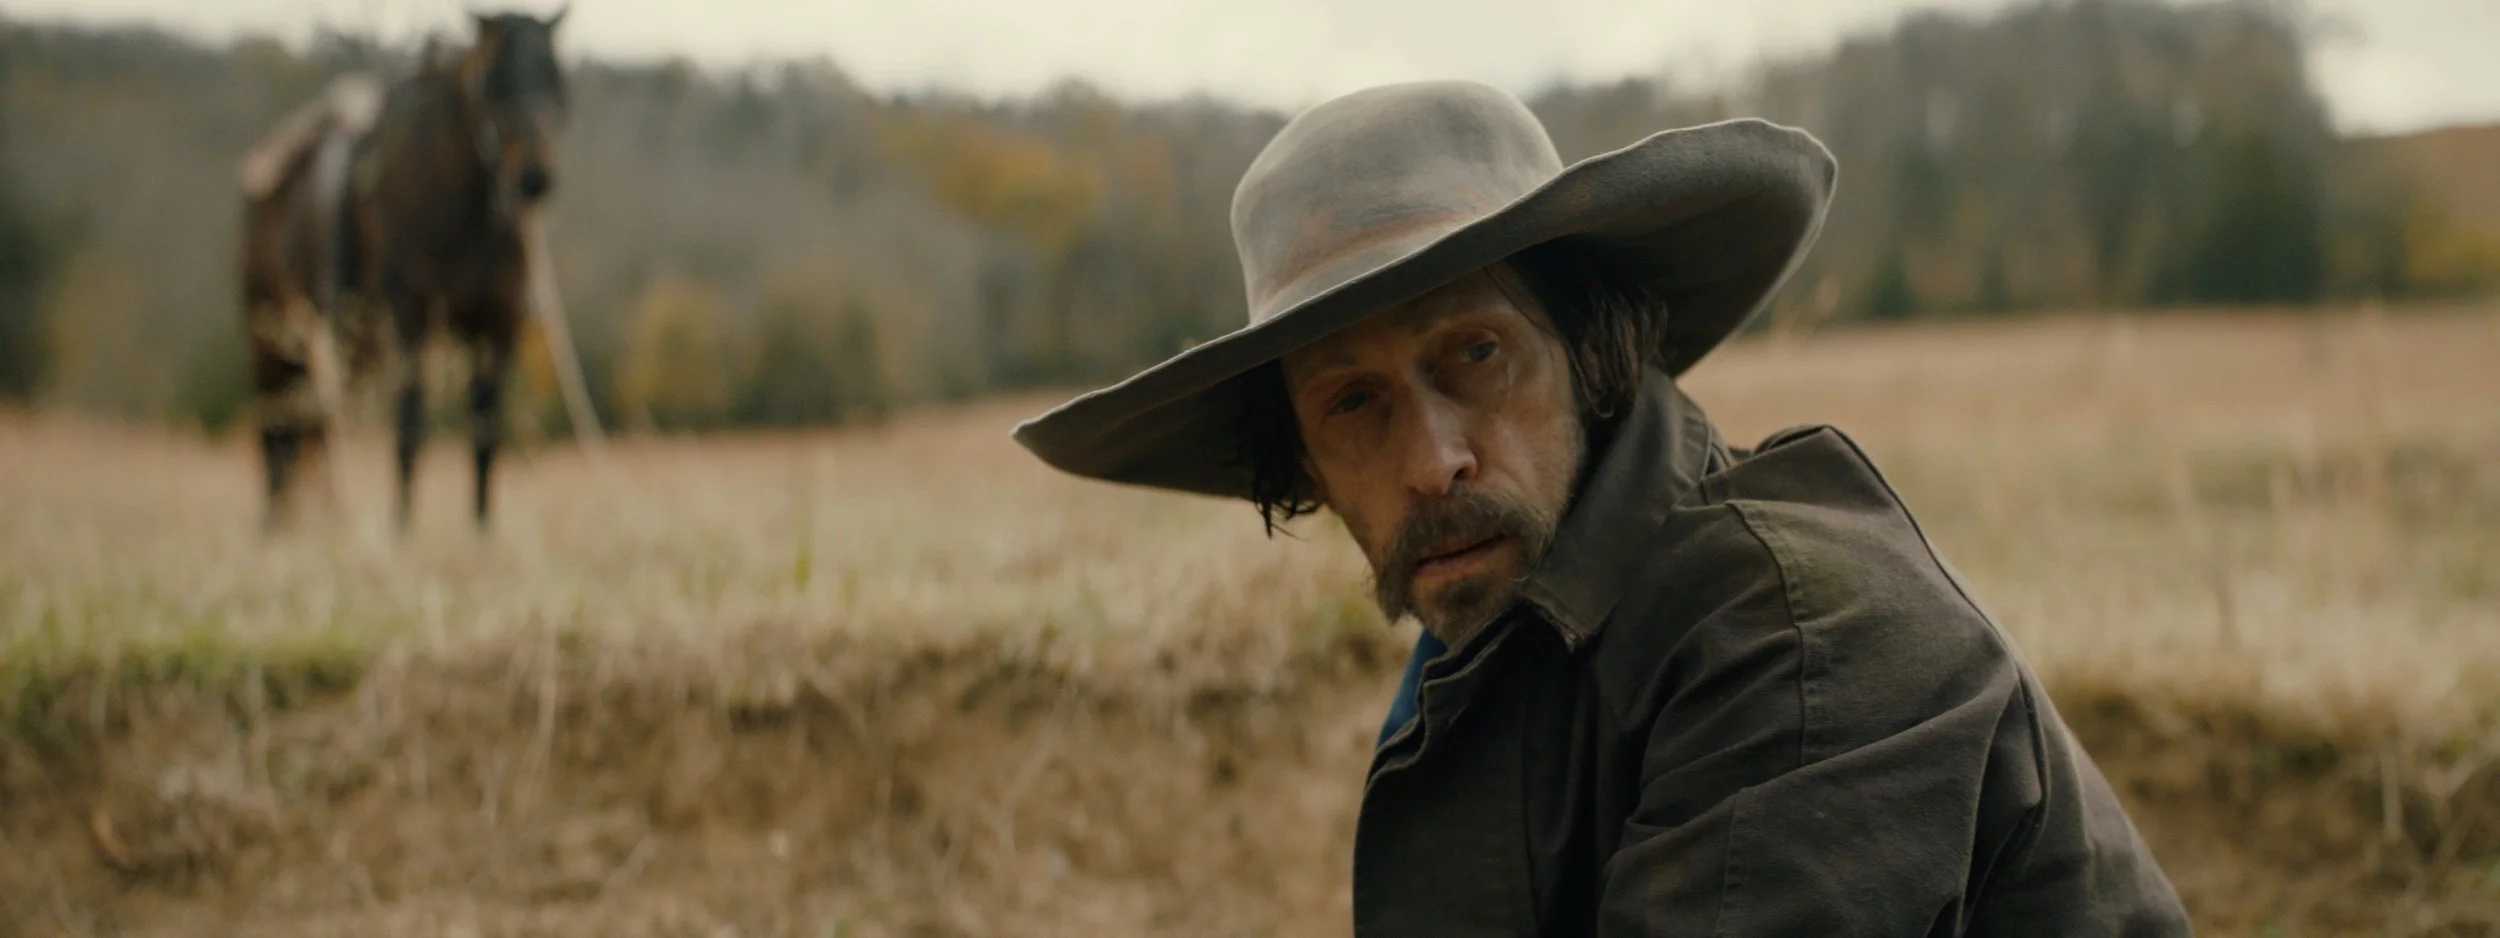
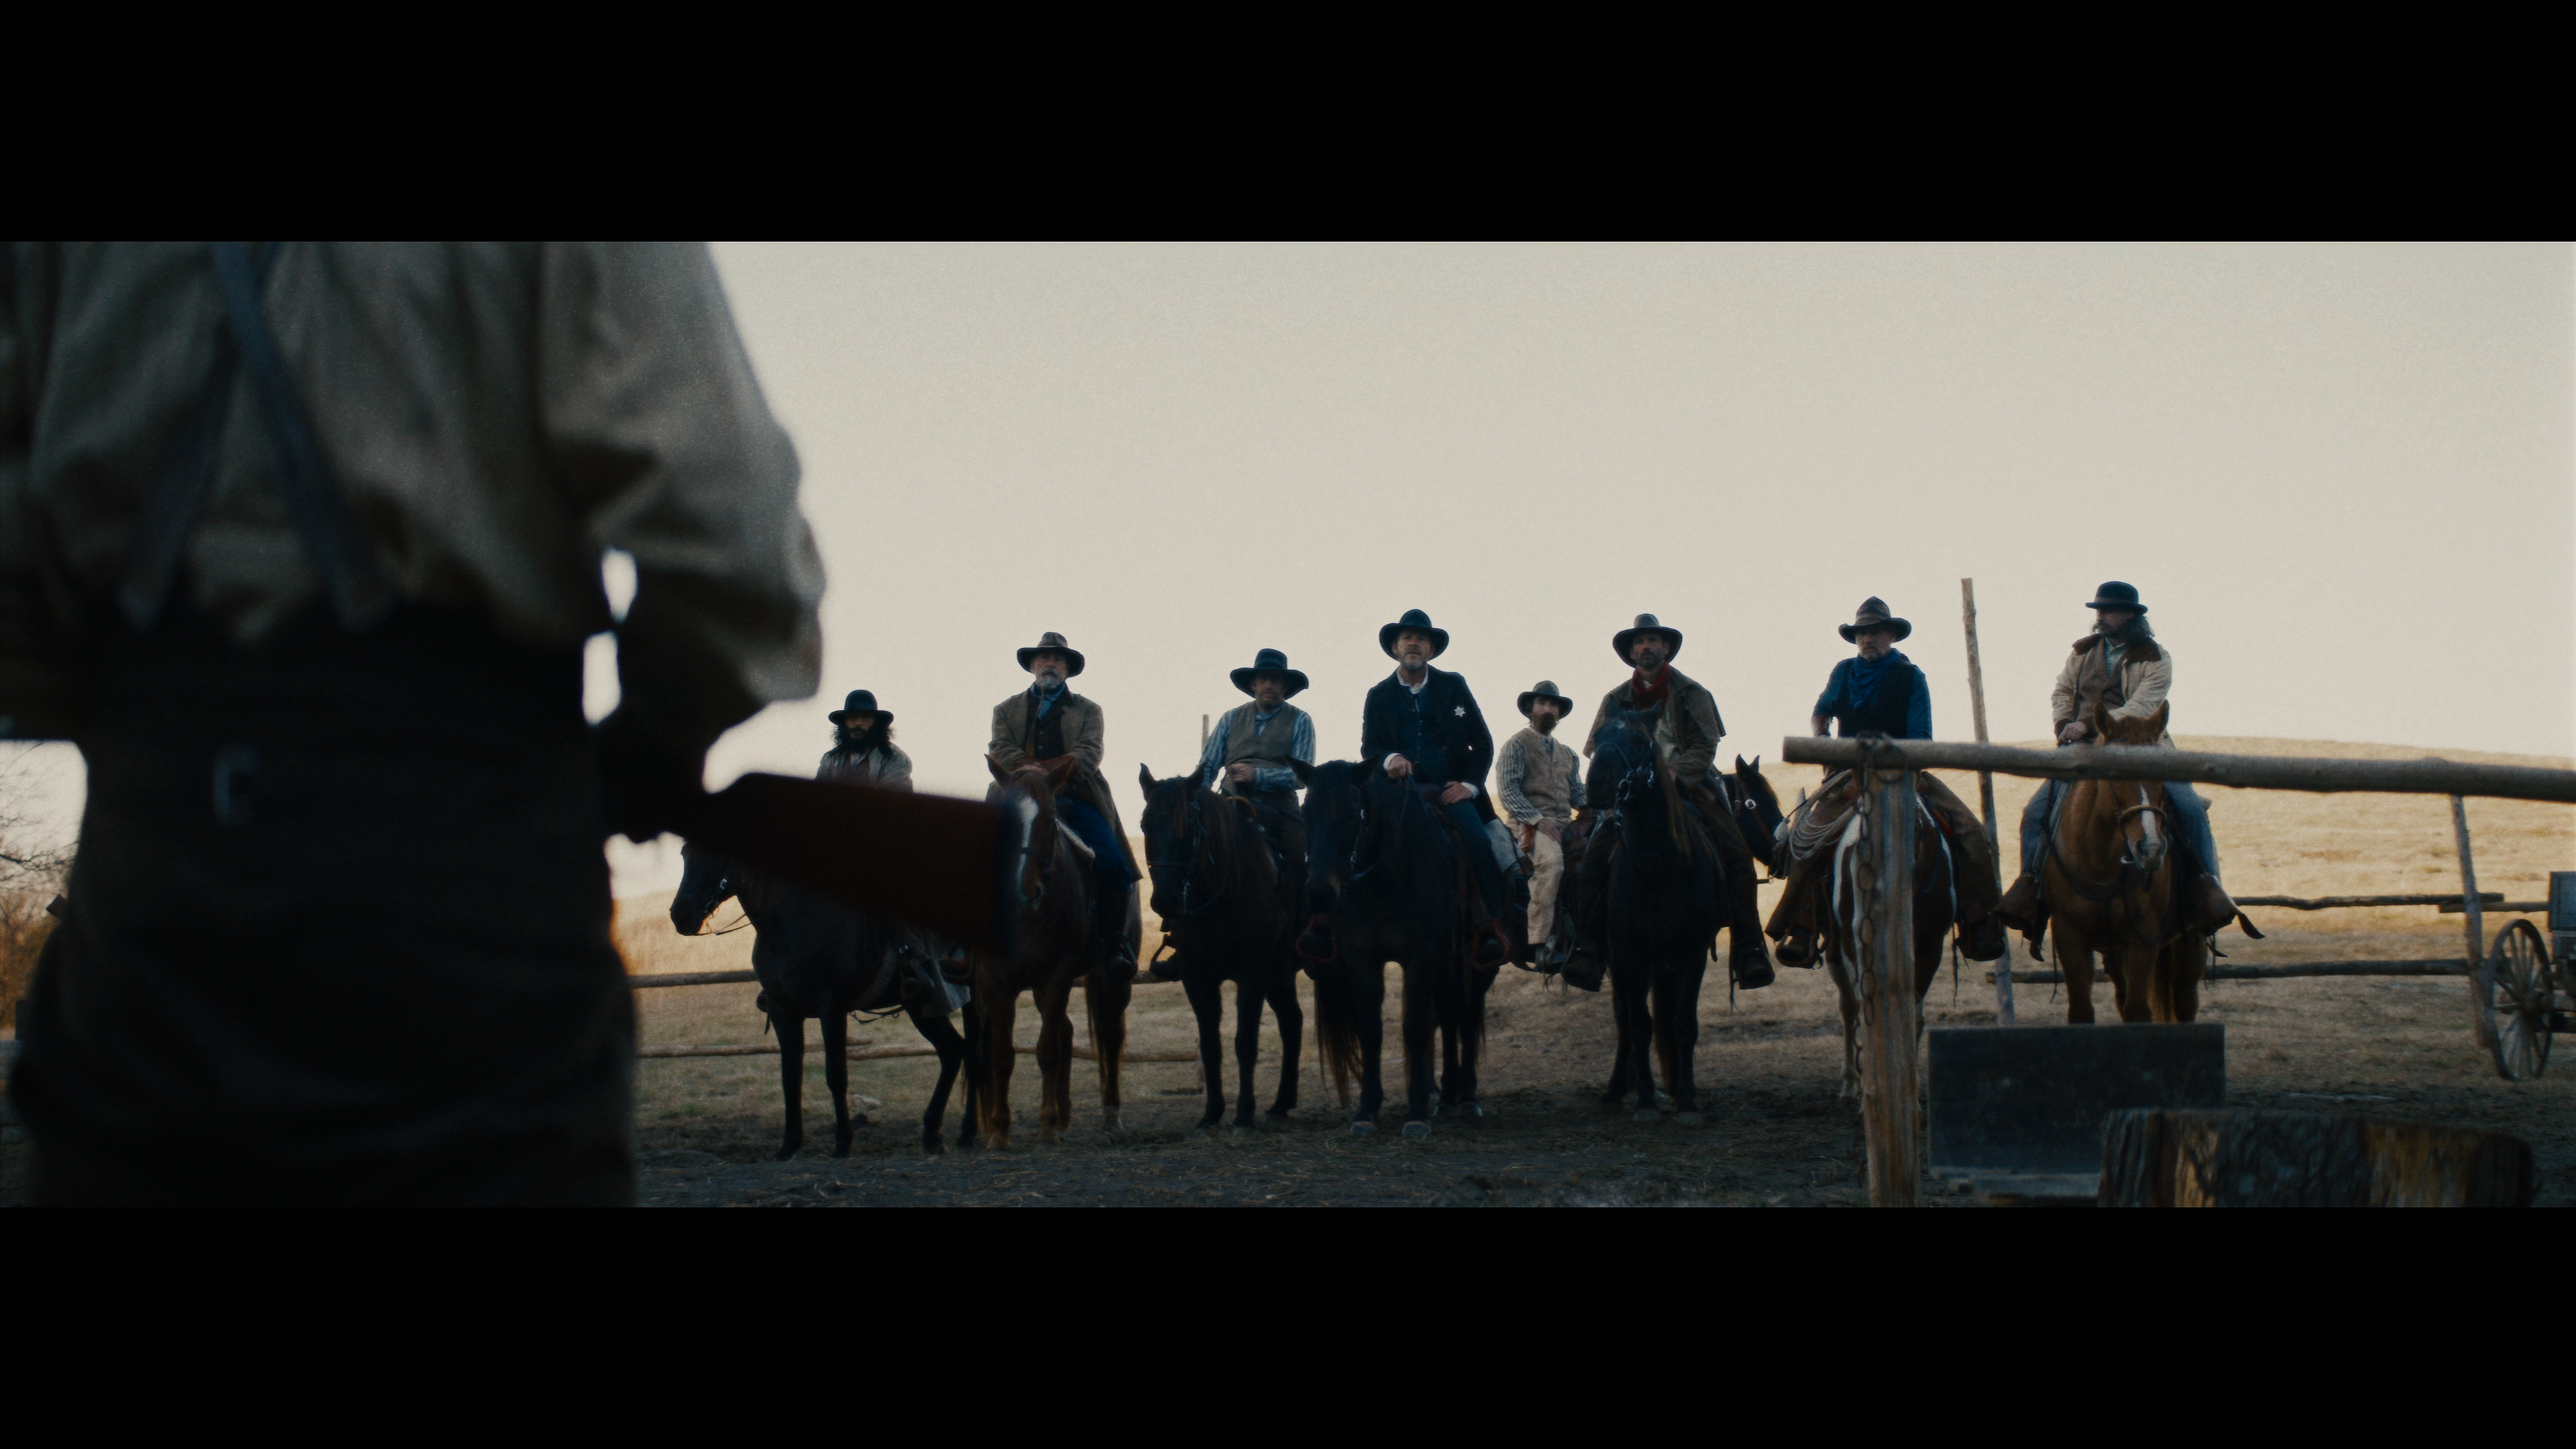
Watching Old Henry, the 2021 Western directed by Potsy Ponciroli and photographed by John Matysiak, reminded me how powerful that distinction can be. The film repeatedly allows skies, windows, and other bright areas to approach or cross clipping. Those highlights do not feel like mistakes. They are part of a visual language built around isolation, hardship, and an imperfect frontier.
That lesson applies far beyond narrative filmmaking. Whether I am shooting a corporate interview, a documentary, a commercial, or an event, the first exposure question is not, “What reading is correct?” It is, “What do I want this image to look like?”
Exposure begins with intention
A light meter, waveform, false-color display, or zebra setting can tell me where a tone is landing. None of those tools can tell me whether that tone belongs there.
Before I measure anything, I need to define the desired image. How deep should the shadows feel? How bright should the highlights feel? Does the audience need to see through the window? Is the texture in a black corner important, or would preserving it weaken the composition?
This is the difference between measuring exposure and placing exposure. The camera gives us a finite range. Our job is to decide where the important parts of the scene live inside it.
Not everything in the frame deserves protection
Modern cameras invite us to preserve as much information as possible. More dynamic range is useful, but retaining every tone is not automatically the same as making a stronger image.
In Old Henry, bright skies and windows are often pushed toward white while interiors become dense and shadowed. The approach supports the film's rough, desaturated world. If every highlight were carefully recovered and every shadow opened, the image might contain more information but communicate less.
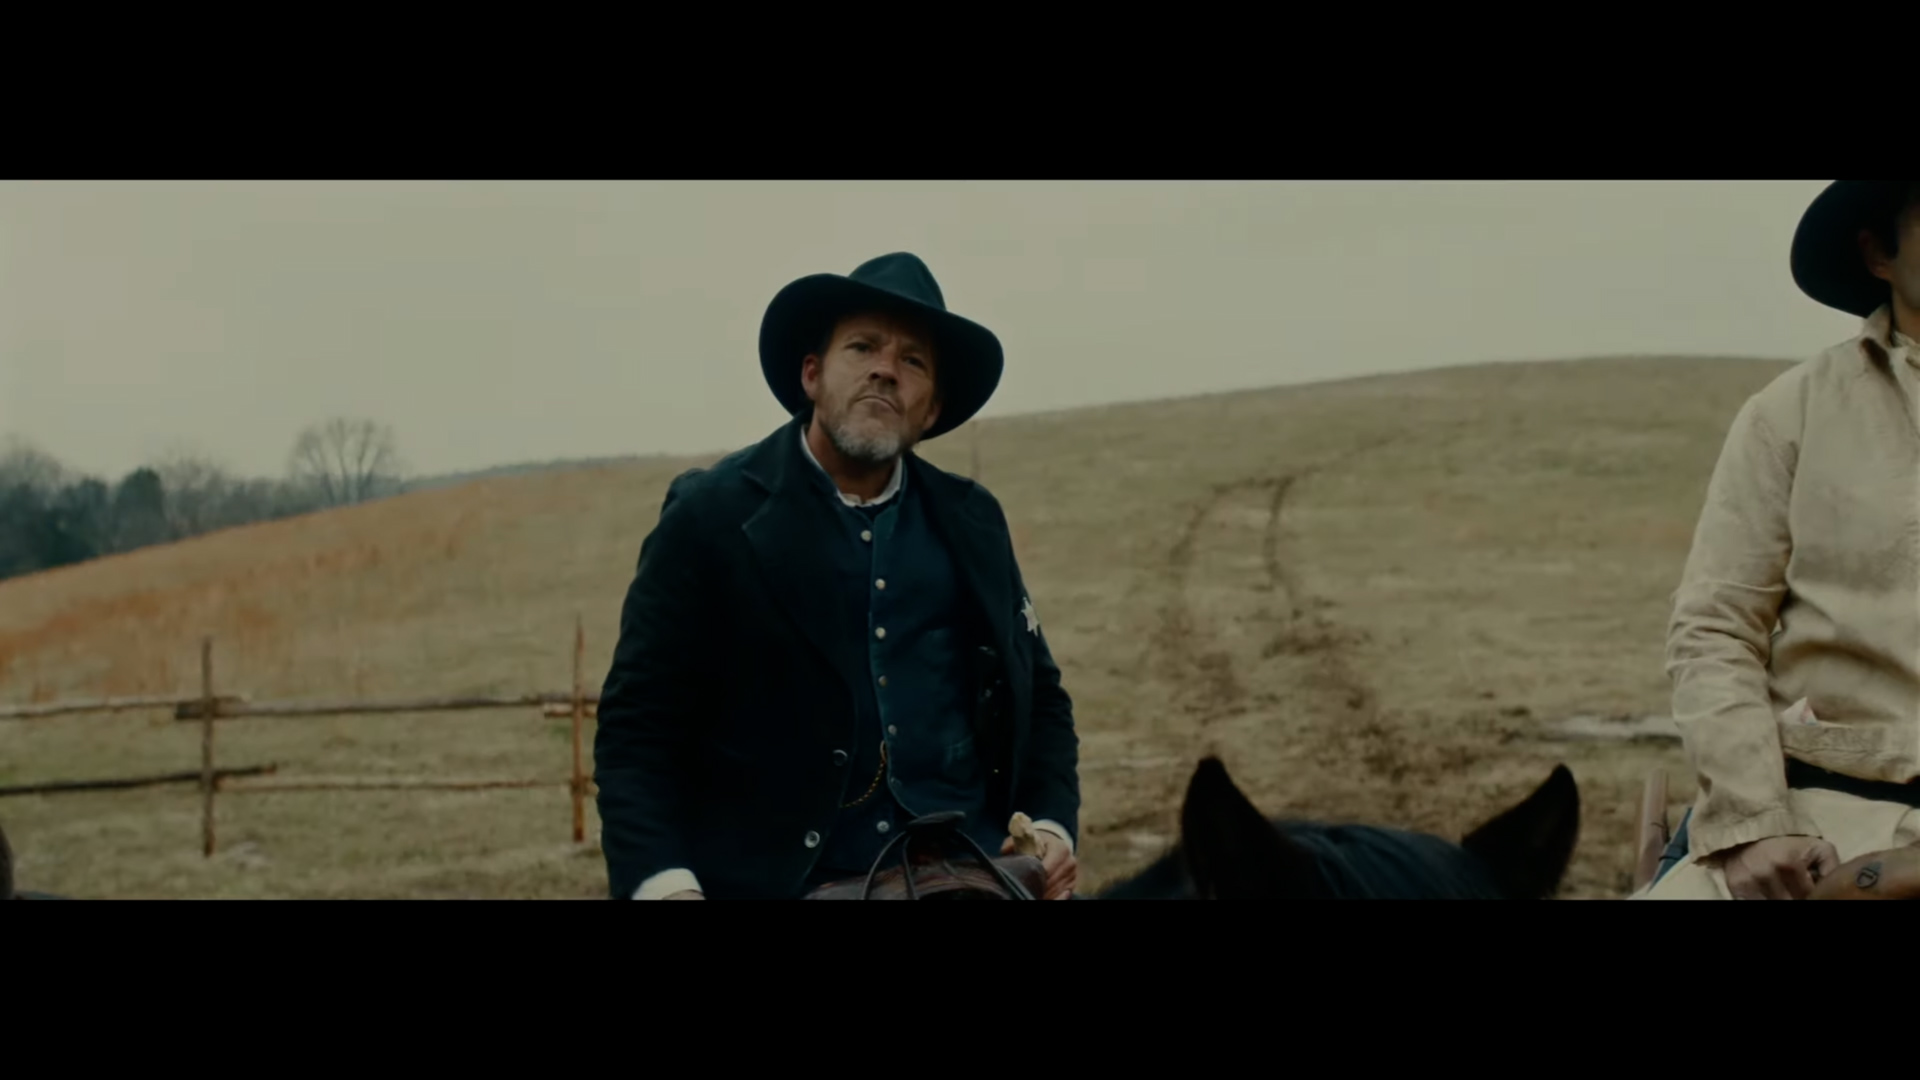
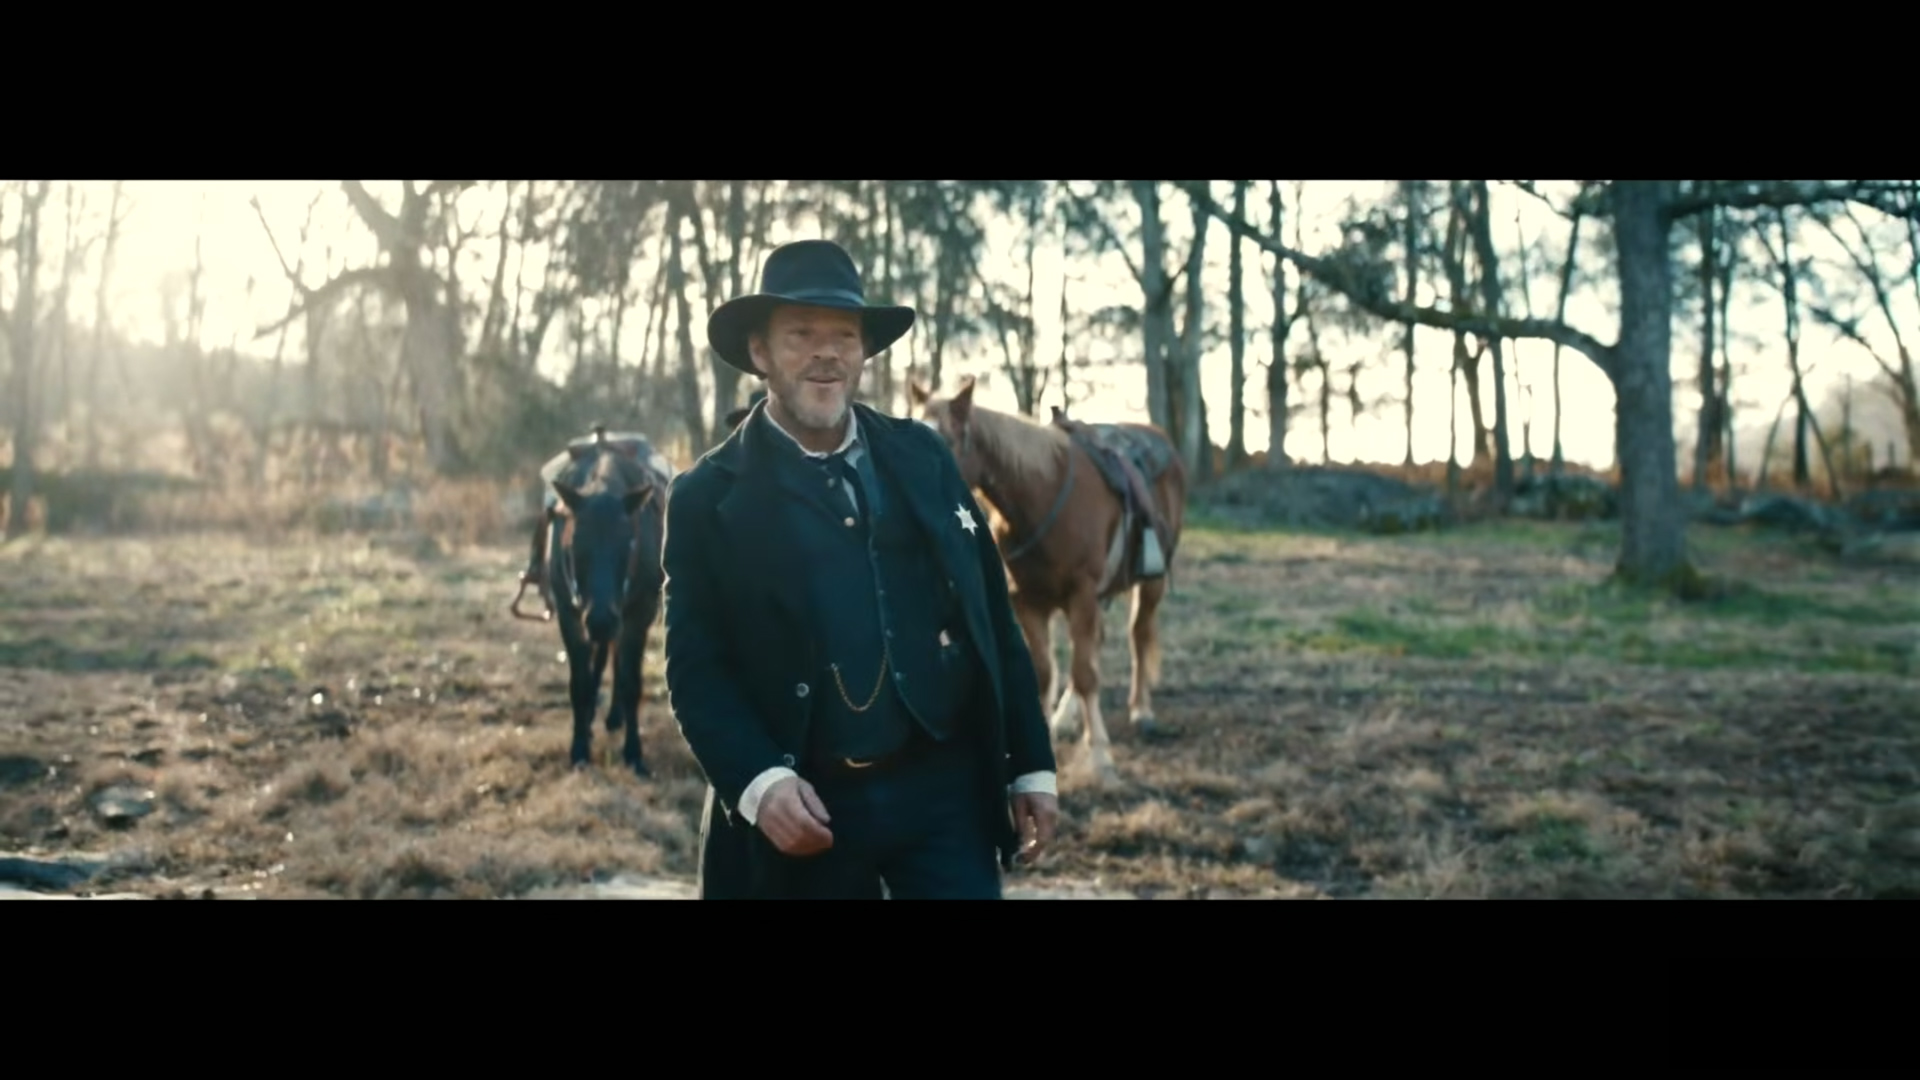
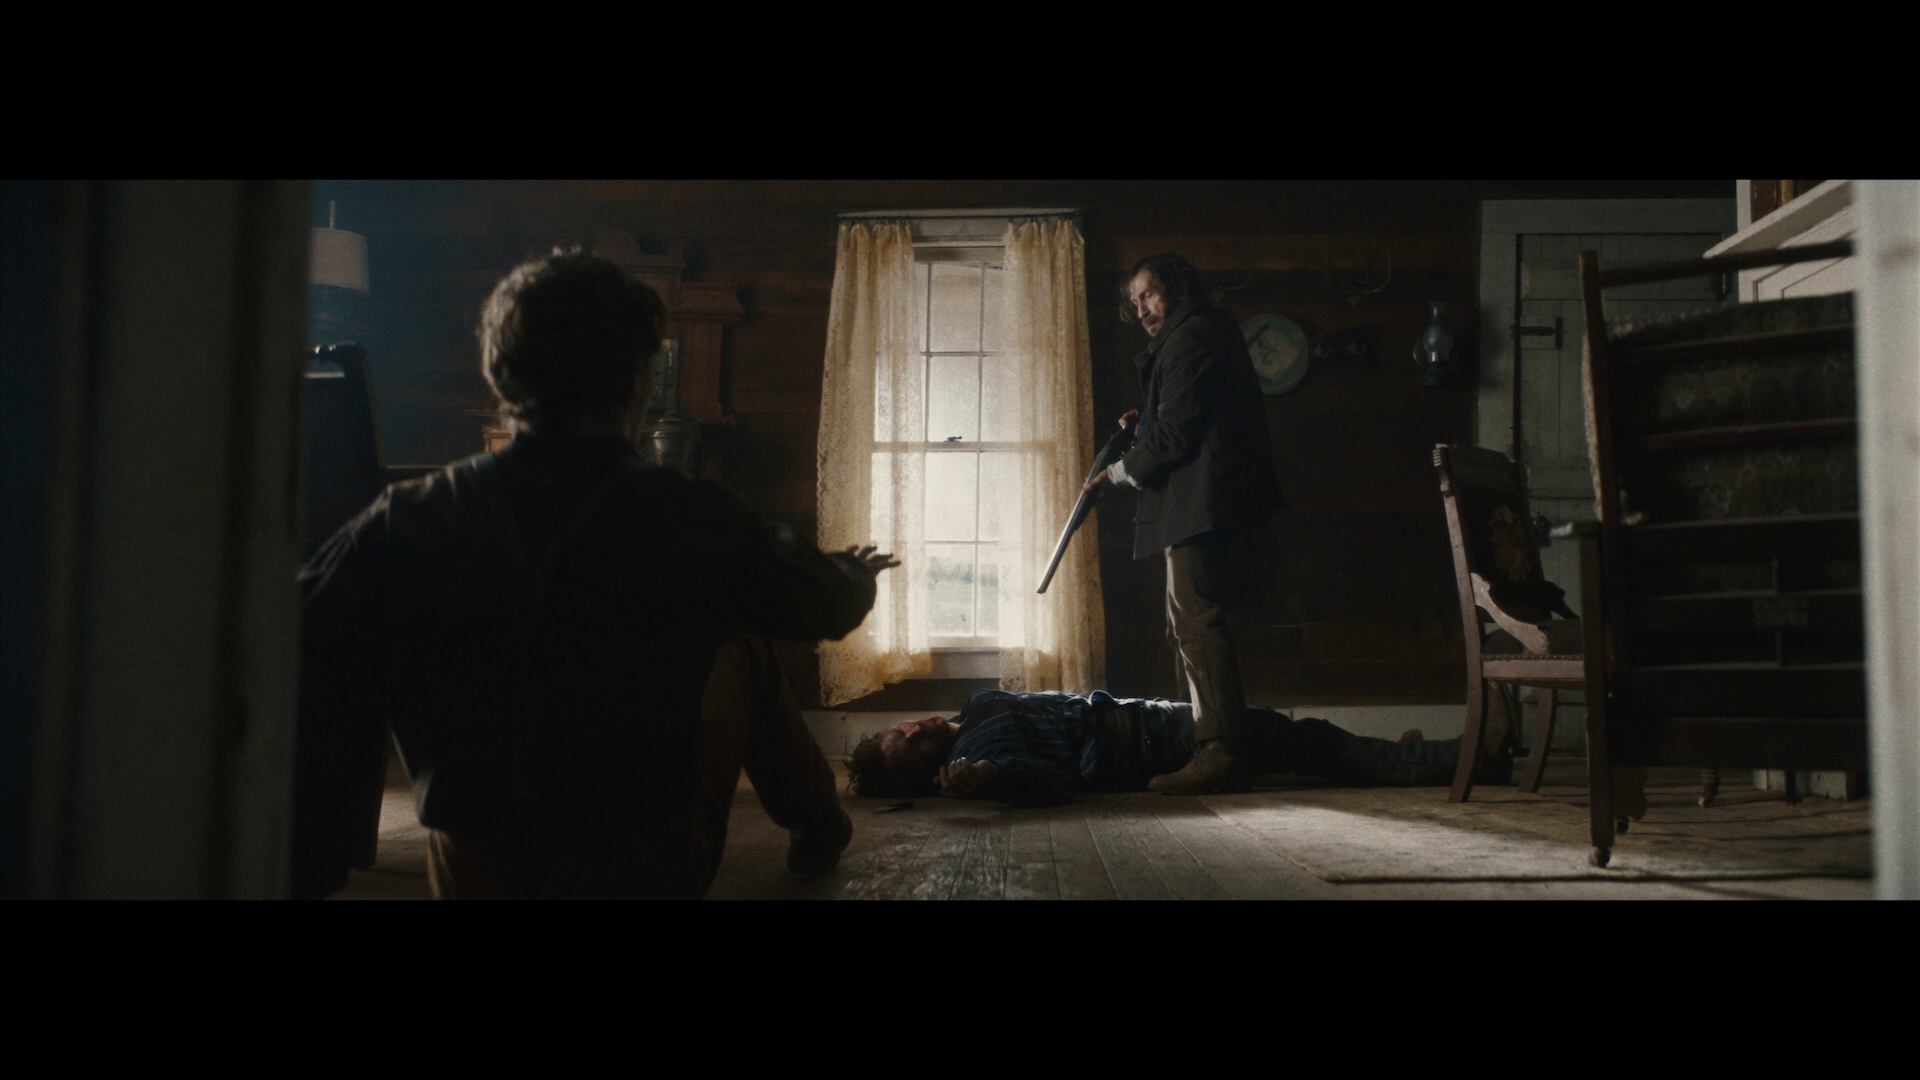
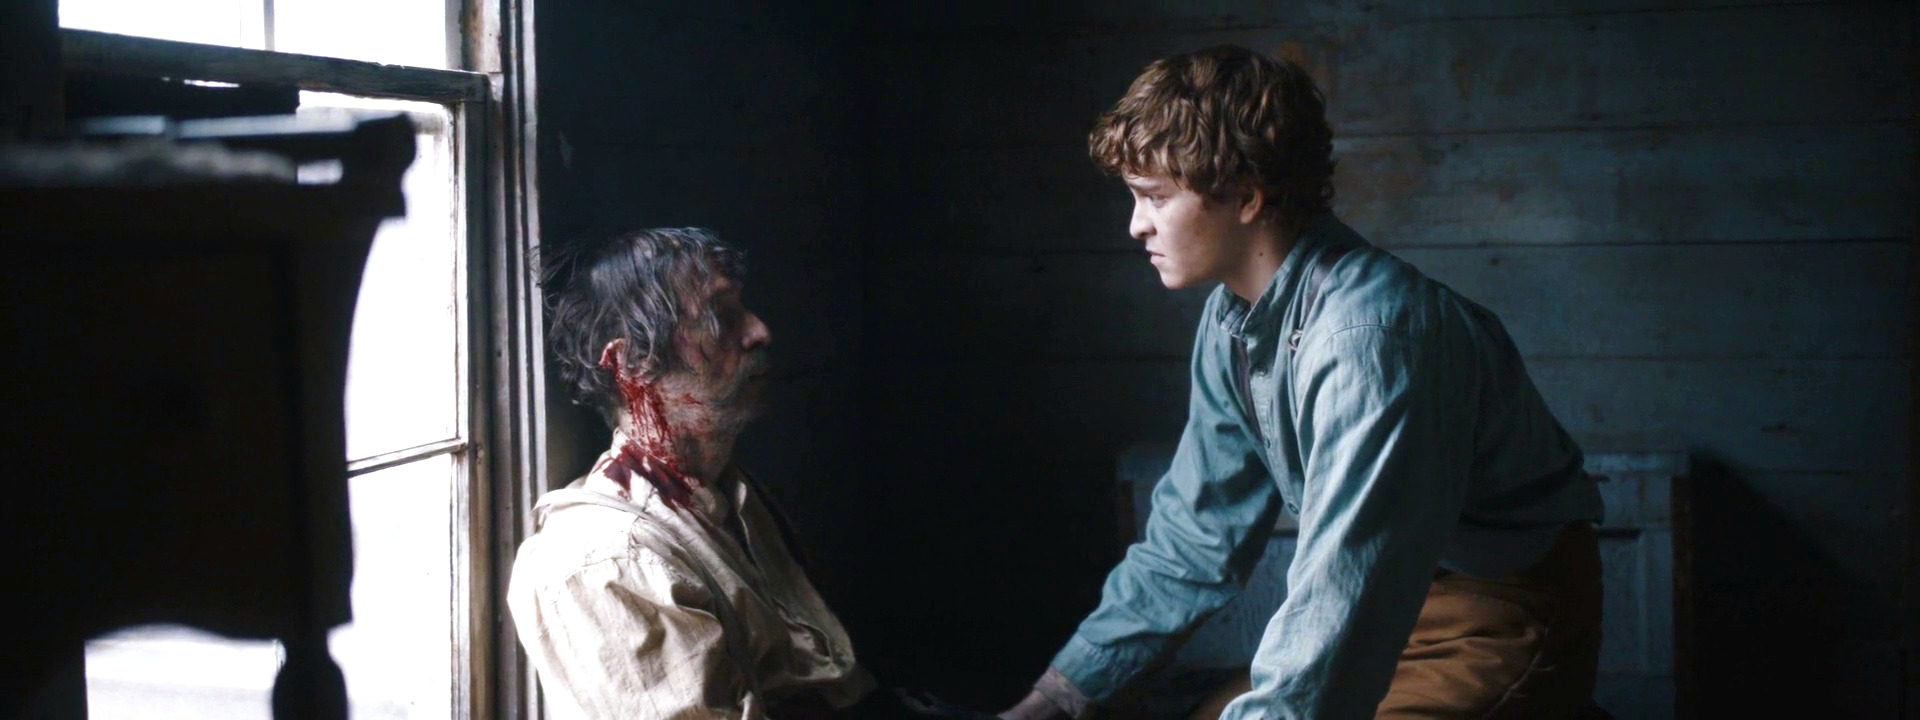
The practical question is not, “Can the sensor hold this?” It is, “Does the audience need this?” A clipped window can be a failure if the exterior establishes the location. It can also be exactly right if the window's purpose is simply to feel like a source of intense daylight.
Placing the scene inside the sensor
Every camera has a limited number of usable stops above and below middle gray. Every location has its own brightness range. When the scene fits inside the sensor, we can choose where to place it. When it does not fit, exposure alone cannot solve the problem—it only slides the same range higher or lower.
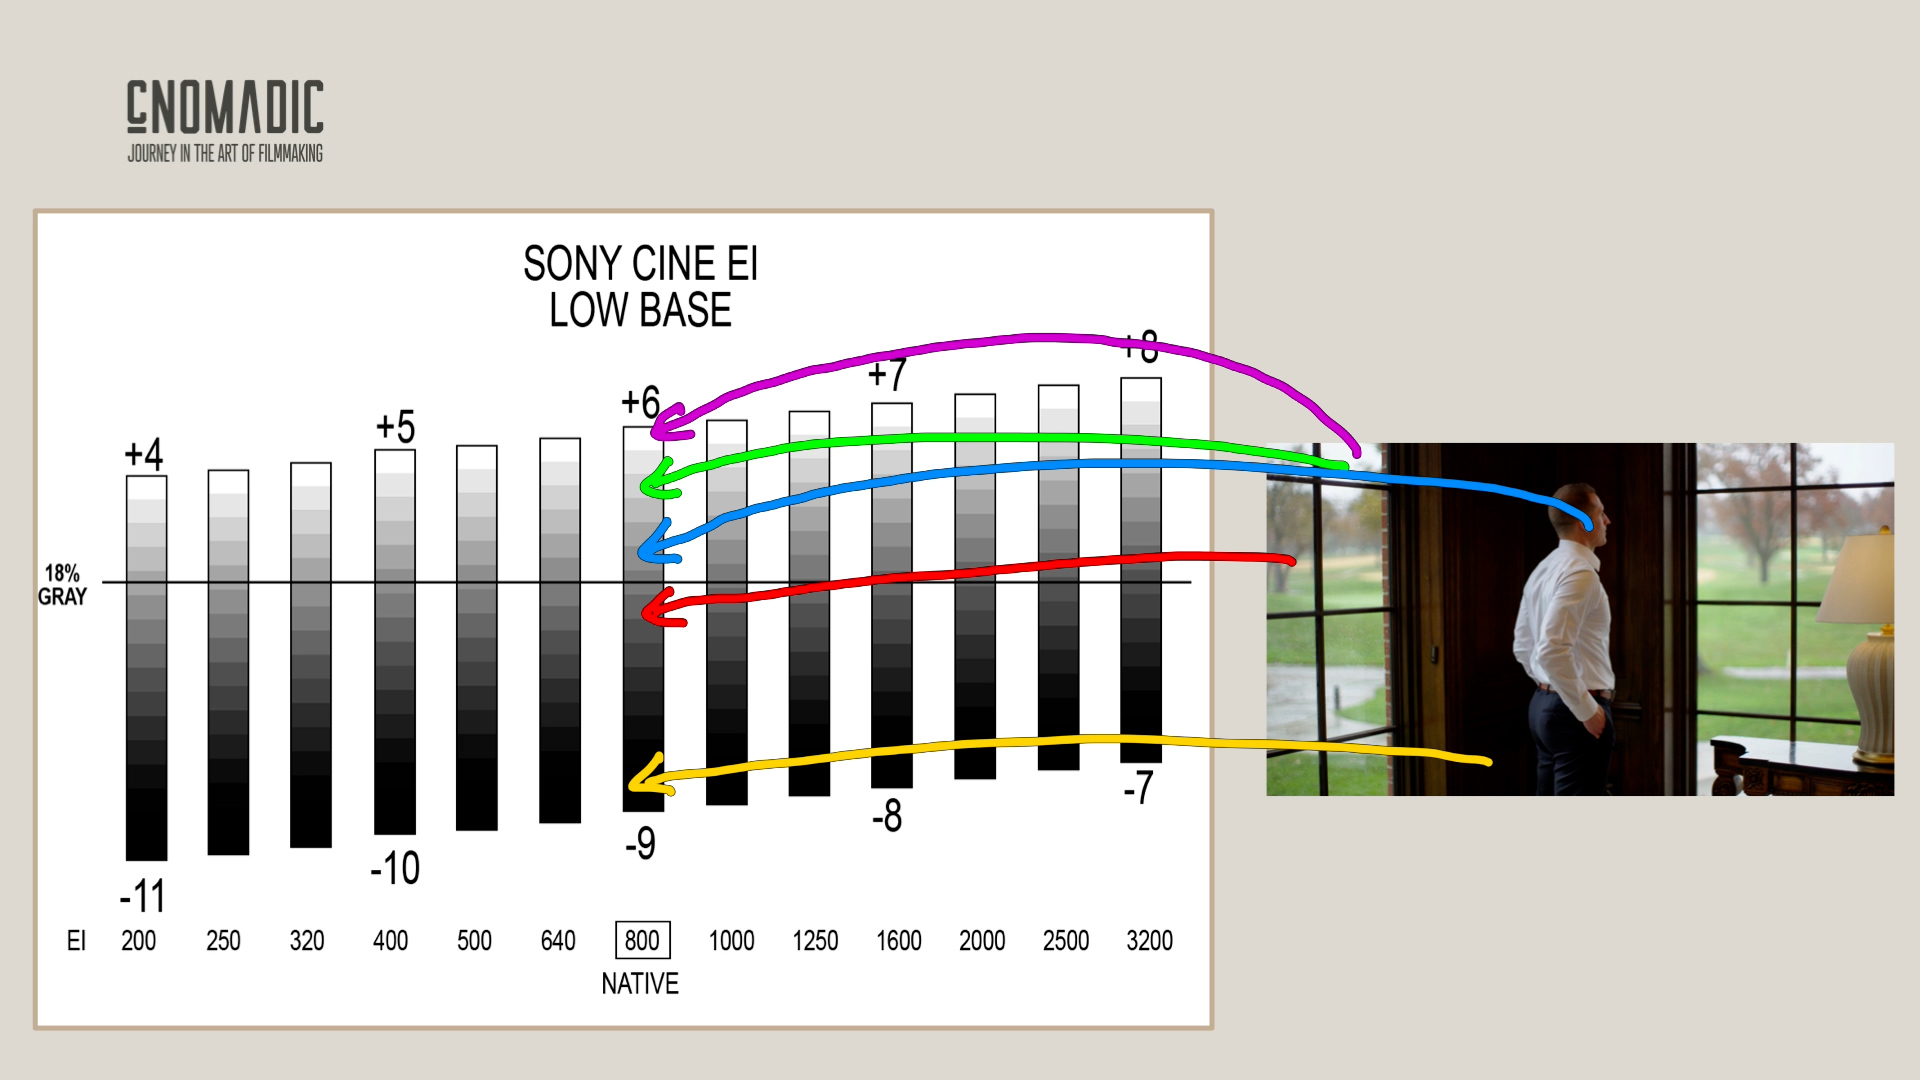
That leaves us with a creative choice:
- Protect the highlights and accept darker or noisier shadows.
- Protect the shadows and allow selected highlights to clip.
- Reshape the scene with lighting, negative fill, diffusion, ND, blocking, or composition so the important values fit.
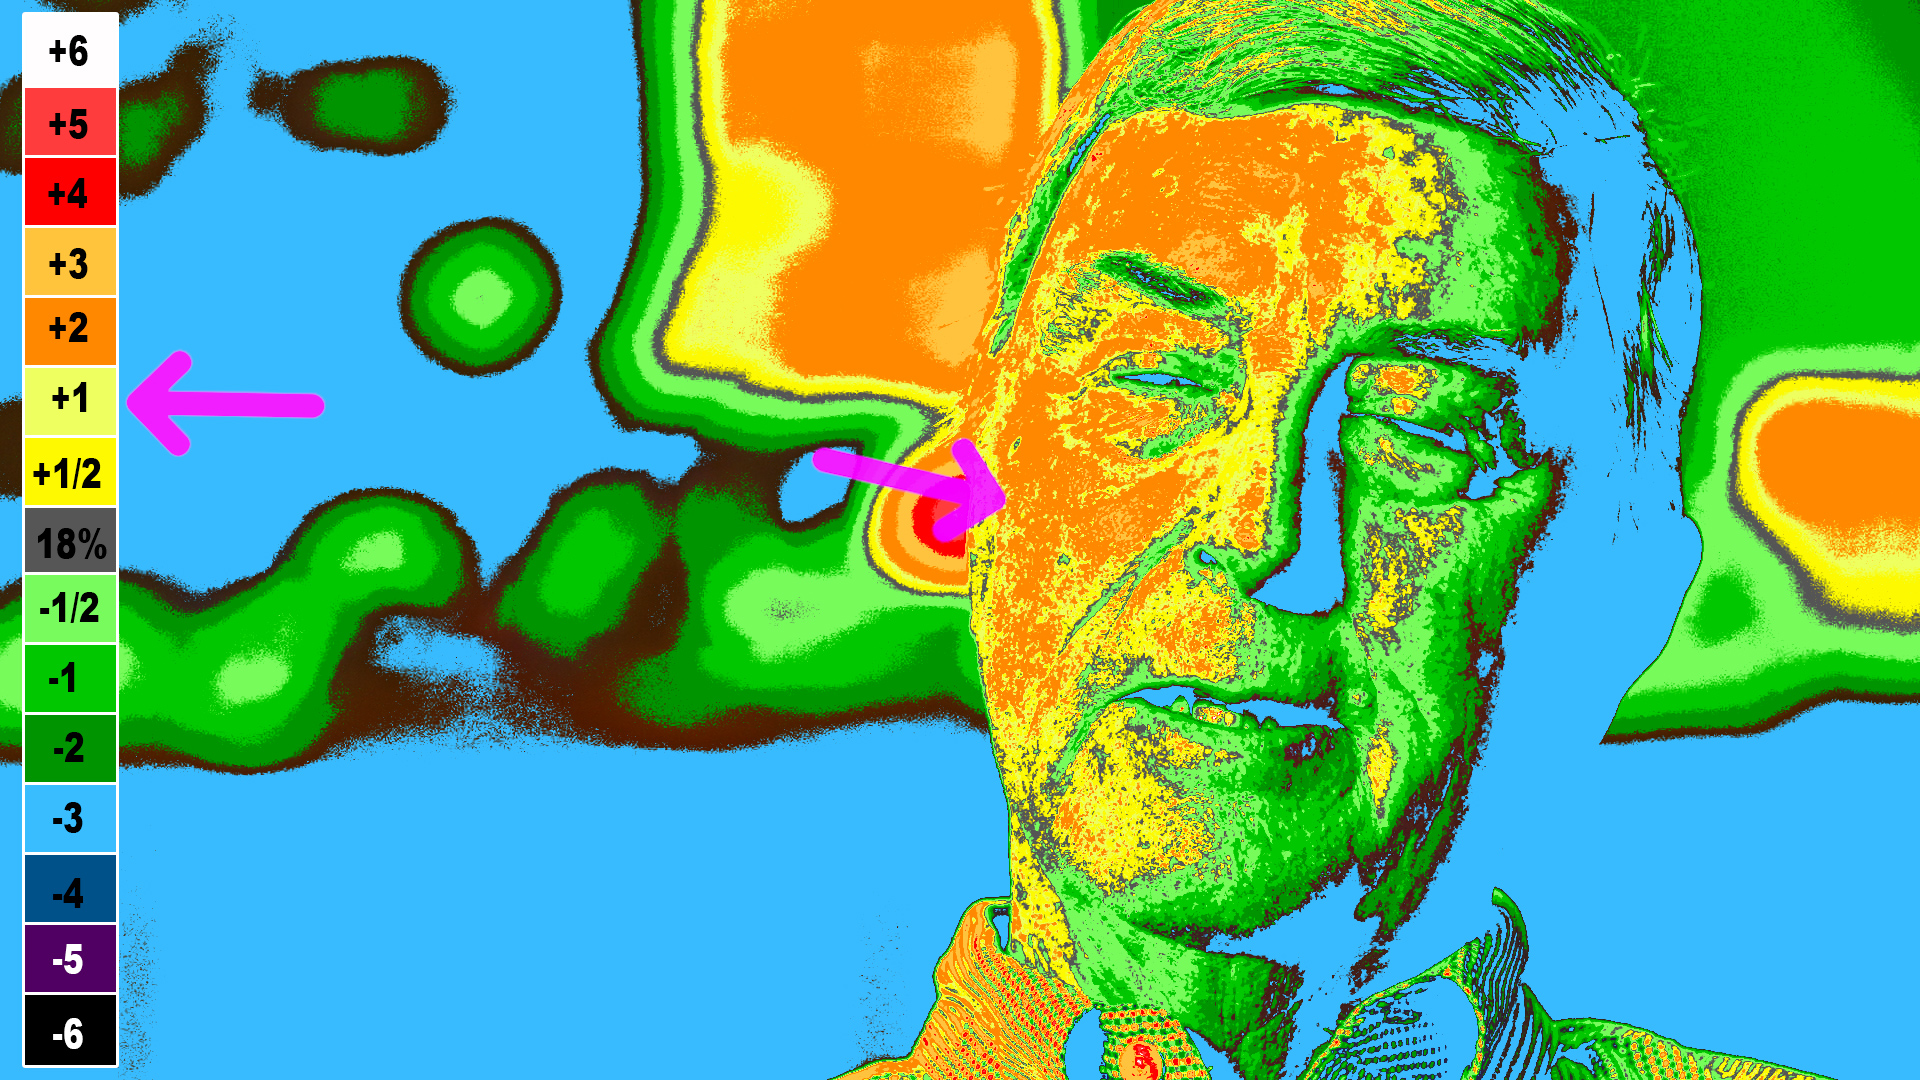
The right answer depends on the image—not on a universal exposure rule. This is the practical extension of Dynamic Range Is a Budget, Not a Score: the sensor defines the budget, but the cinematographer decides how to spend it.
The same principle applies to real production
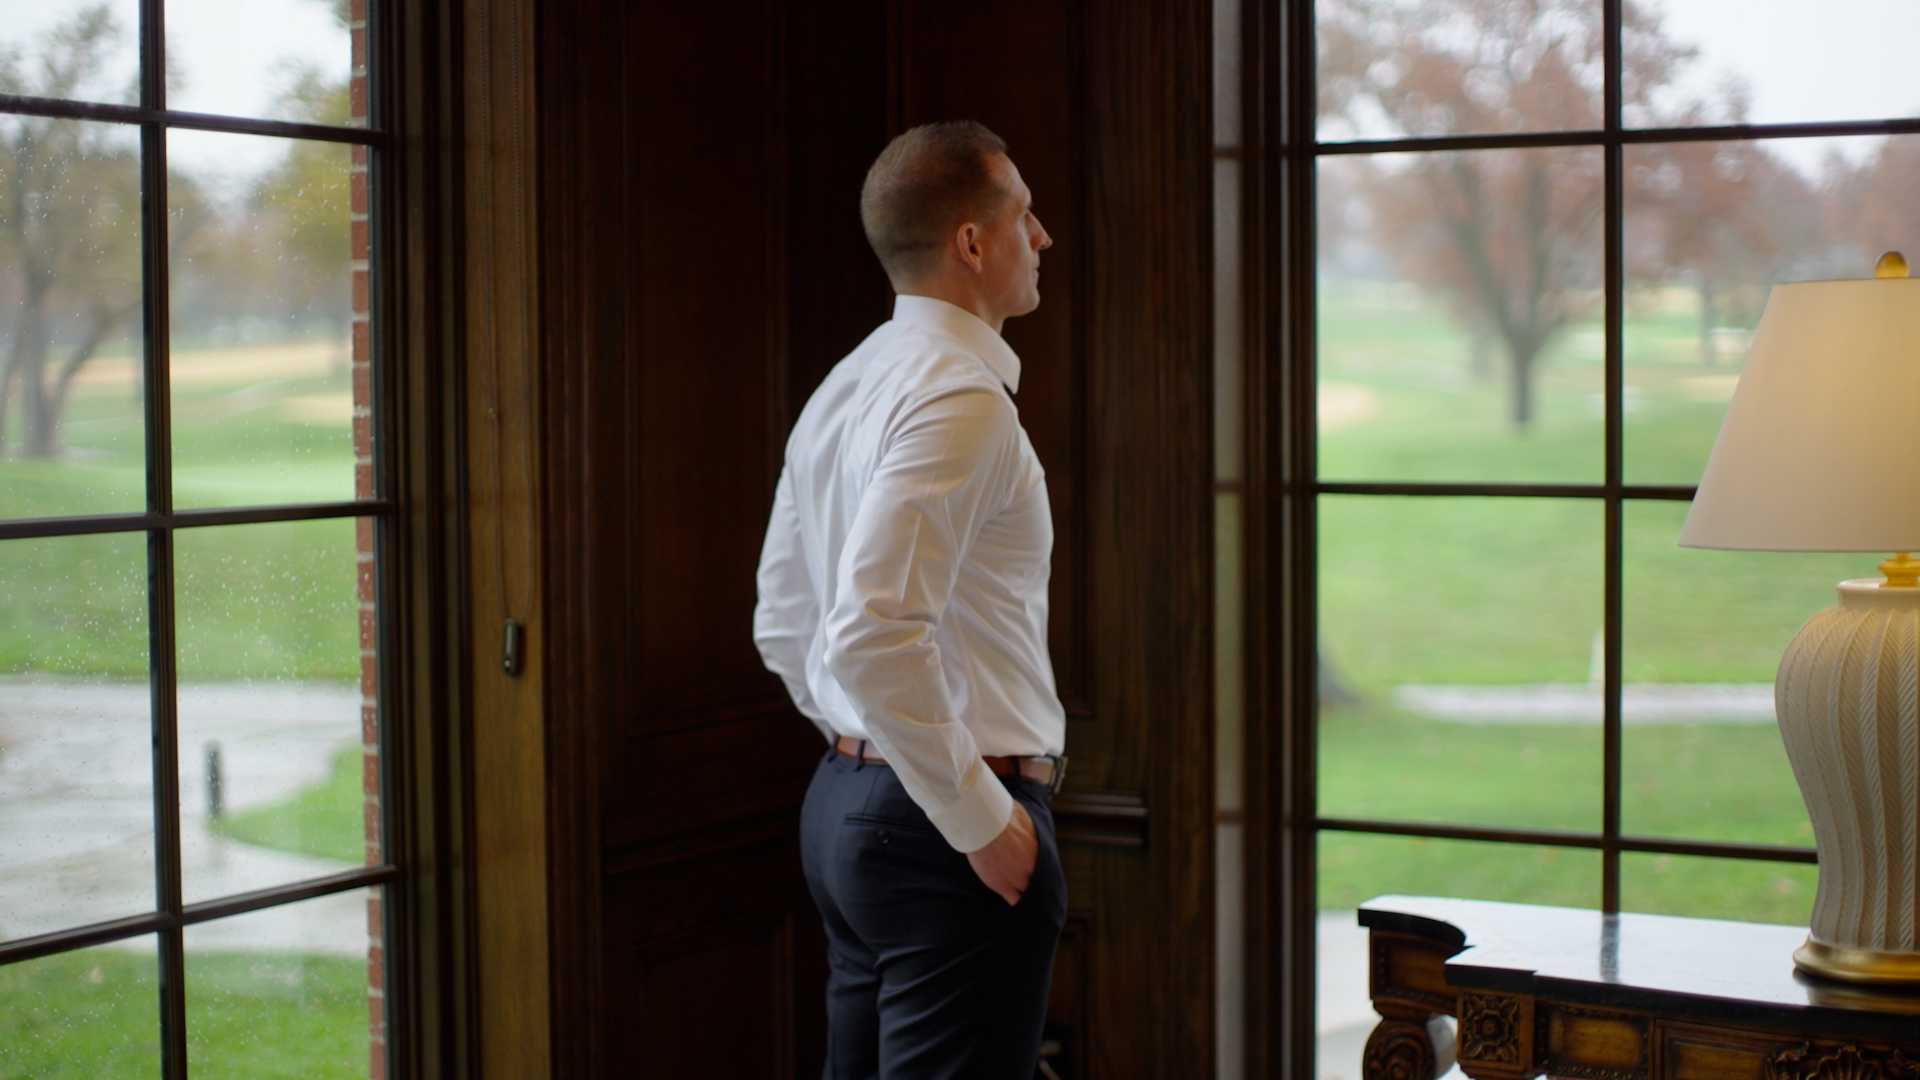
On a corporate interview, I may preserve the view outside a conference-room window because it gives the location context. On another project, I may let a window become white because the exterior adds nothing and the brighter shape gives the frame energy.
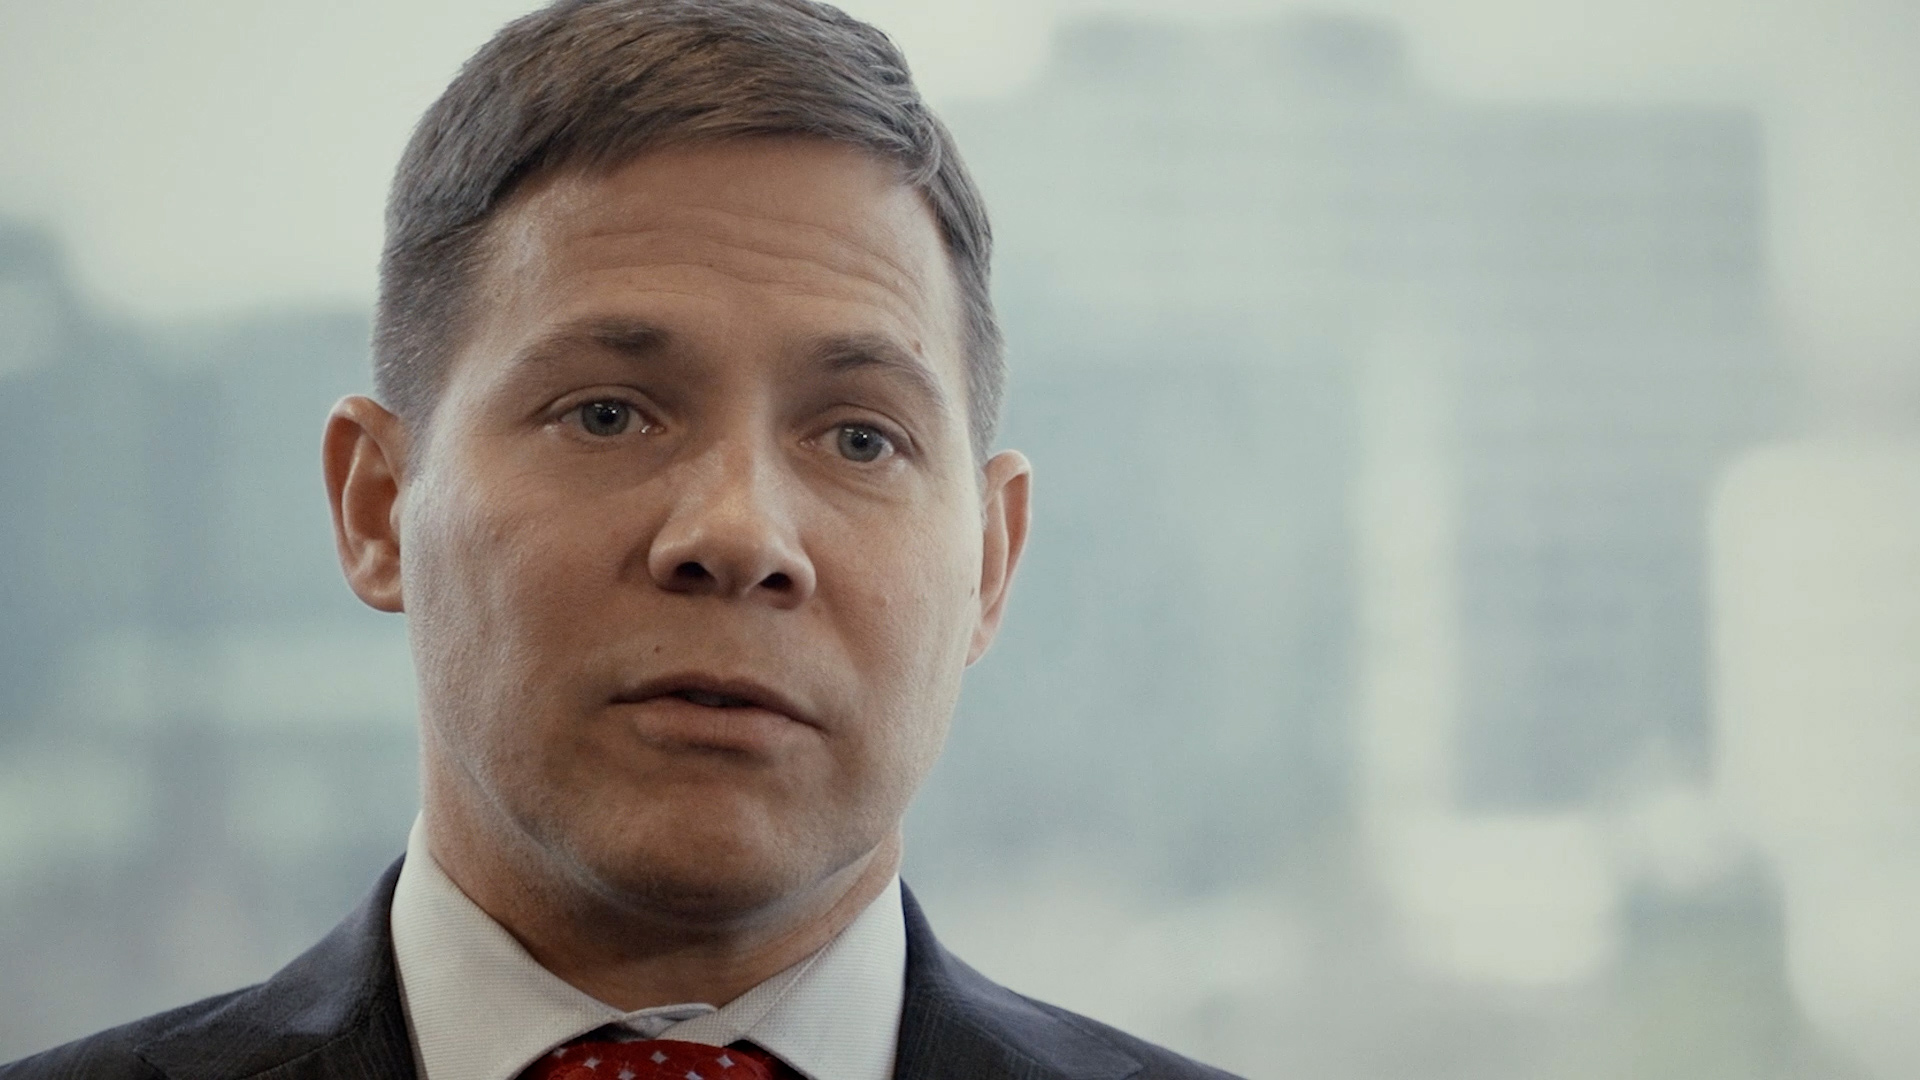
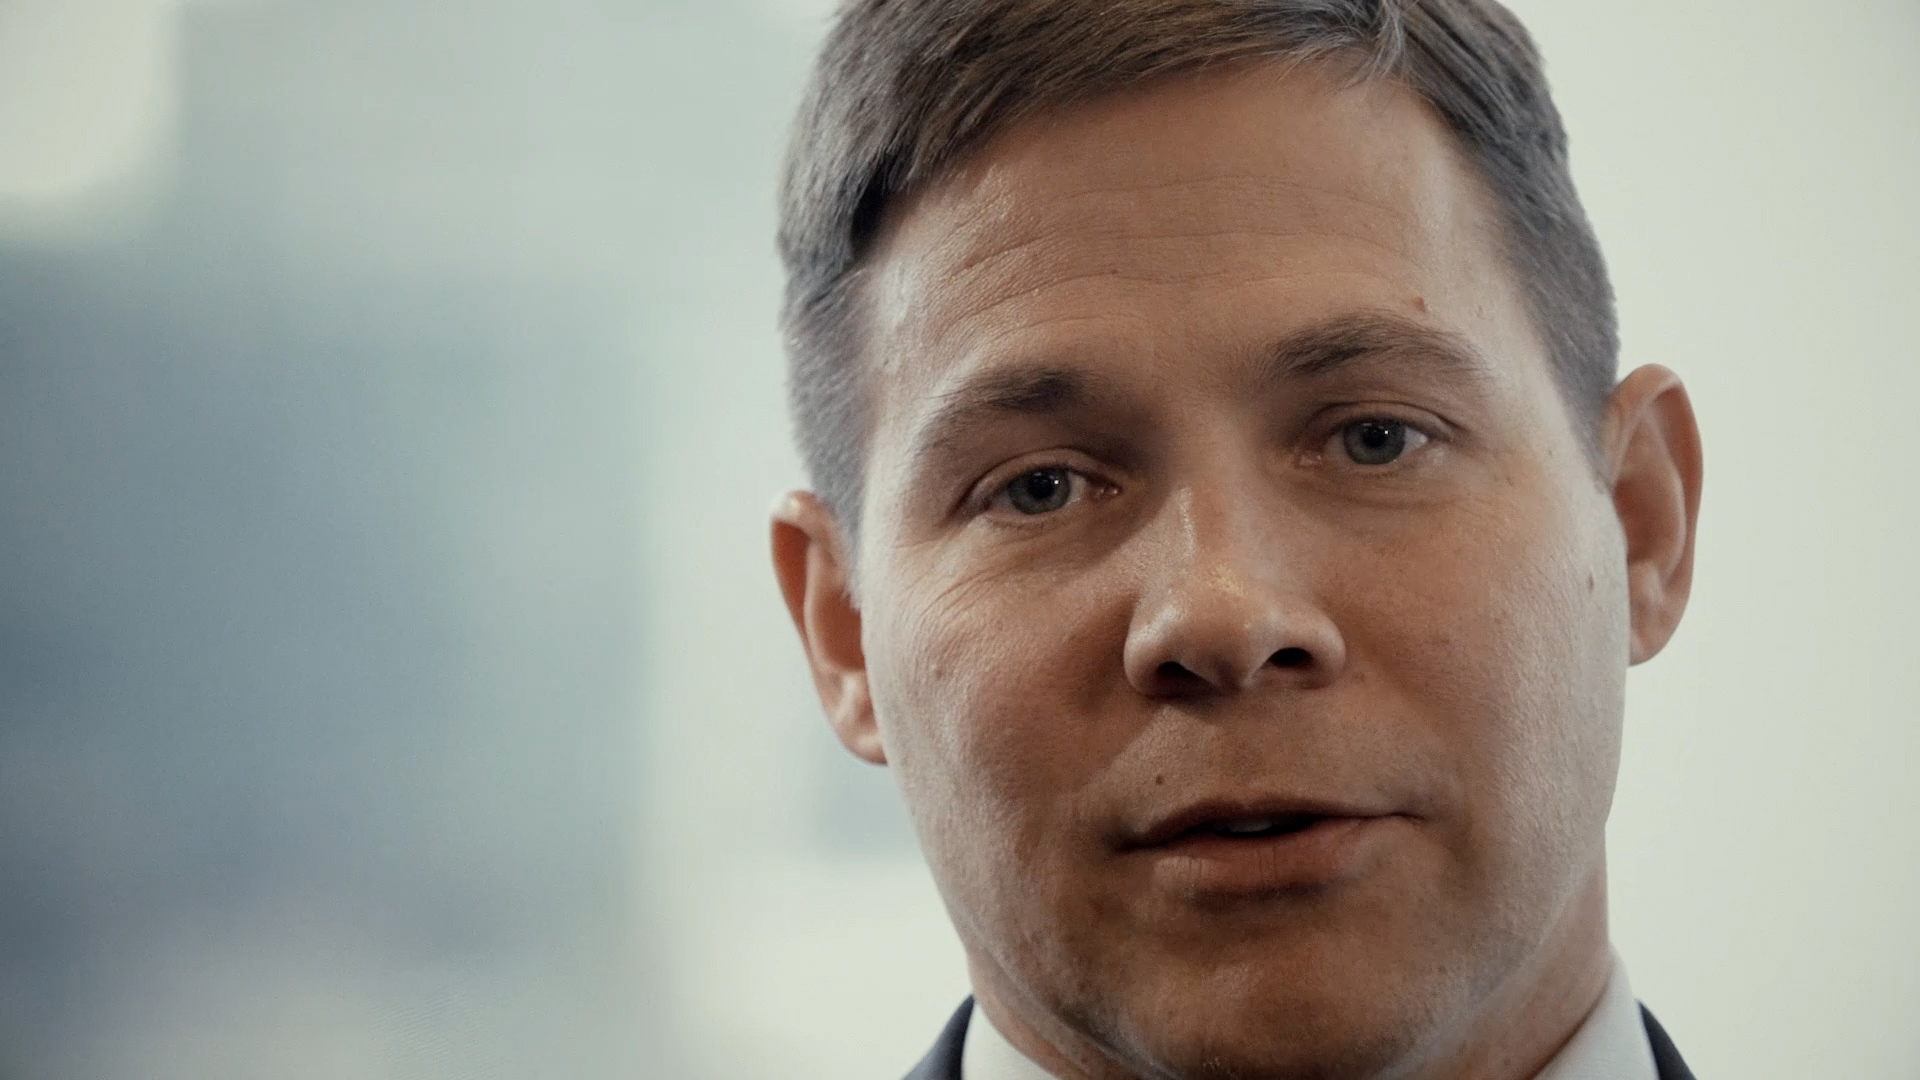
In these interview frames, the exterior sky is allowed to move beyond the camera's range. The person—not the view—is the visual priority, and the bright background supports the clean tone of the video.
I made the same kind of choice while filming in a classroom in Kenya. Beautiful daylight entered through a window, but nothing outside that window needed to be seen. The back of the subject's head could fall toward black. The forehead and skin tone carried the important information, while the white window helped the image suggest a bright future. Exposing for the exterior would have preserved detail that did not serve the story.

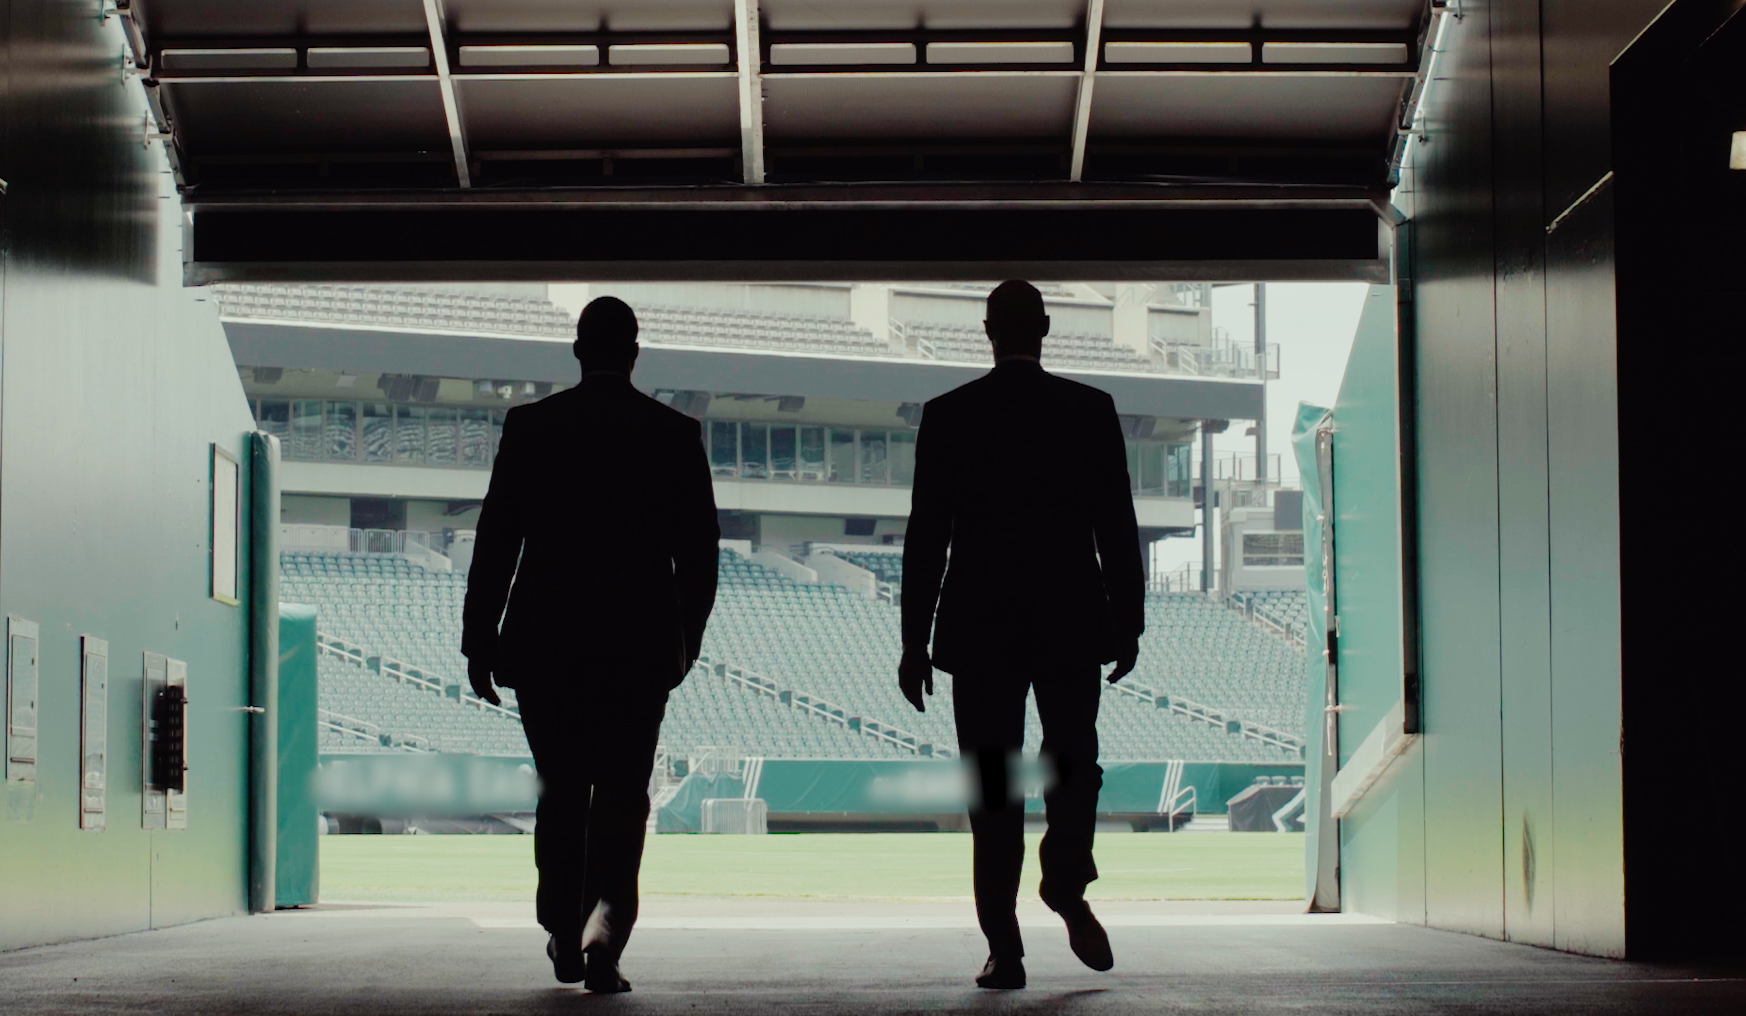
This is why the location does not need to communicate everything. We identify the part of the uncontrollable background that matters, then decide which movable elements, lighting choices, and exposure placement best showcase it.
A practical exposure decision process
- Describe the desired image. Decide how the shadows and highlights should feel before chasing a reading.
- Choose the visual priorities. Identify the brightest and darkest details the audience truly needs.
- Measure the relationships. Use a meter, waveform, false color, or zebras to learn where those values land.
- Compare the scene with the sensor. Determine whether the important range fits inside the camera's usable latitude.
- Place exposure deliberately. Protect the values that carry the image's meaning.
- Shape what does not fit. Change light, contrast, blocking, or composition instead of expecting one exposure adjustment to solve everything.
- Judge the image. Use the tools to verify the decision, but let the frame—not the meter—tell you whether it works.
“Correct” only exists after the creative decision
Old Henry is a useful reminder that technically imperfect values can create a visually precise result. The clipped highlights, dense shadows, and restrained palette belong to the world the filmmakers wanted us to experience.
Before asking whether the exposure is correct, define what correct means for this image. Once that intention is clear, the meter becomes useful, the sensor's limits become understandable, and every compromise becomes a choice.
Build a repeatable exposure process
Exposure Lab is a six-week guided cohort focused on creative exposure decisions, dynamic range, middle gray, stops, and real-world image placement. The next cohort begins January 11, 2027 and is limited to 15 filmmakers.
For a quick on-set reference, download the free Placing Your Exposure guide. To strengthen the measurement language behind these choices, read Stops vs IRE.
by Chris Tinard © cNOMADIC 2026
Learn more about cNOMADIC's cinematography philosophy and training at cNOMADIC.com.