
How to Control Natural Light for Cinematic Outdoor Lighting
Oct 05, 2026Cinematic outdoor lighting is not about overpowering the sun. It is about deciding what the sun should do, placing the exposure you cannot control, and then shaping the subject around that decision.
My repeatable order is simple: place the background, soften the direct sunlight on the subject, raise the subject to the level I want, and then protect enough contrast to give the image shape. The equipment may grow as the shot becomes wider, but the logic does not change.
That is the part I want to expand here. The video demonstrates the process; this article explains why the order matters, how to decide which controls to use, and how the same framework survives when a small tabletop exercise becomes a full commercial setup.
Use the sun as a backlight, not the entire lighting plan
Whenever the location allows it, I prefer to place the sun behind the subject and keep it outside the frame. From that position, the sun can create a natural edge and separation instead of striking the front of the subject with hard, unflattering light.
Keeping the sun out of frame also makes the exposure problem more manageable. If the sun itself appears in the composition, its intensity can force every other part of the image much lower. With the source off camera, I can still use its direction and color while designing the foreground around a realistic background level.
Place the background exposure before lighting the subject
The background is usually the least controllable part of an exterior. I cannot dim the sky, move a bright patch of grass, or change the relationship between sunlit and shaded architecture. I can decide where that entire background sits within the camera's dynamic range.
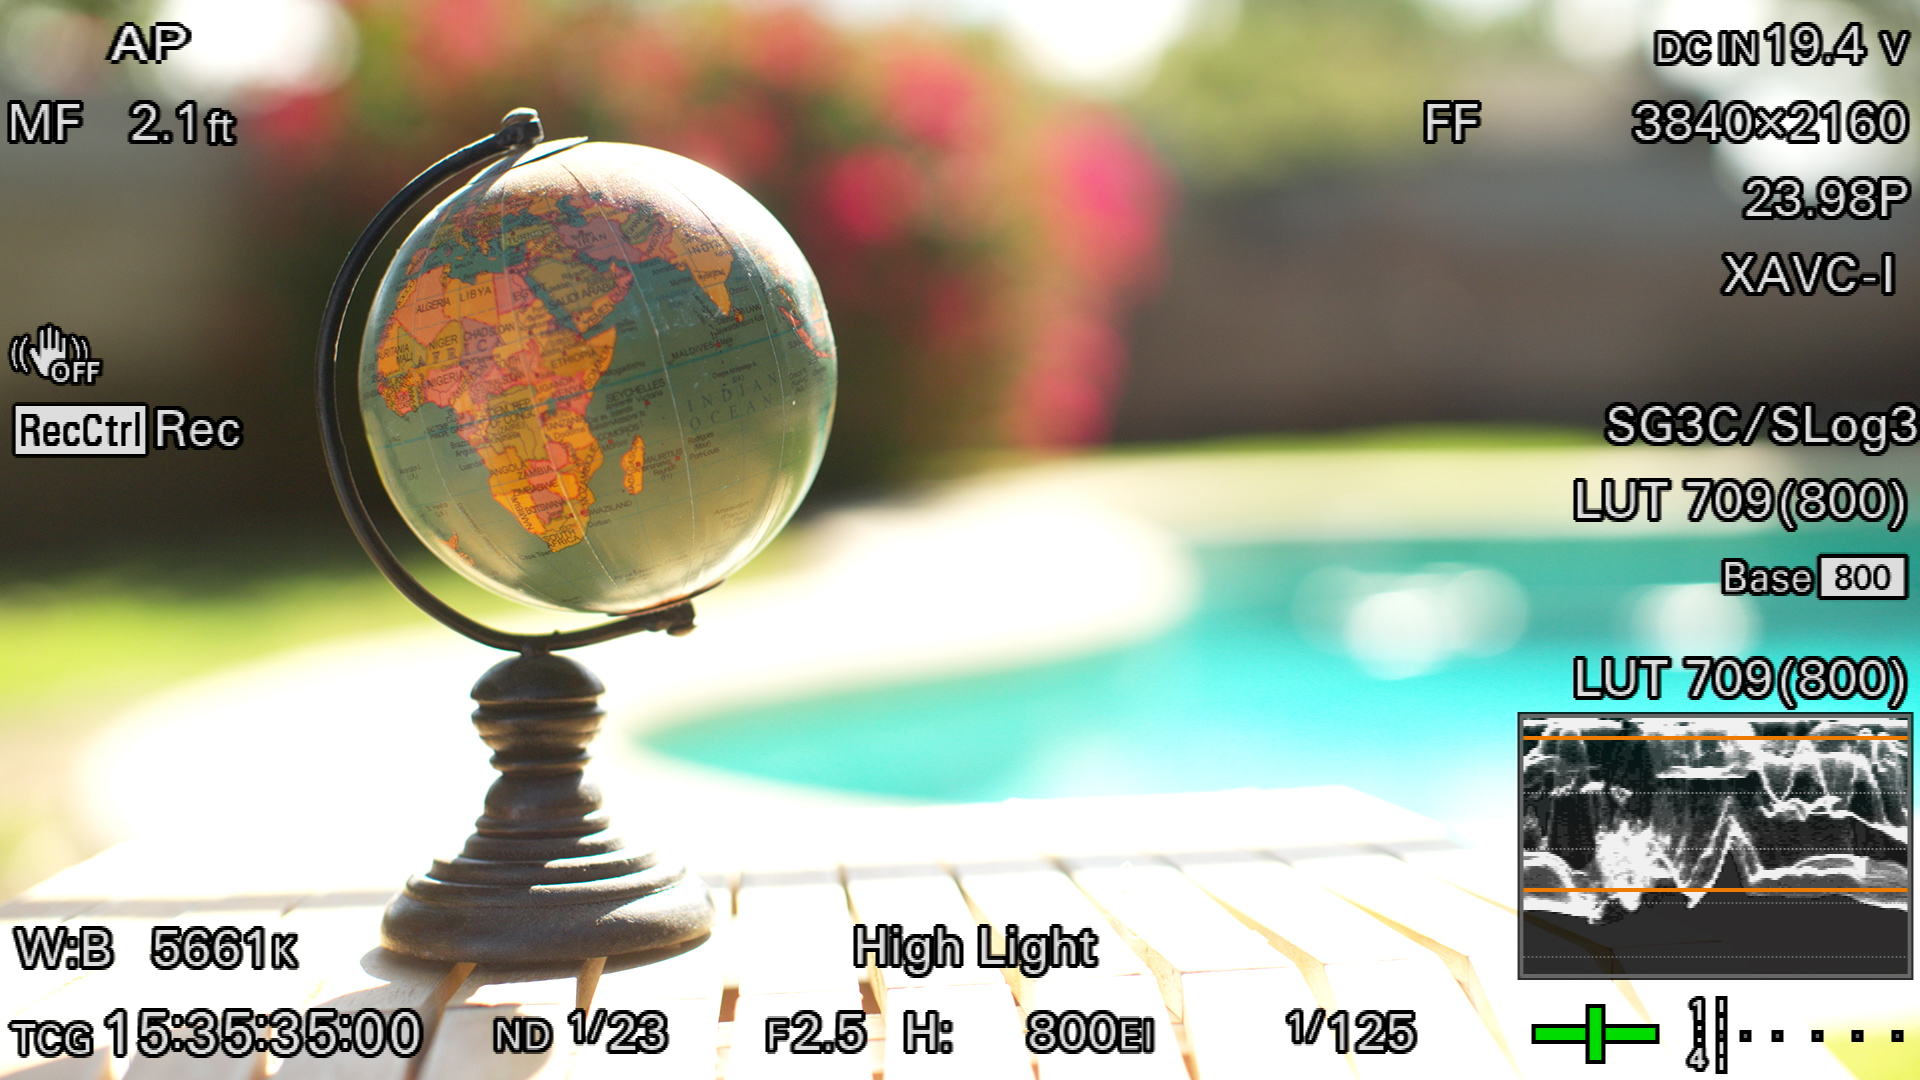
I begin by locking the creative camera choices—aperture, shutter, frame rate, and native ISO or EI—then use neutral density to place the brightest important part of the background below the clipping point I am willing to accept. False color and waveform are useful here because they separate exposure judgment from the apparent brightness of the monitor.
If you work in Cine EI, start with Exposure Index Explained. Then use Stops vs IRE to translate what the monitor shows into repeatable lighting relationships.
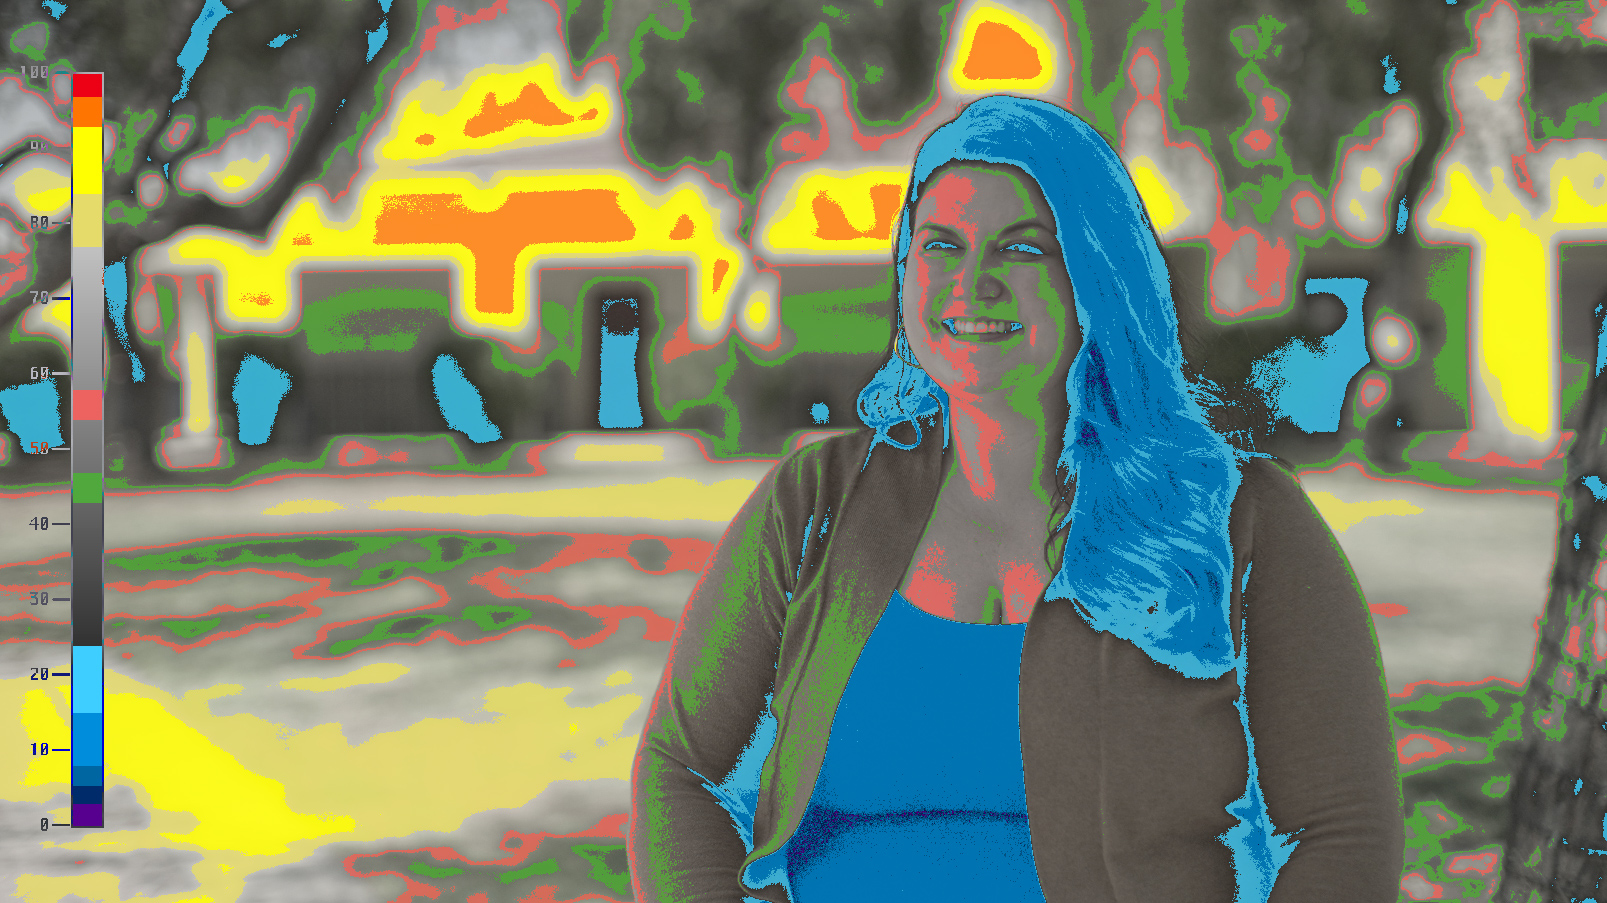
Once that background exposure is established, I stop changing the camera. Every lighting decision that follows is made relative to that foundation.
Use an ND net only when a local background reduction helps
A camera ND filter lowers the entire frame. Sometimes I need something more selective. An ND net behind the subject can reduce only the portion of the background seen through it while leaving the foreground untouched.
In the demonstration, the net is approximately half a stop. That is not a dramatic change, but half a stop can be the difference between holding a bright background texture and allowing it to clip. The tool is most useful when the net can be hidden naturally and its edges will not reveal the technique.
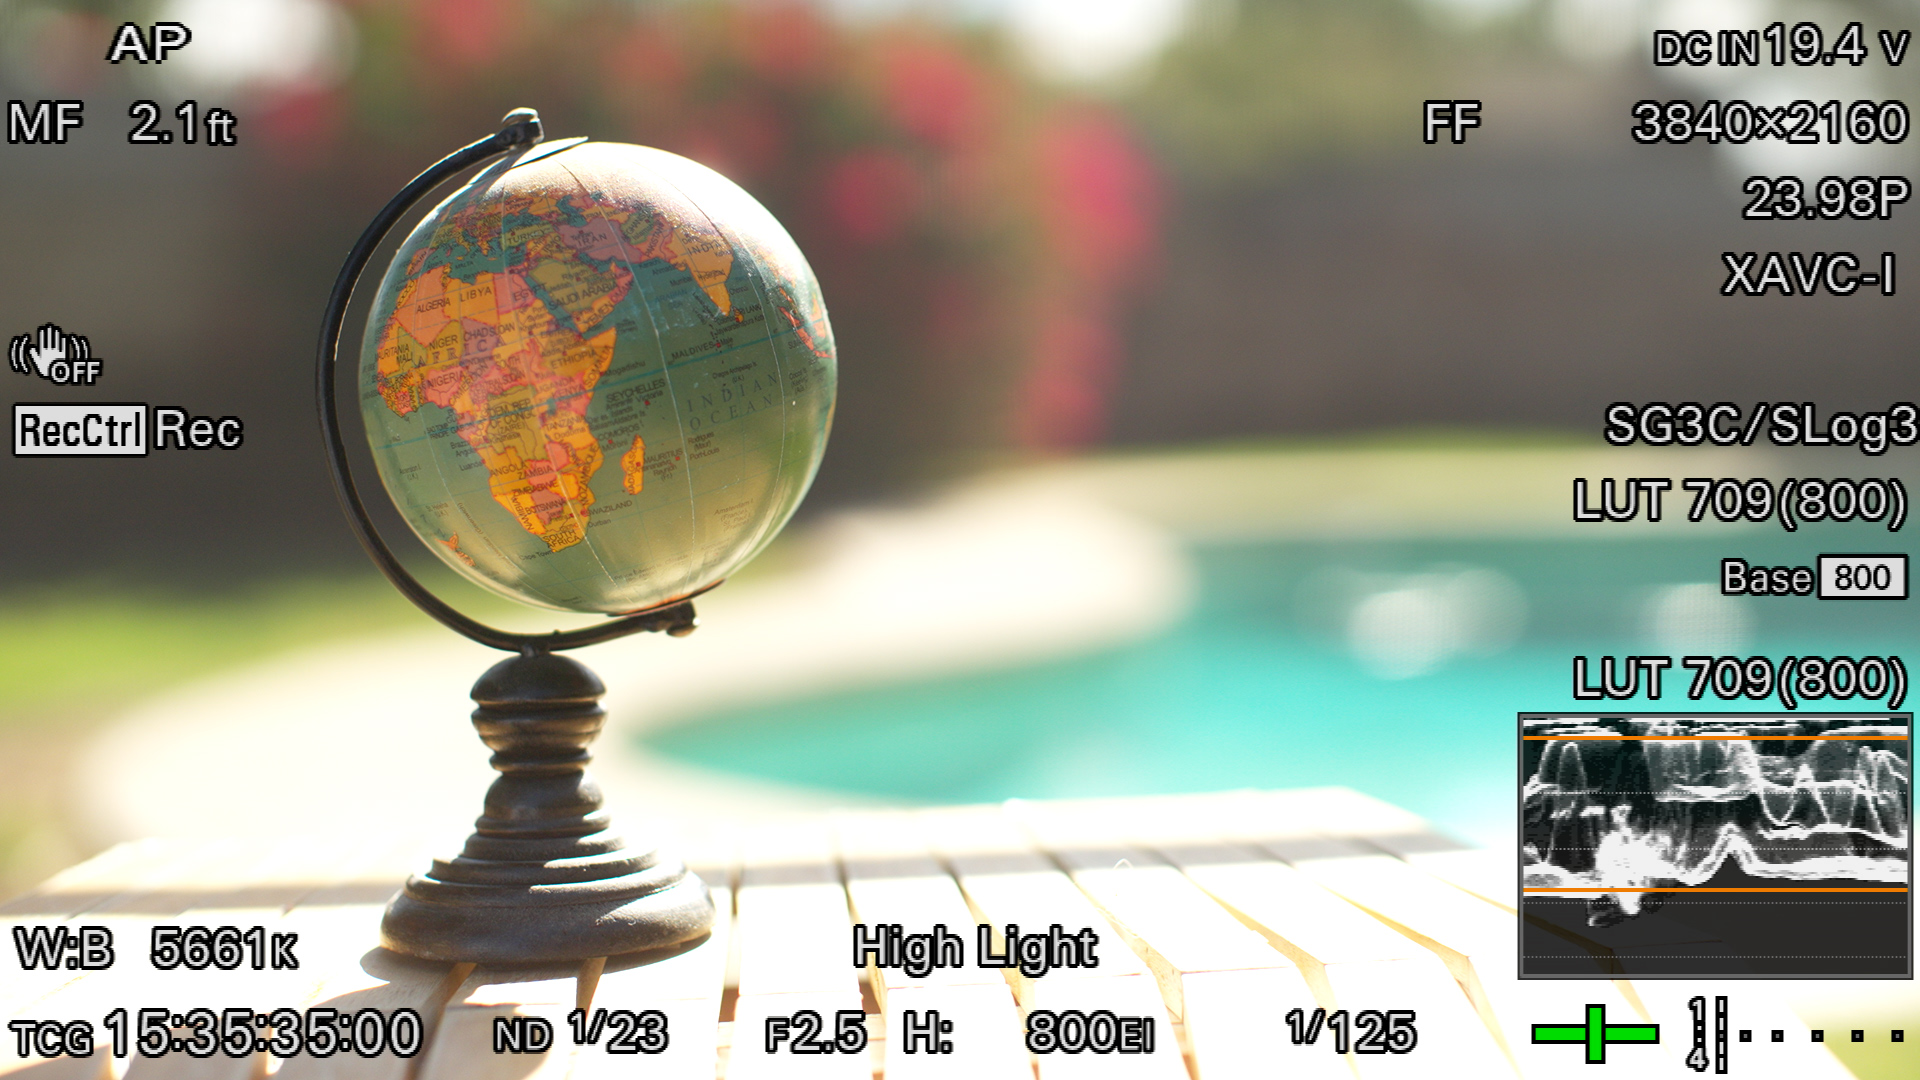
This is a refinement, not the first move. I still establish the overall frame with the camera's ND and exposure tools. The net solves a specific background problem after the larger exposure decision has been made.
Step one: soften the direct sunlight
Direct sunlight produces a small, hard source relative to the subject. The result is sharp shadow edges, strong specular reflections, and very little forgiveness in skin or reflective products.
A diffuser increases the apparent size of that source. It does not remove the sun's direction; it changes the quality of the light reaching the subject. In the globe demonstration, a small overhead frame is enough because it only needs to cover the tabletop. On a portrait, it needs to cover the person's movement. On a wider shot, the frame and the grip required to support it grow quickly.
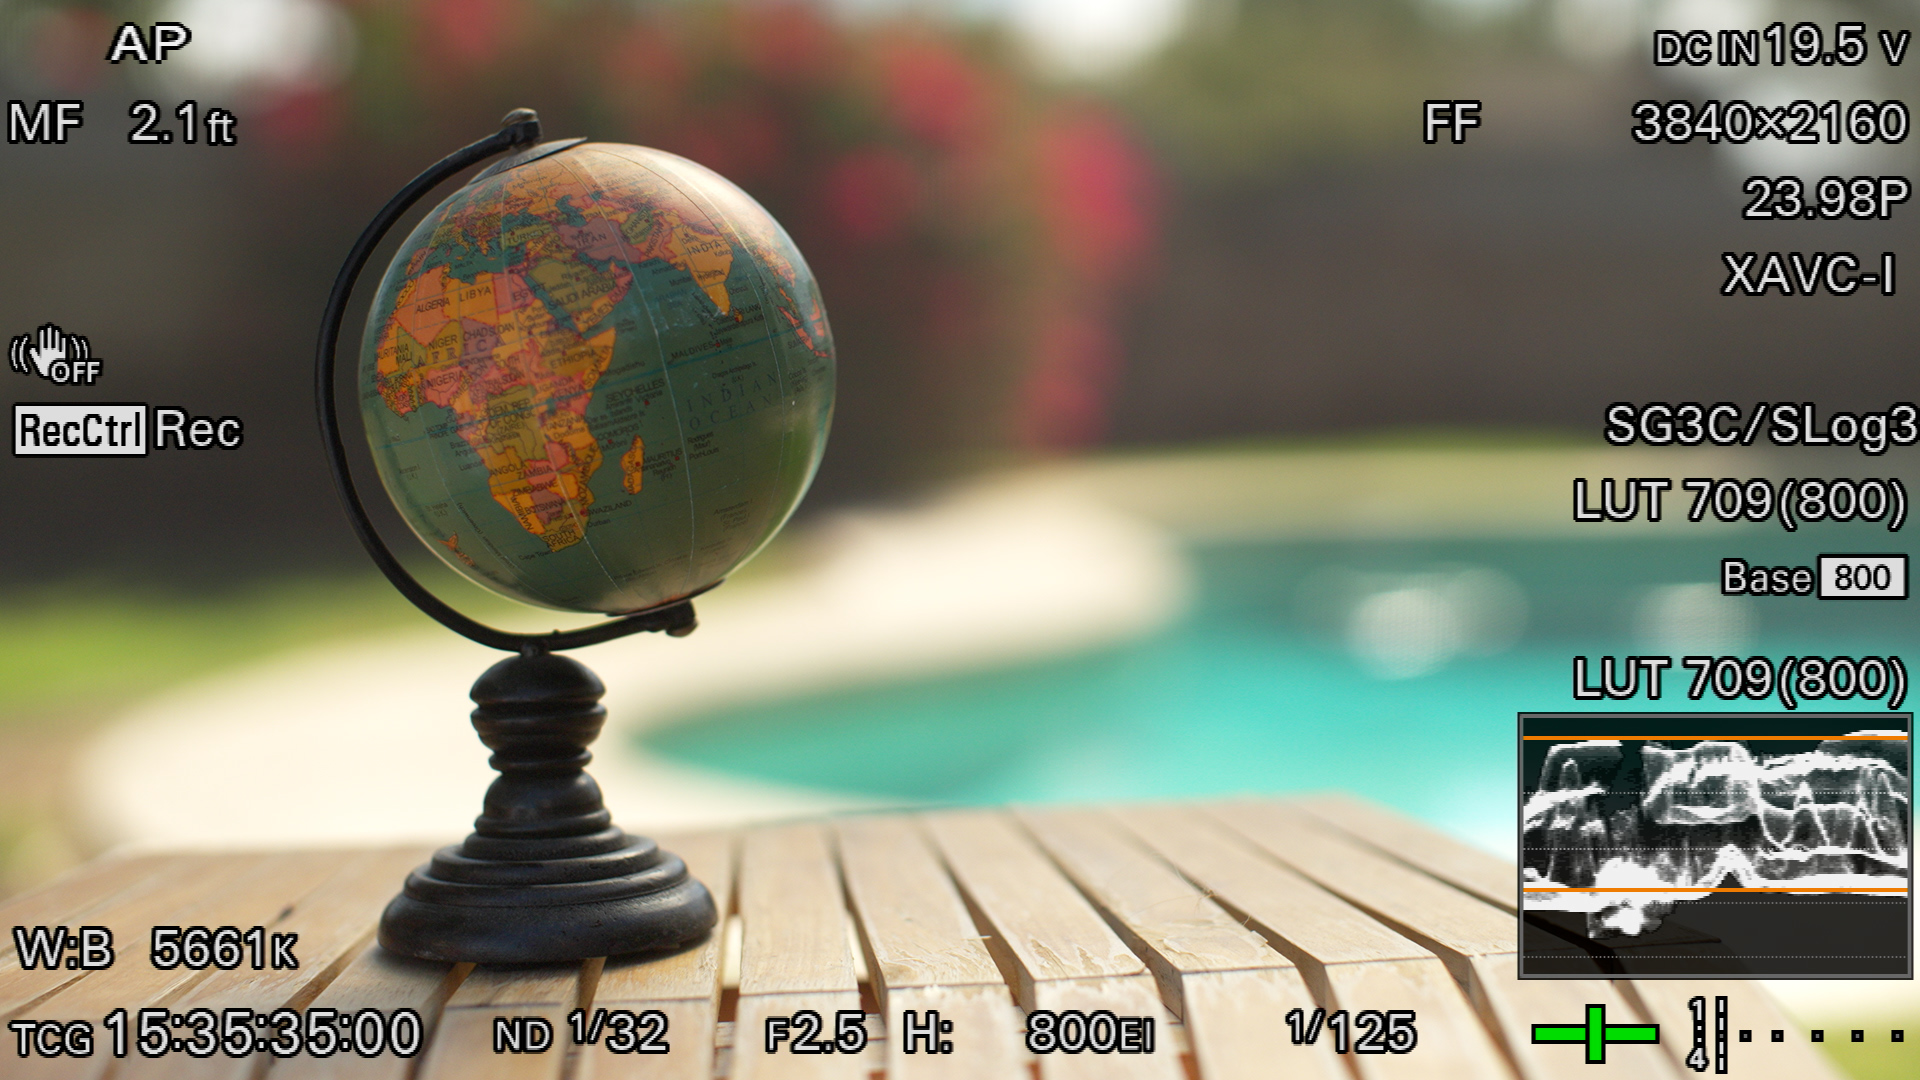
If diffusion is the only control available, it is already a meaningful improvement. The subject becomes easier to photograph and easier to balance against the background.
Step two: raise the subject with bounce
Diffusion softens the sunlight, but it may also leave the subject below the level needed to compete with the background. I then use reflected sunlight to raise the subject without introducing a lighting direction that feels disconnected from the environment.
White bounce is broad and forgiving but may not provide enough output. Silver is more efficient and can deliver much more level, but it can create a hard hotspot. Gold introduces warmth and should be used only when that color supports the image.
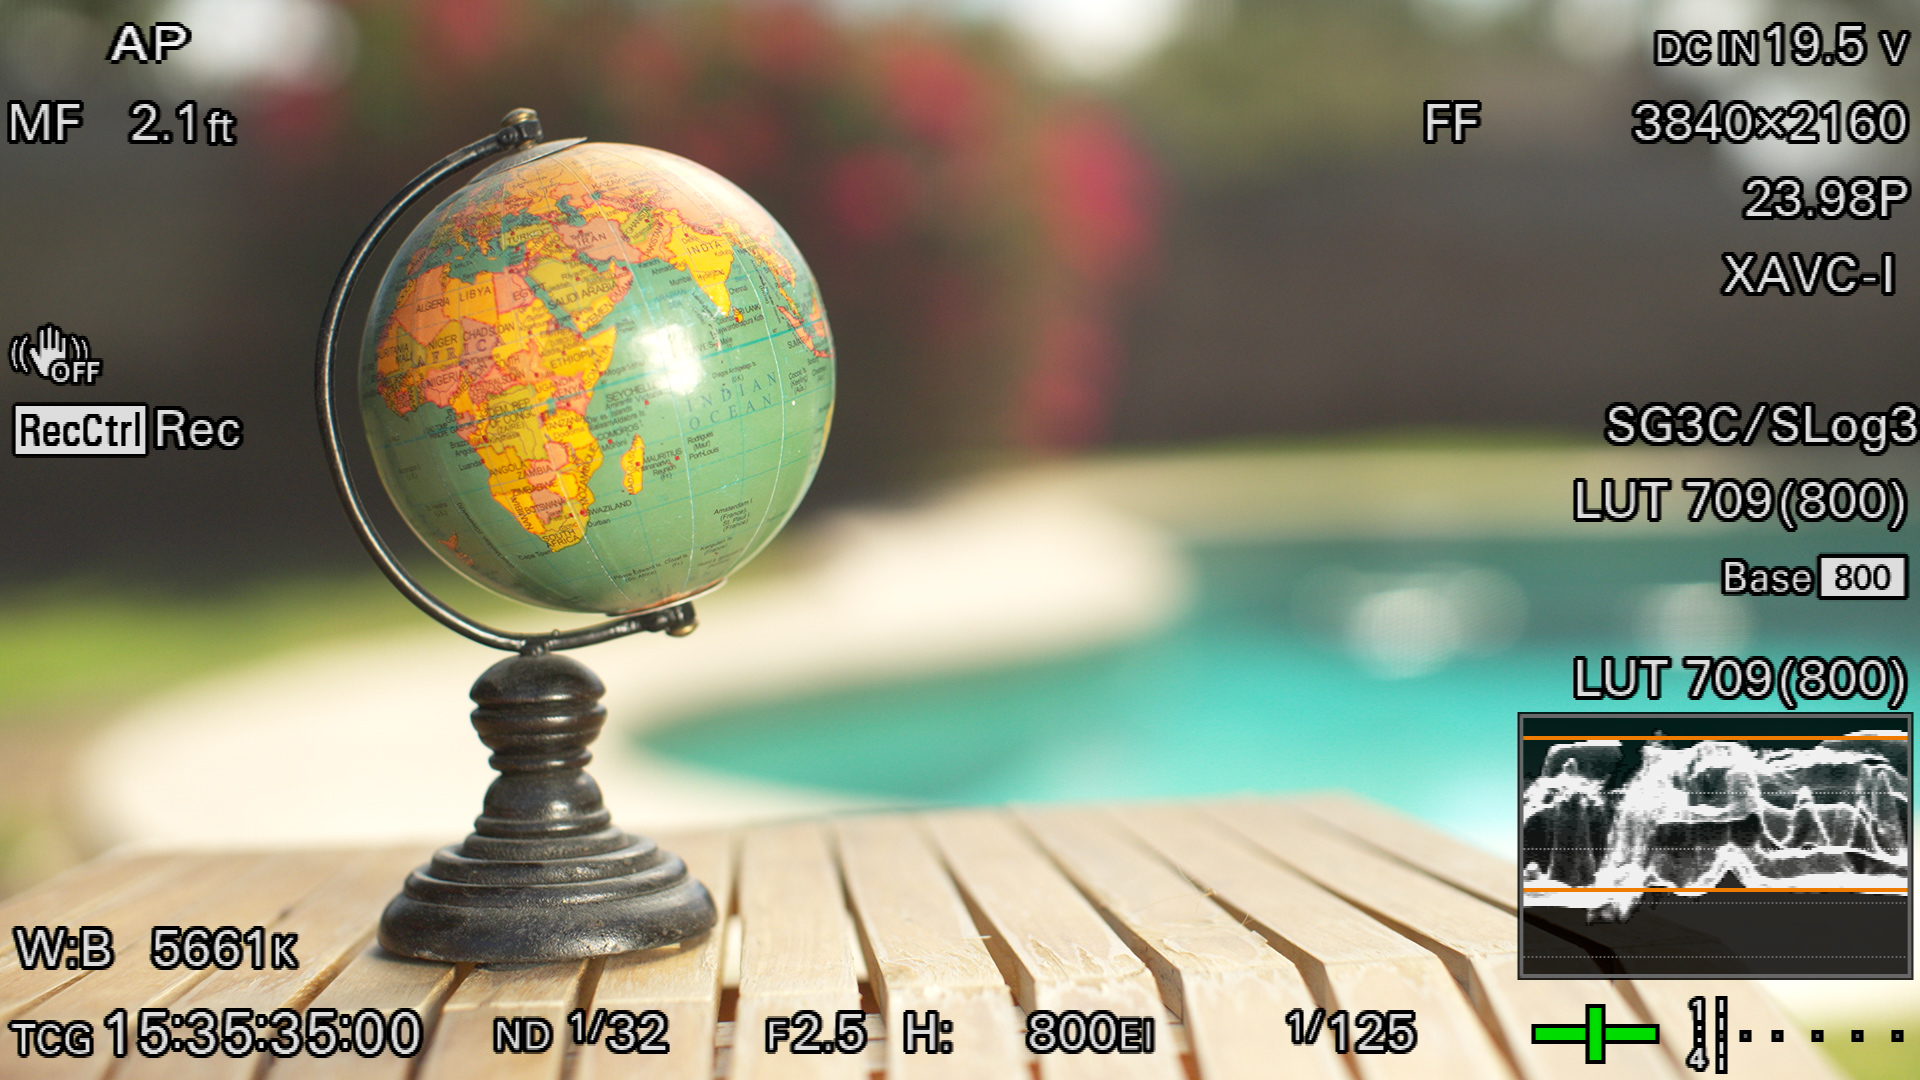
Distance becomes the first control. If white is too weak but silver is too strong, move the silver farther away until the intensity lands where you want it. If the level is right but the quality is still too hard, pass the reflected light through diffusion.
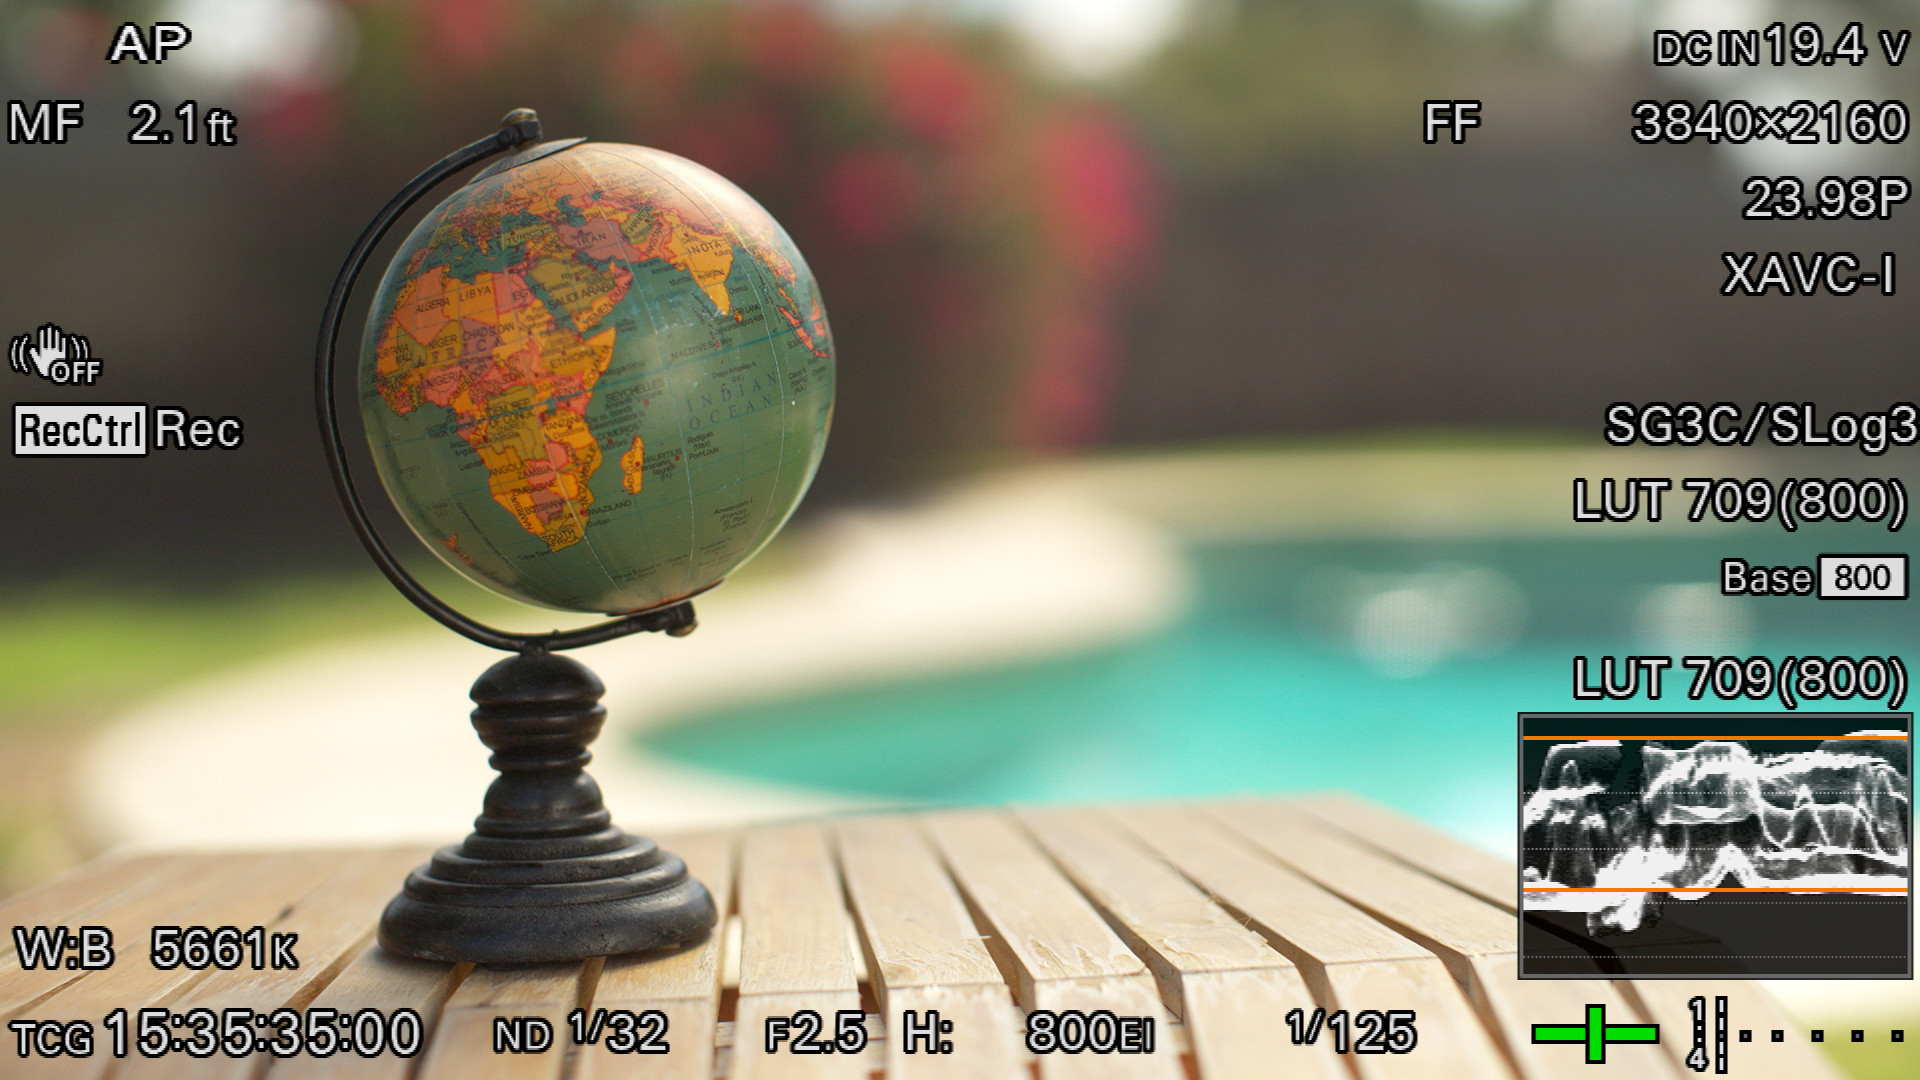
The important discipline is that I am not reopening the aperture or changing ND to fix the subject. The background has already been placed. I am bringing the subject into that exposure.
Step three: preserve contrast instead of filling everything
Once the key side reaches the intended level, the temptation is to fill the opposite side until every detail is visible. That can remove the very shape the lighting process was meant to create.
I add white bounce only when the shadow side needs more detail. Moving it closer raises the fill; moving it away lets the shadows deepen. If uncontrolled ambient bounce is already flattening the image, I use negative fill to subtract light instead.
The goal is not a universal ratio. It is a relationship that fits the subject, client, and story. Redefining Brightness shows why a subject can feel brighter when the surrounding values are allowed to become darker.
The method stays the same as the shot gets wider
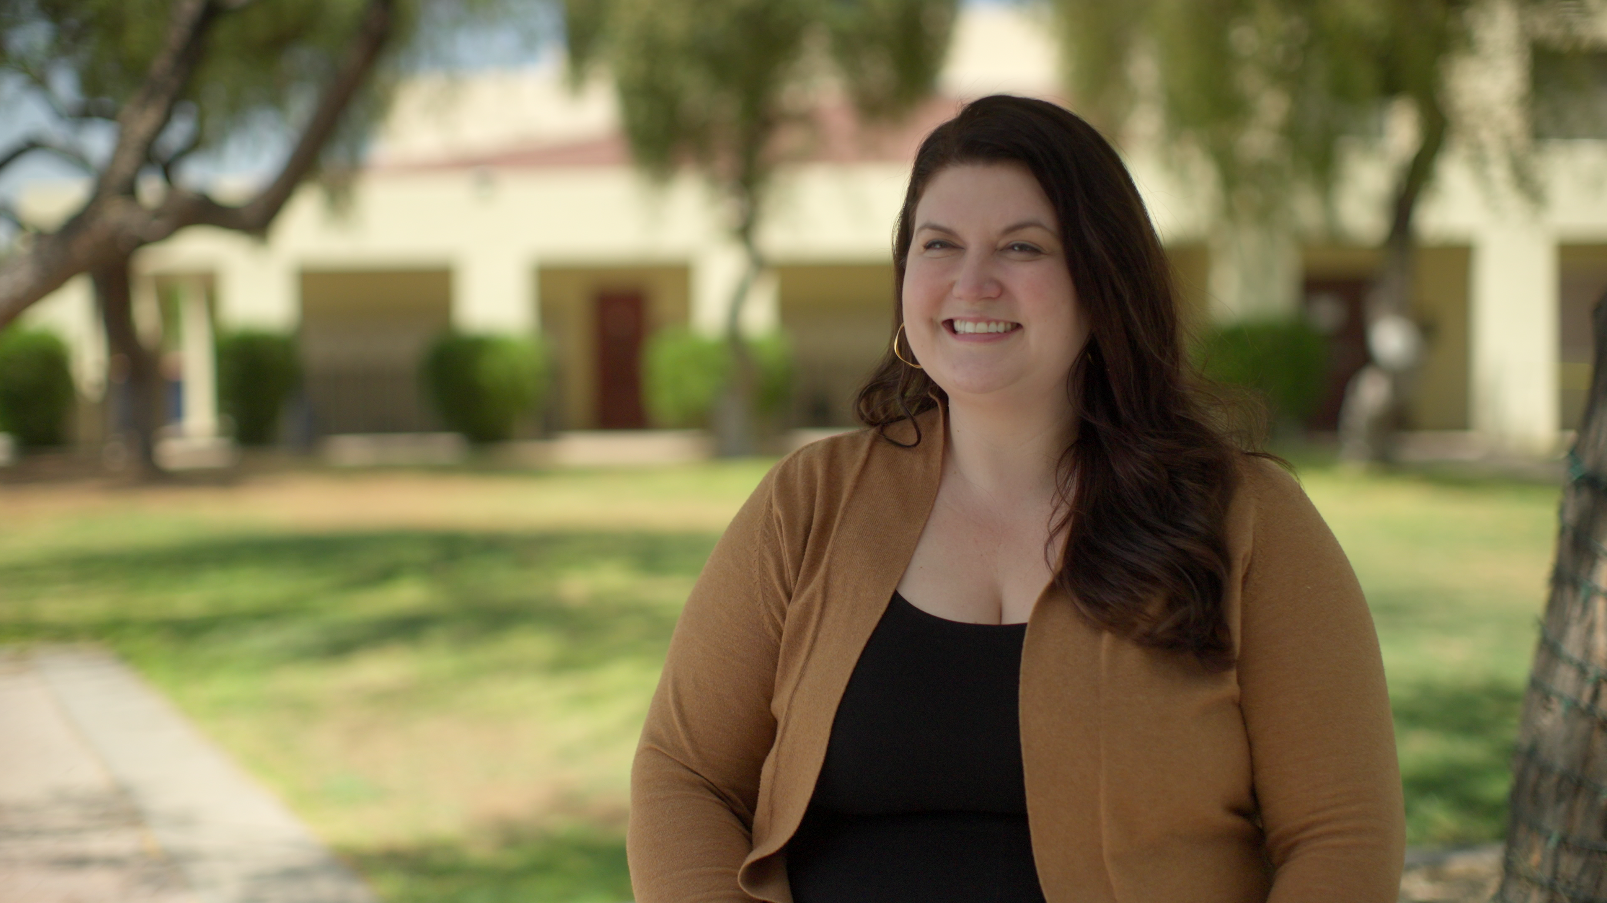
A tabletop setup can be controlled with a compact diffuser and reflector. A wide commercial shot may require large frames, mirror boards, additional crew, wind precautions, and more setup time. The production scale changes because the controlled area changes—not because the lighting principle changes.
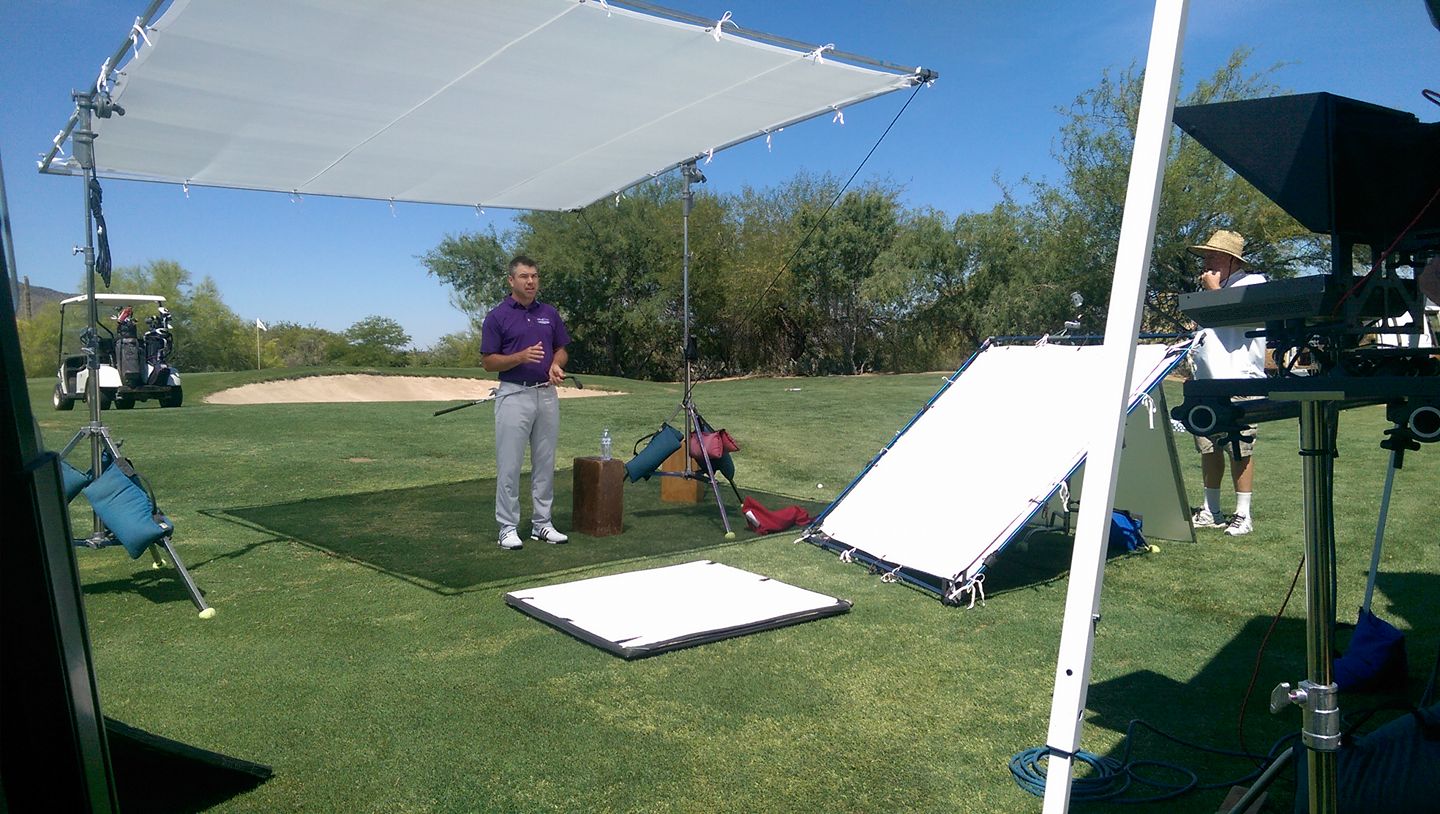
For a golf-course production, the diffusion and bounce had to cover a person and allow for movement. The frame was larger, but the job remained the same: soften the overhead source, place the subject relative to the background, and build the desired contrast.
When a softball shot was too wide to diffuse economically, the solution changed. We kept the sun behind the players, used its backlight, and redirected sunlight with two 4-by-4-foot mirror boards—one for the batter and one for the dugout. Shooting later in the day also reduced the harshness we would have faced at midday.
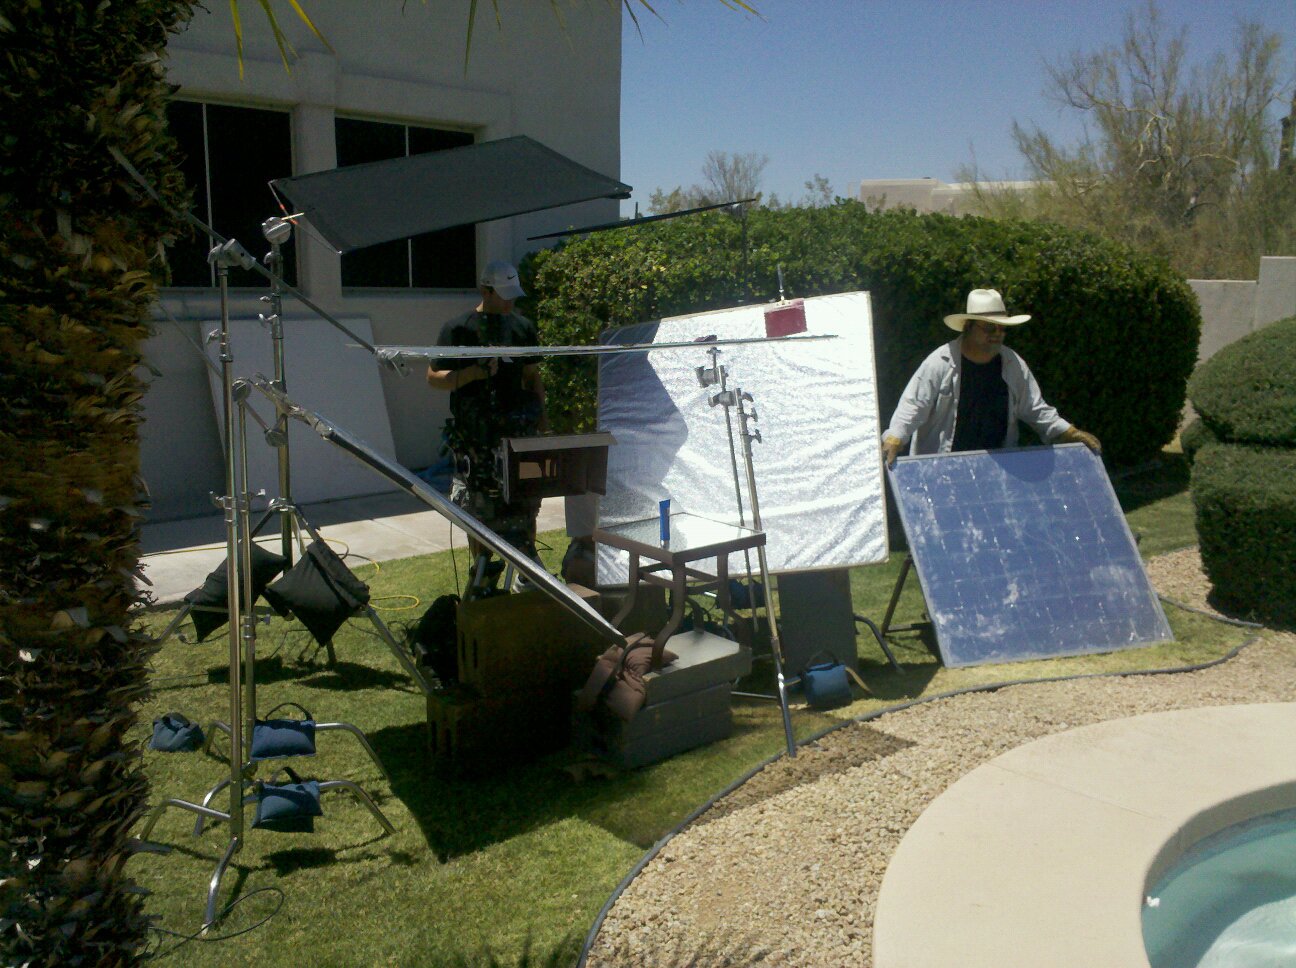
On a poolside product commercial, a small overhead frame handled the hero product while much larger reflectors raised the people in the distant background. Each layer received only the control it needed.
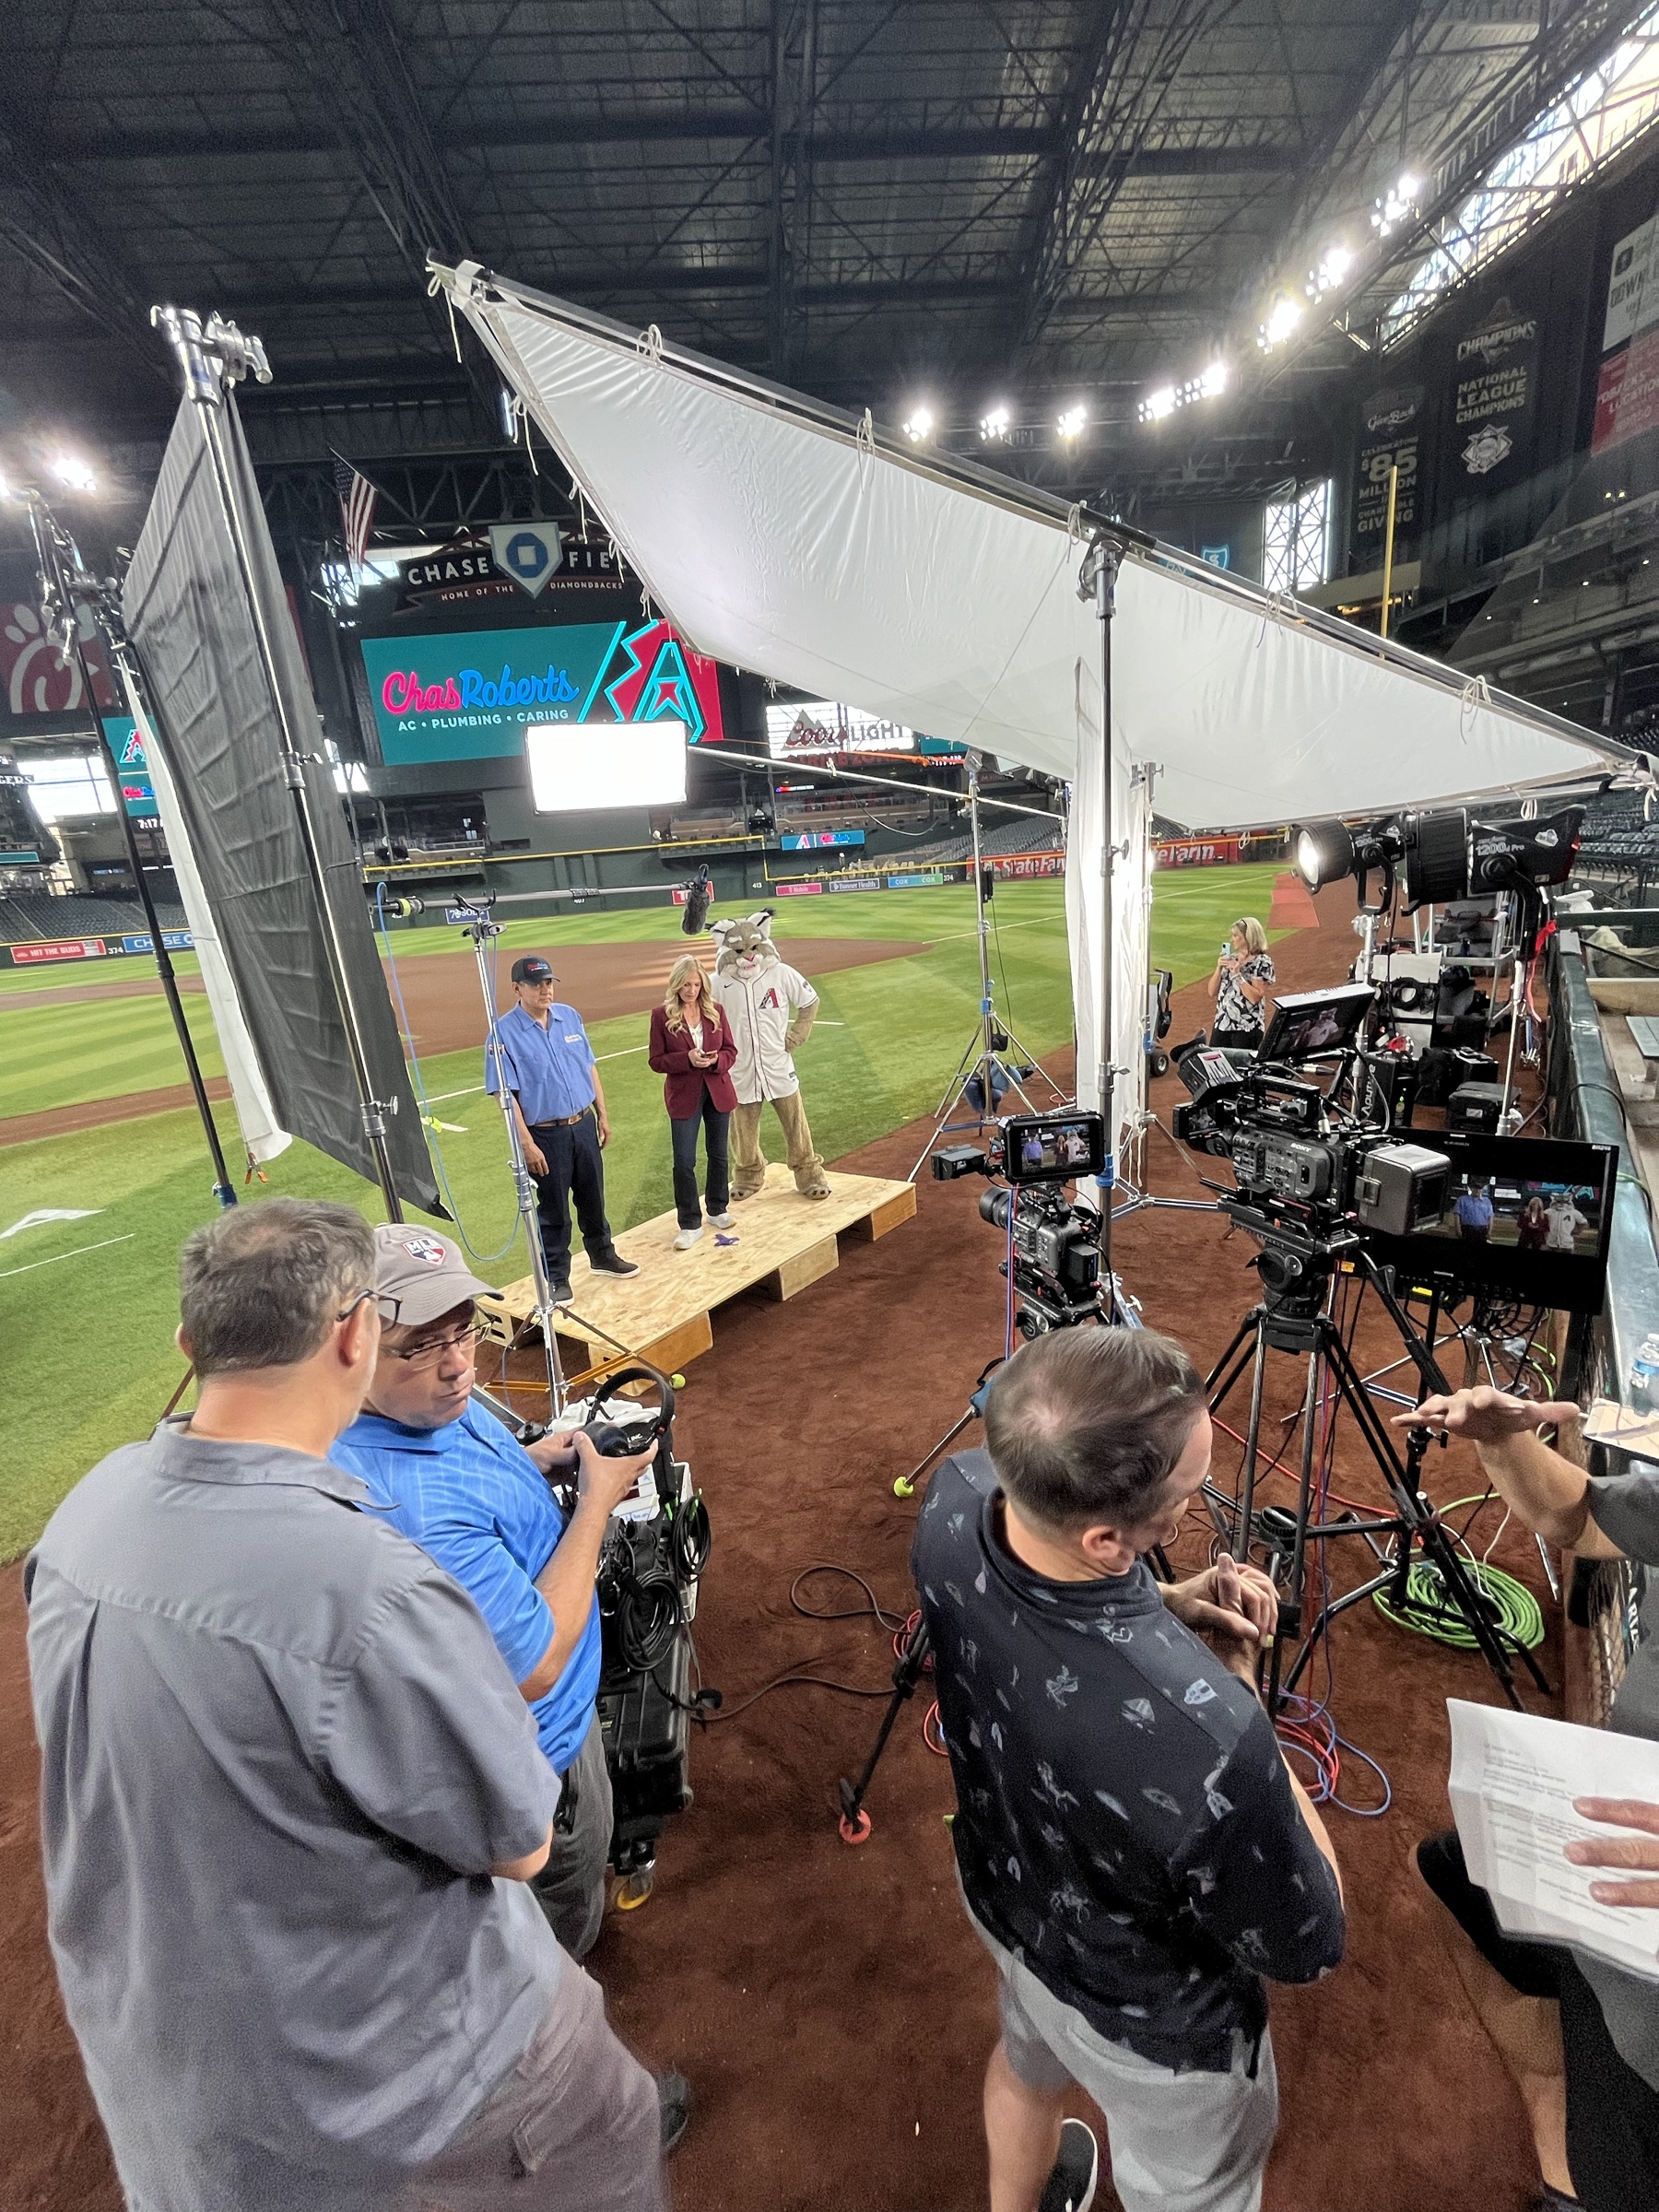
The same idea even applies inside a stadium. Multiple overhead sources replaced the single sun, so a large frame softened the unwanted top light. Two Aputure 1200-series fixtures pushed through diffusion raised the subjects, and negative fill restored contrast where the surrounding light had made the faces too flat.
A practical outdoor-lighting order of operations
- Choose the frame and study the sun. Decide whether the sun can remain behind the subject and outside the composition.
- Lock the creative camera settings. Choose aperture, shutter, frame rate, and native ISO or EI for the look and motion you want.
- Place the background. Use ND with waveform or false color to protect the uncontrollable highlights that matter.
- Solve local background problems. Use an ND net only when a selective reduction is useful and can be hidden cleanly.
- Diffuse the direct source. Make the frame only as large as the subject's movement and composition require.
- Raise the subject. Choose white, silver, gold, mirror, or an artificial source based on the output and color needed.
- Refine the quality. Change distance or add diffusion instead of immediately changing the camera.
- Set the fill by intention. Add bounce for detail or negative fill for shape.
- Watch continuity. Track the sun, exposure, shadows, and background throughout the take.
This order prevents one adjustment from undoing another. The background remains stable, the subject is built into that exposure, and the contrast stays intentional.
For a related natural-light application inside a difficult location, see How to Light Interviews in a Glass Conference Room.
Start small, then scale the equipment—not the idea
You do not need a crane and a full grip truck to learn this process. Start with a small subject, one diffuser, one reflector, and a background that contains both bright and dark areas. Lock the camera, change one control at a time, and watch what happens to the relationships in the frame.
The goal is the same whether you are lighting a globe, an interview, an athlete, or a commercial set: the right mix of softness, brightness, and contrast for the image you are trying to create.
Use the free Placing Your Exposure guide as an on-set reference for ND, waveform, false color, stops, and IRE. For the complete camera and exposure workflow, explore Essential Camera Settings.
by Chris Tinard © cNOMADIC 2026
Learn more about cNOMADIC's cinematography philosophy and training at cNOMADIC.com.