
How to Make Interview Lighting Look Natural
Oct 19, 2026
Proper exposure tells you that the image is recordable. It does not tell you whether the lighting belongs in the room, supports the person on screen, or helps the audience connect with the story.
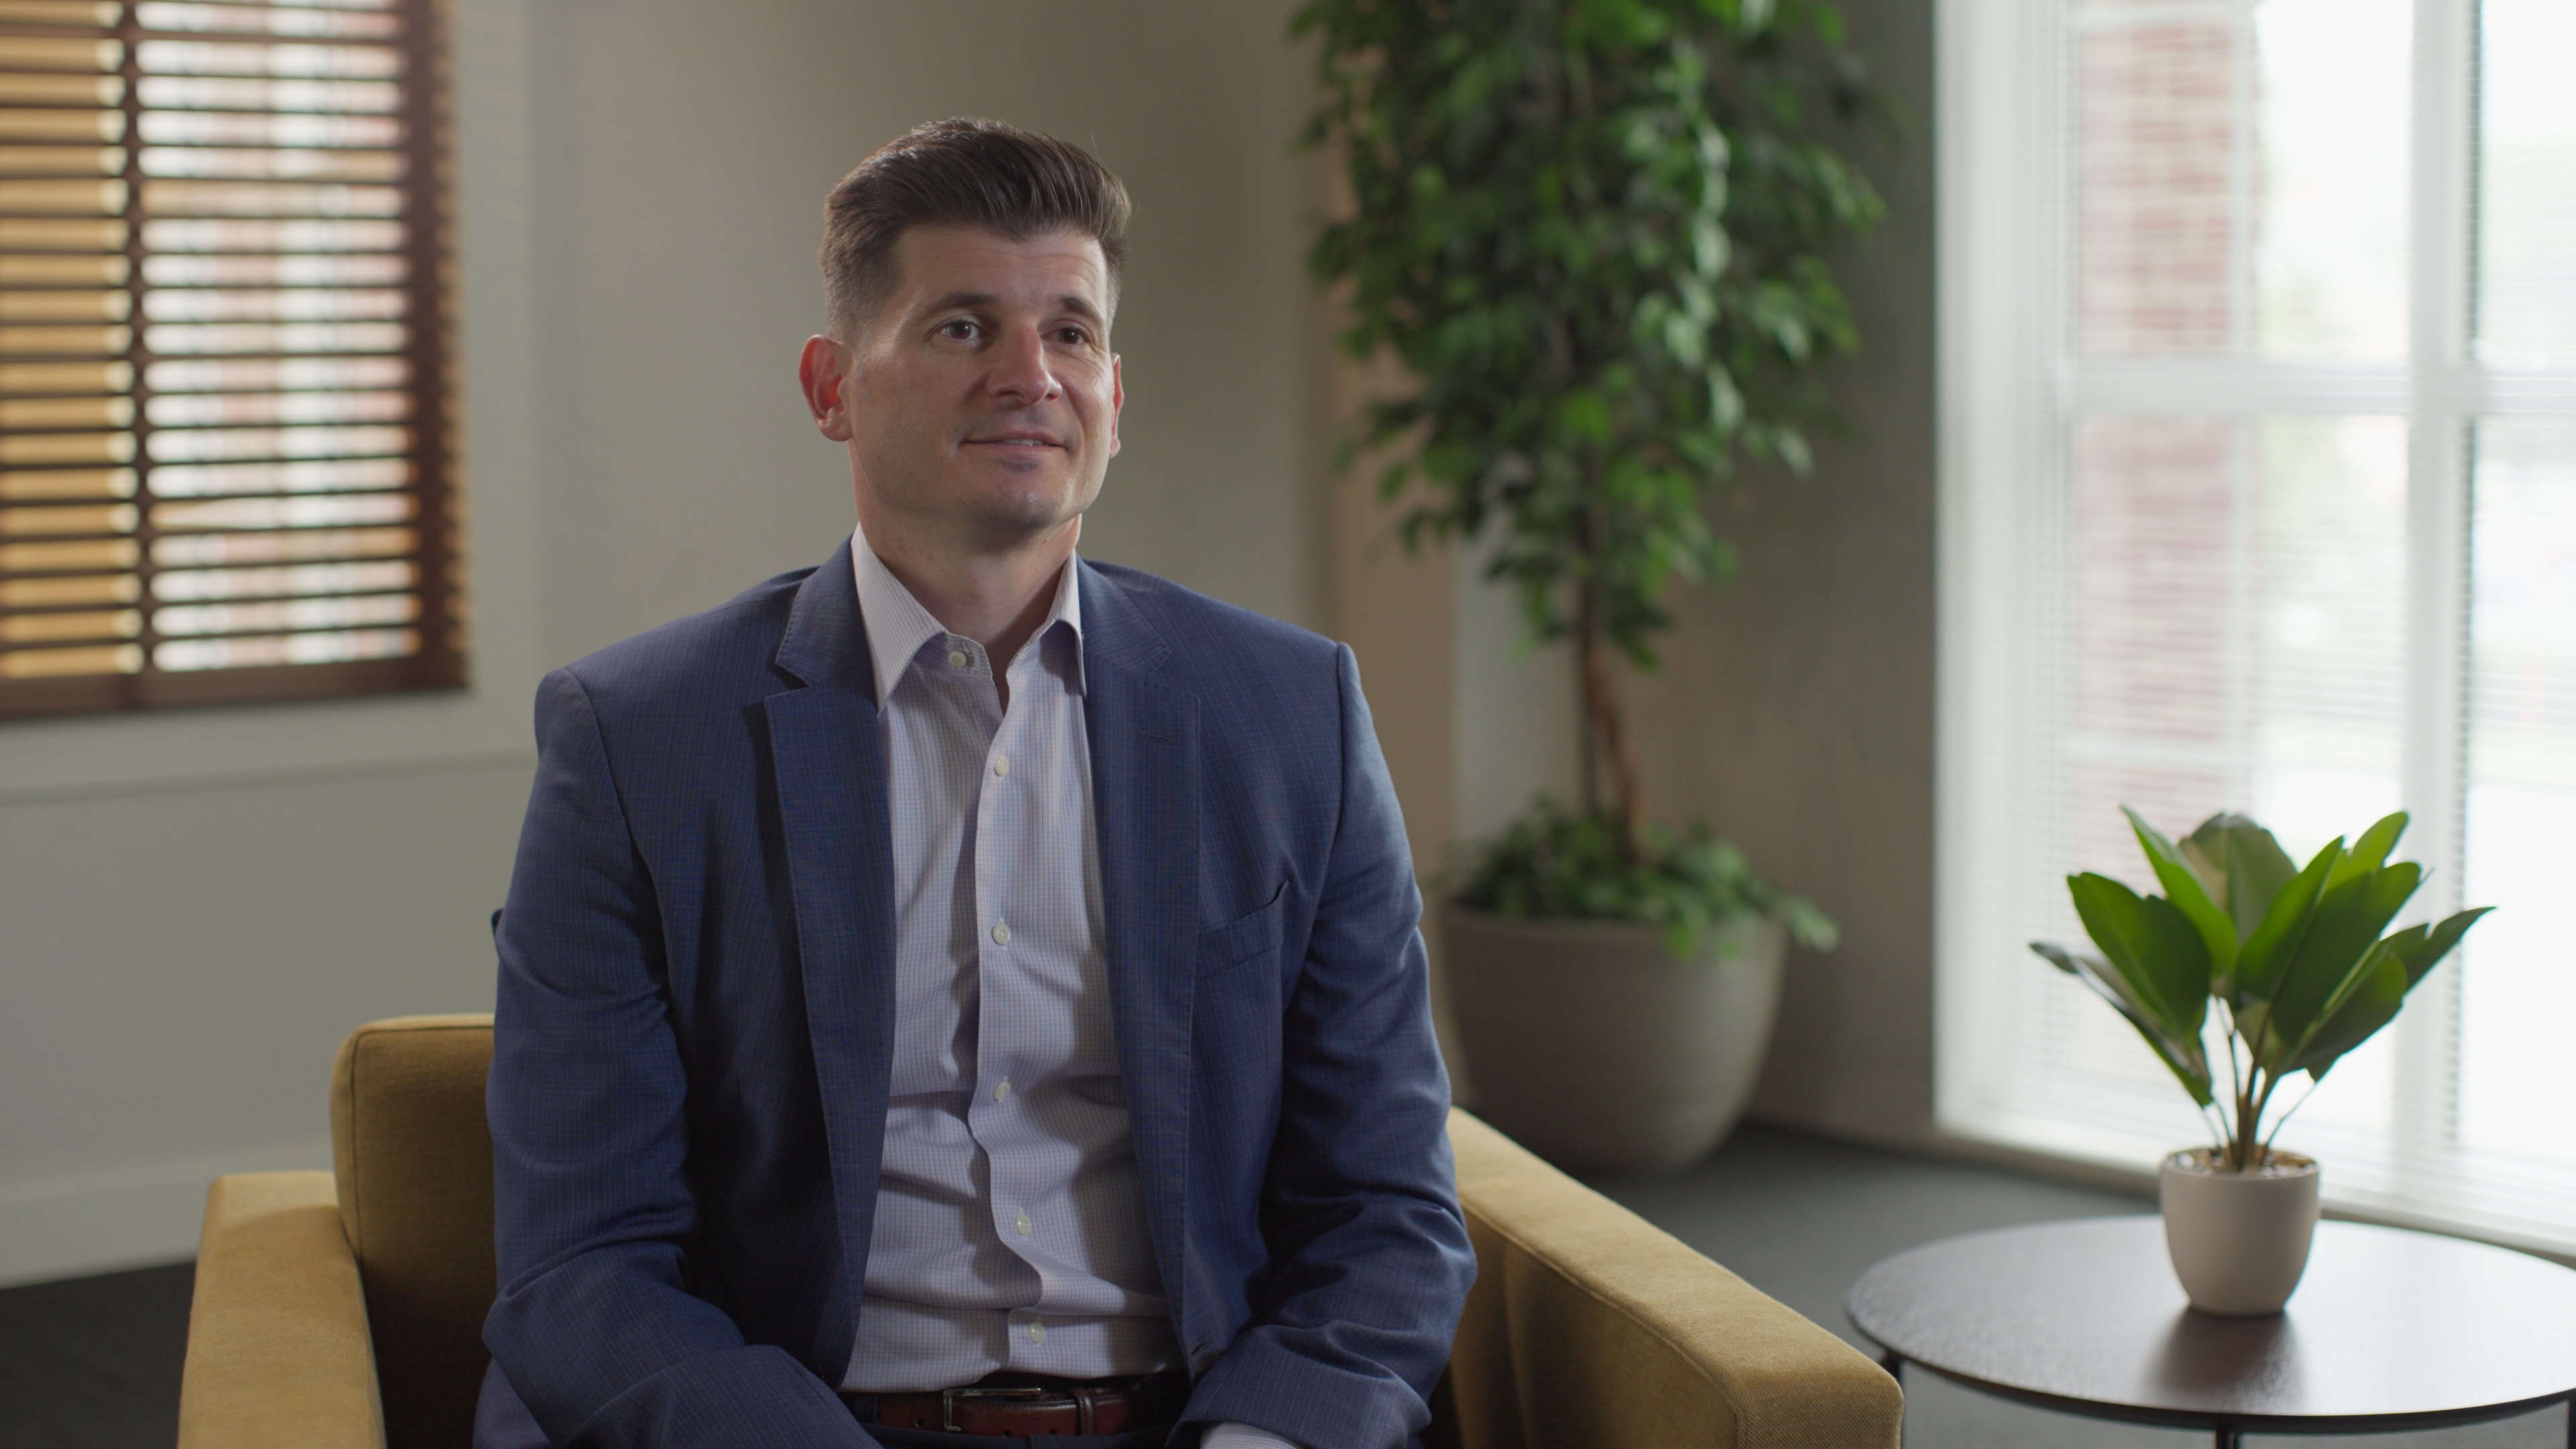
That distinction shaped this interview. The first key-light test put the subject at the correct level, but the source felt too bright for the environment. The solution was not to keep adjusting the face in isolation. I had to rebalance the room, control where the key was allowed to travel, and motivate every added source from something the audience could already believe.
The finished image is not dramatic because one light calls attention to itself. It works because a series of small decisions creates separation, color, and depth without distracting from the person speaking.
Exposure is a measurement, not a lighting goal
When I enter a room, I am not only asking where the subject should land on false color. I am asking who I am filming, who will watch, and what the image should communicate. Those questions decide whether the scene should feel open, restrained, warm, clinical, energetic, or quiet.
A meter, waveform, or false-color display can confirm levels. It cannot decide whether a source feels motivated or whether the contrast supports the story. That is why the same lighting diagram cannot be the answer to every interview.
This is closely connected to how I think about perceived brightness. In Redefining Brightness, I explain why the relationships inside the frame matter more than one isolated exposure value. Here, the subject could be correctly exposed and still feel unnaturally bright compared with the room.
When the key looks fake, rebalance the environment
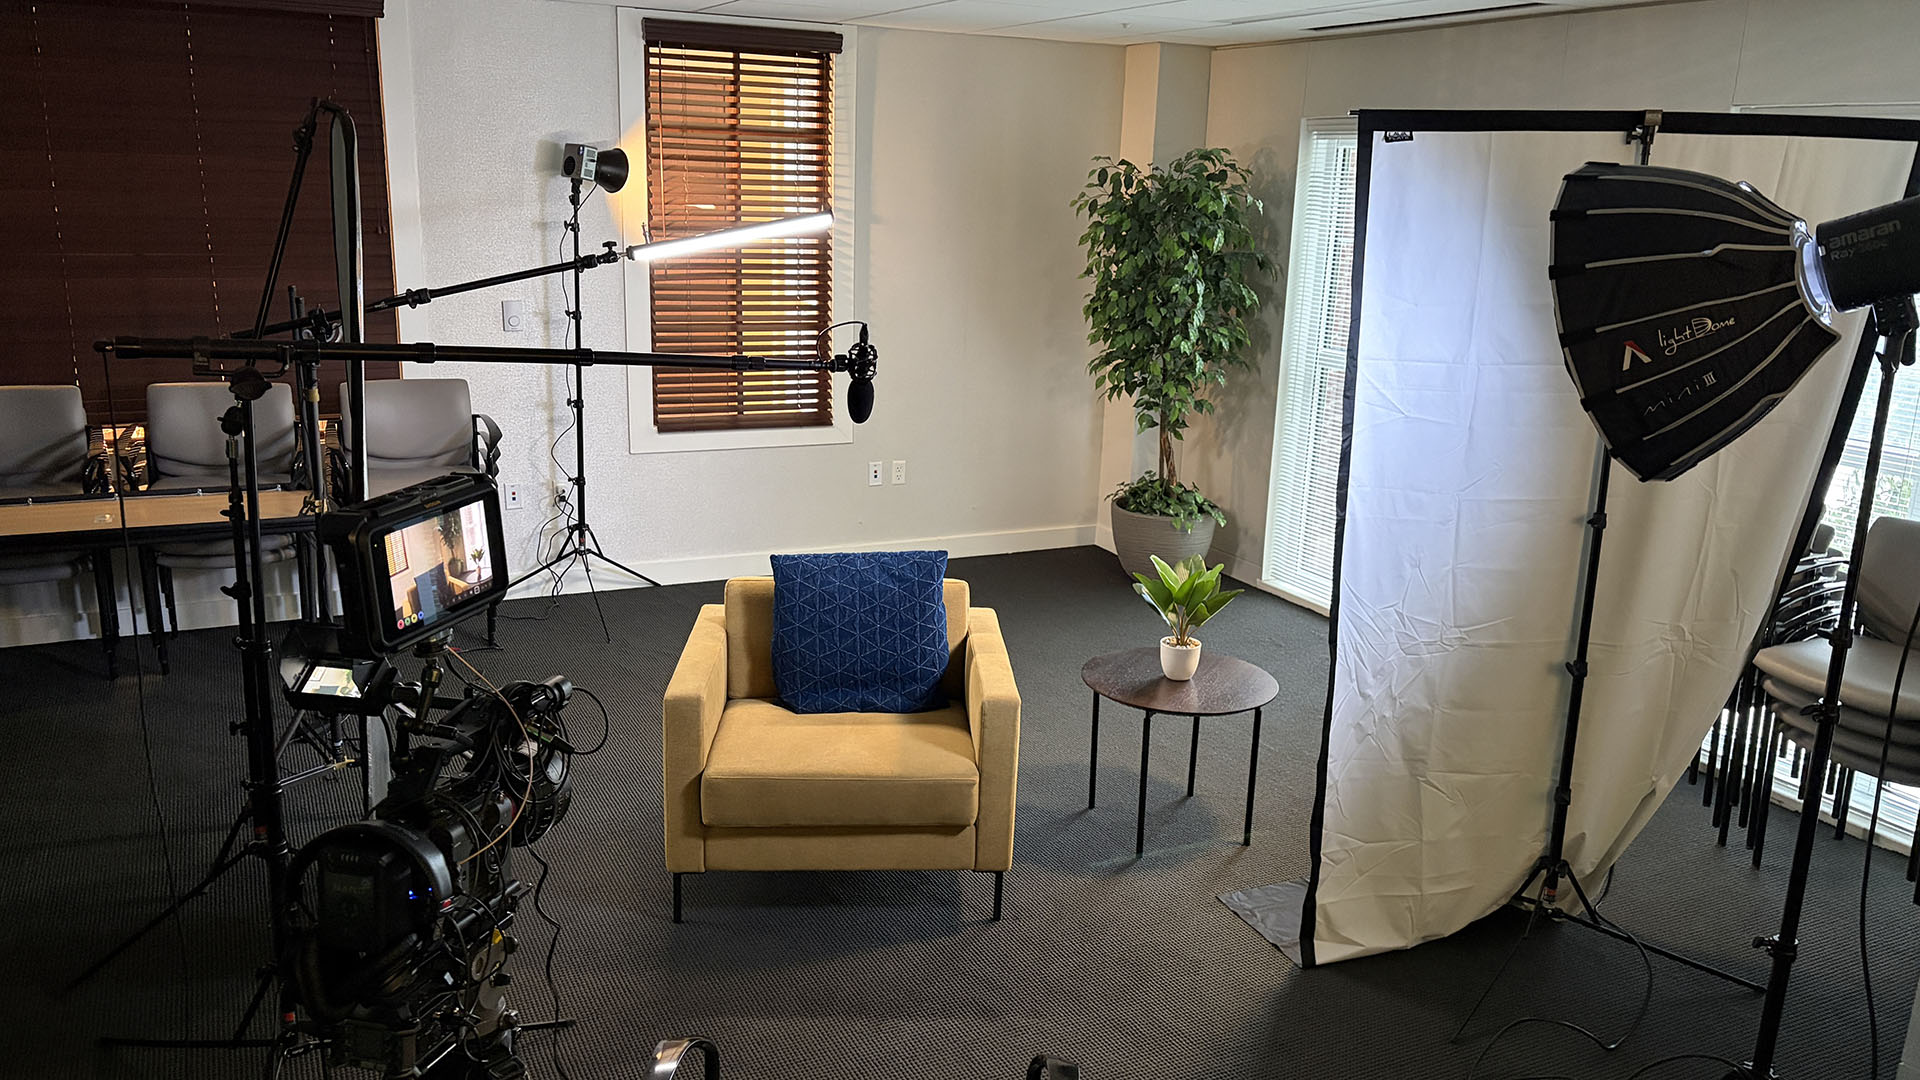
I began by exposing for the room, then brought in an Amaran 360c as the key. To place the face at the level I wanted, I had to raise the key so much that the subject looked visibly lit. The numbers worked, but the key did not feel as if it came from that space.
Instead of accepting the contrast between a dark room and a bright person, I removed the camera's ND. That allowed the ambient level in the room to rise, which meant I could lower the output of the key while keeping the subject properly exposed. The image retained separation, but the distance between subject and background became more believable.
This is a useful diagnostic: when a face feels "pasted" into the room, the problem may not be the shape or softness of the key. The key may simply be doing too much work relative to the environment.
Control the spill before adding another light
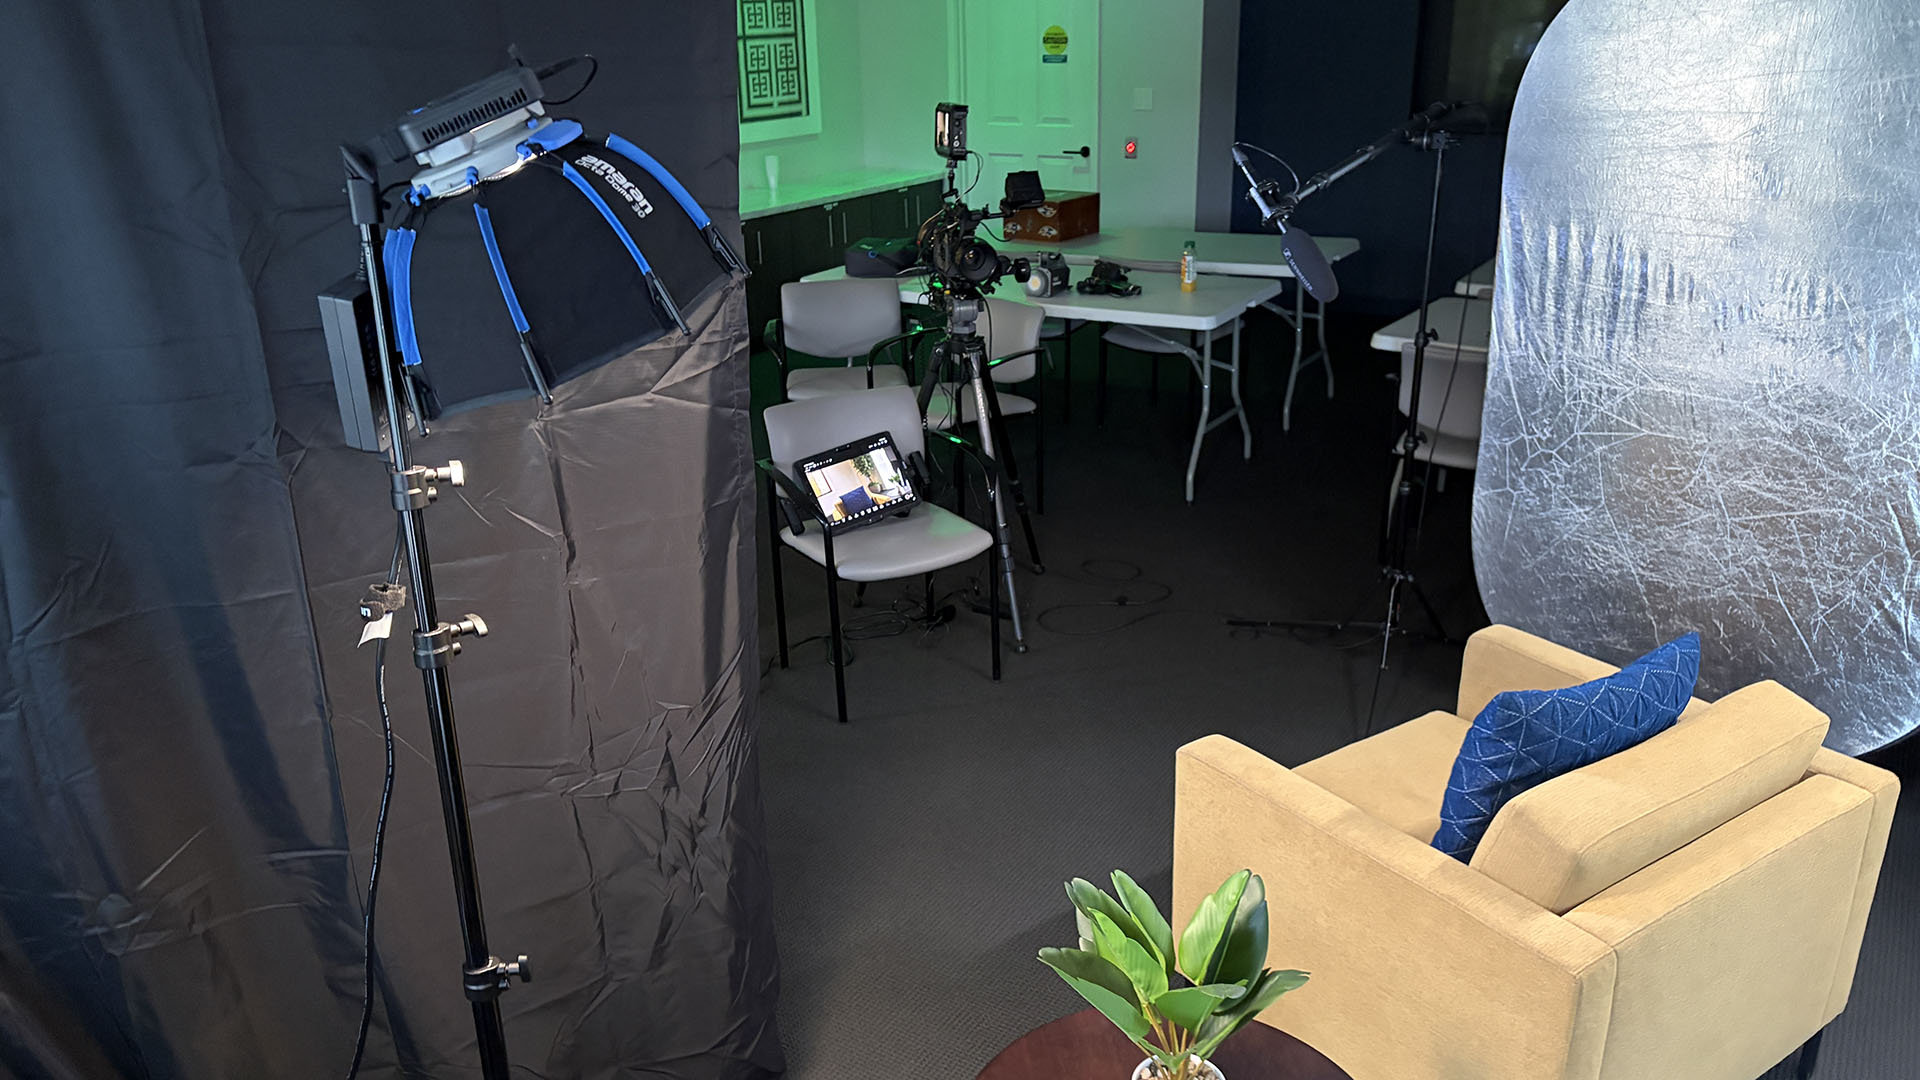
Raising the room and lowering the key solved one problem but revealed another. The 360c was not only illuminating the subject; it was also reaching the back wall. As that wall approached the subject's level, the frame began to lose depth.
A large 4-by-8 floppy—bounce on one side and black negative on the other—blocked the key from bleeding into the background. That subtraction protected the darker corner behind the subject without requiring another fixture to manufacture separation.
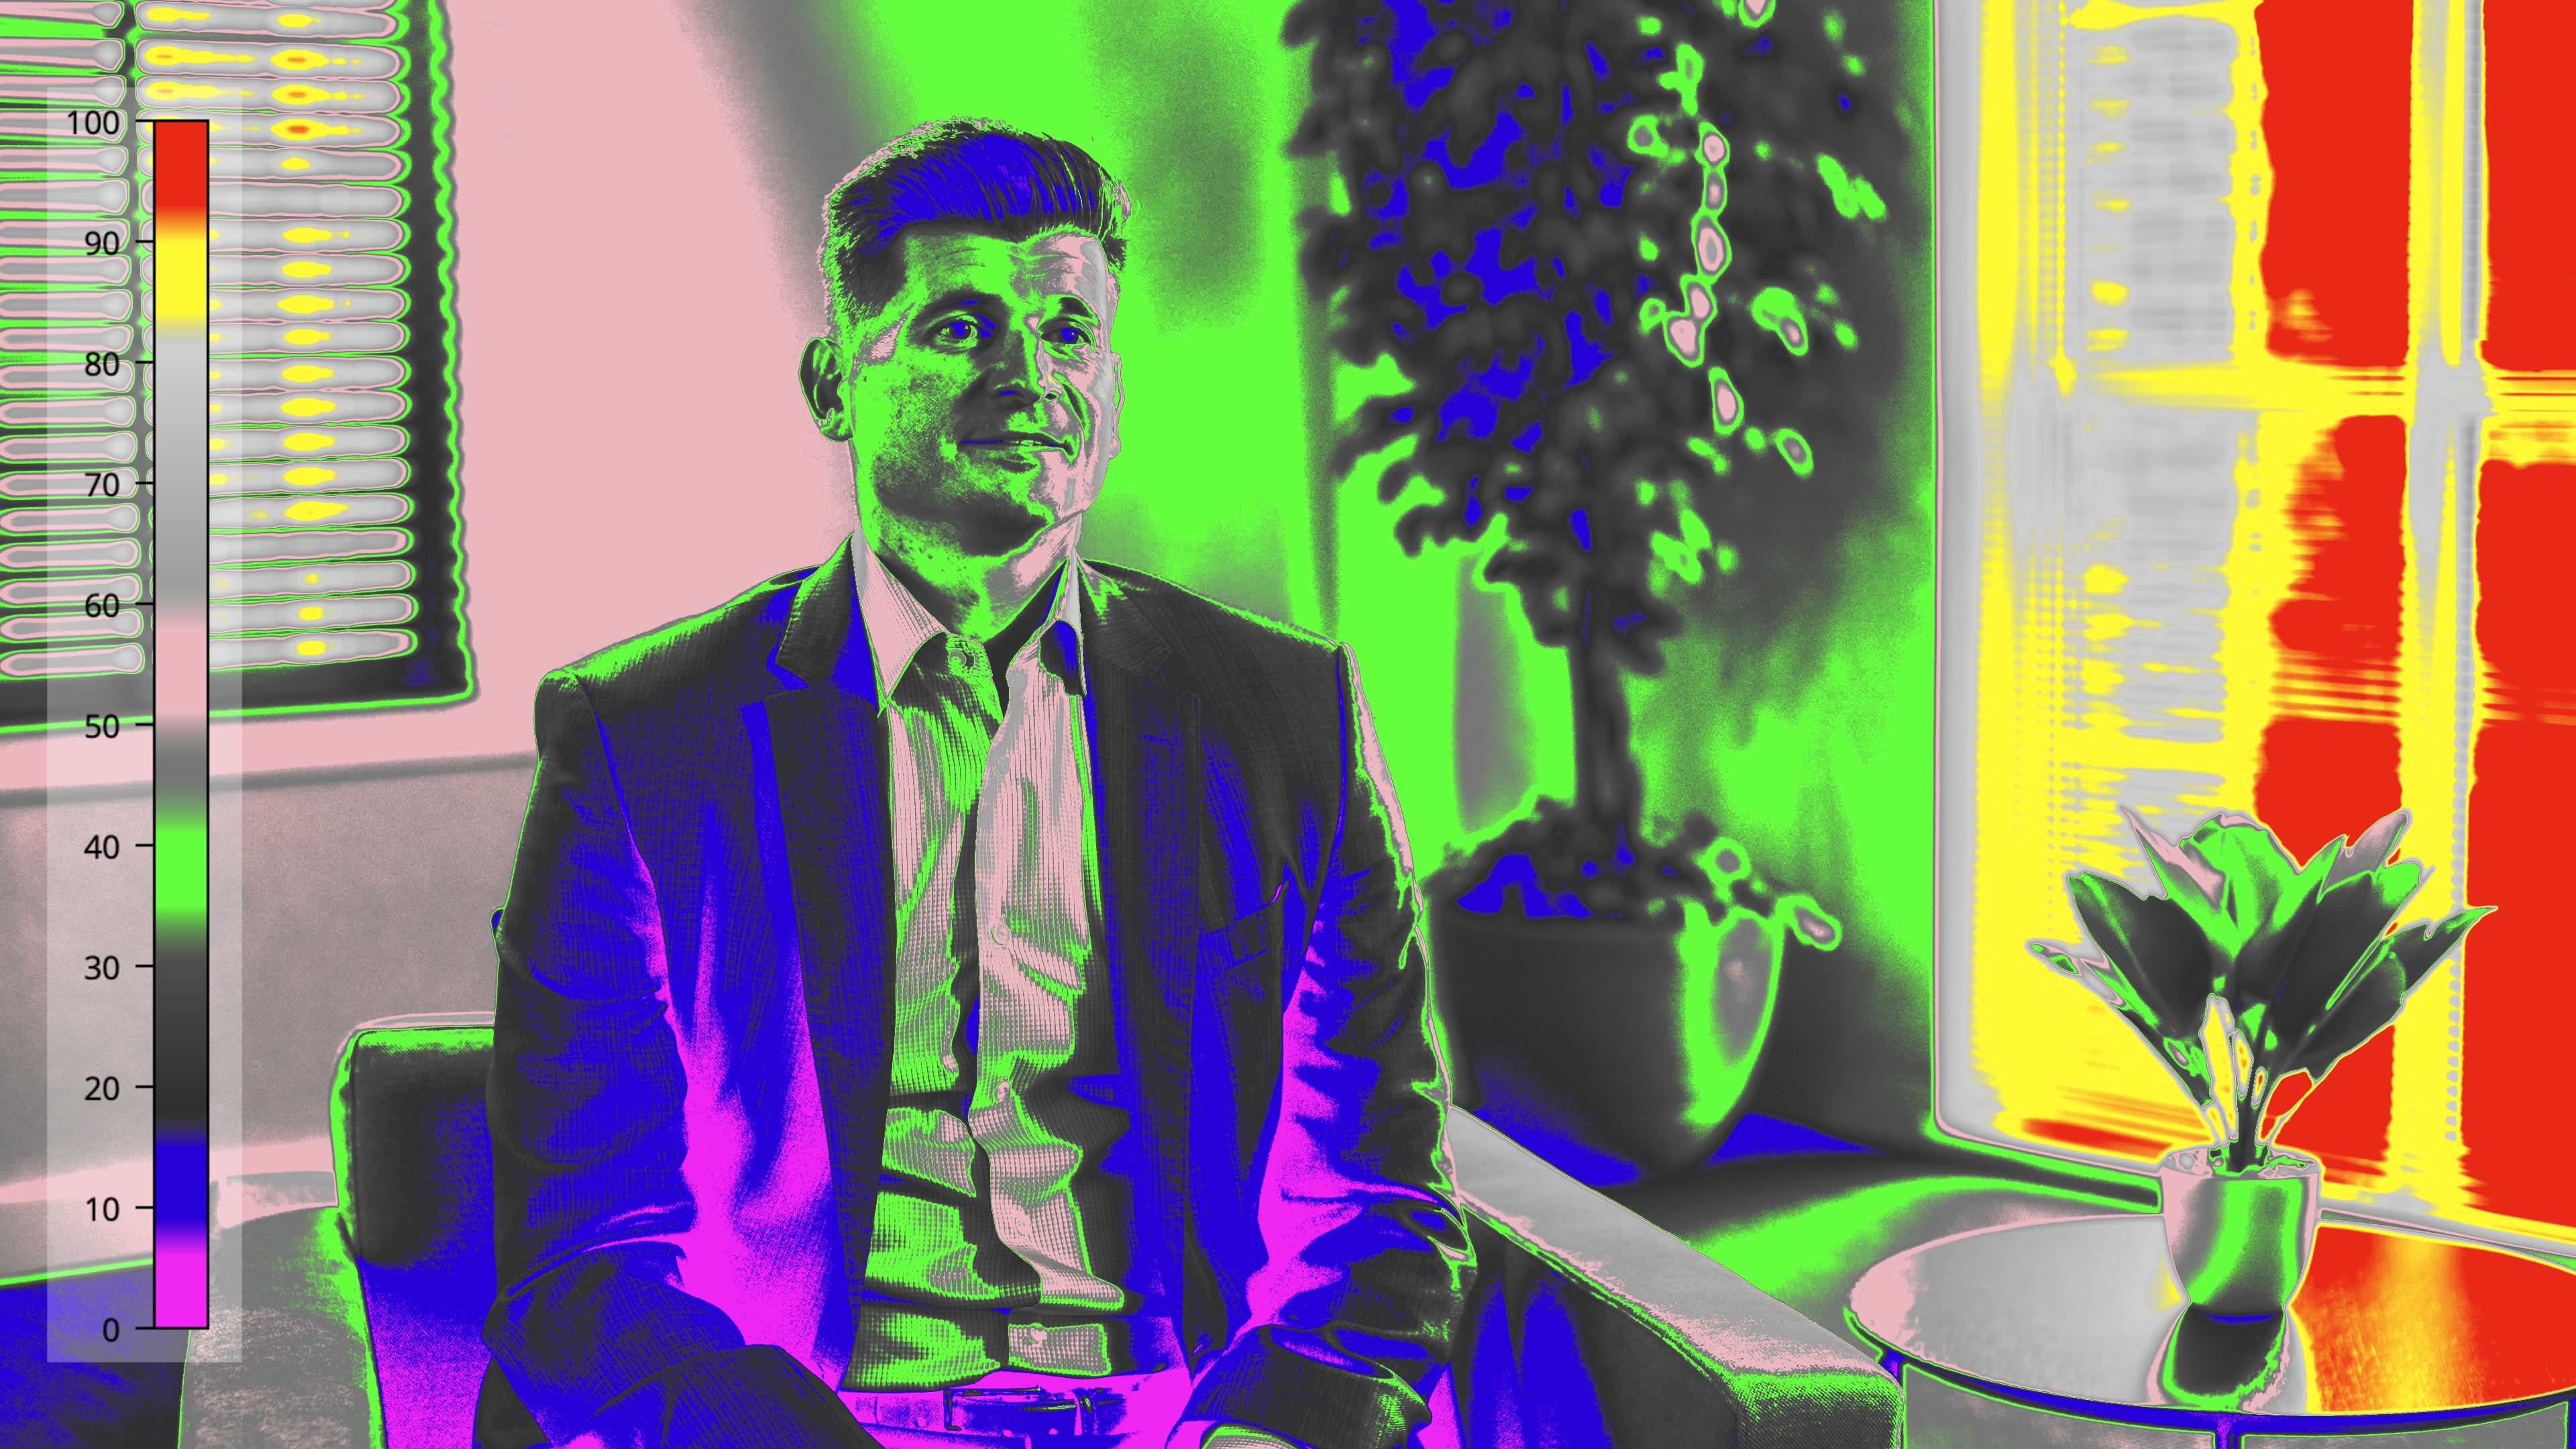
On the Rec.709 false-color view, the brightest part of the key side of the face sits around 60–70 IRE while the darker corner of the back wall is closer to 40 IRE. Those values are useful because they describe the relationship I created—not because every interview must use those exact numbers.
The same principle is useful in rooms with reflective walls and difficult architecture. In How to Light Interviews in a Glass Conference Room, controlling what light reaches is just as important as choosing the fixtures that create it.
Let the room motivate the color
This room contained two competing sources. An exterior window brought in cool daylight, while an interior window looked into a lobby with a warm chandelier. Rather than forcing the entire space to one neutral color, I used that existing contrast as motivation.
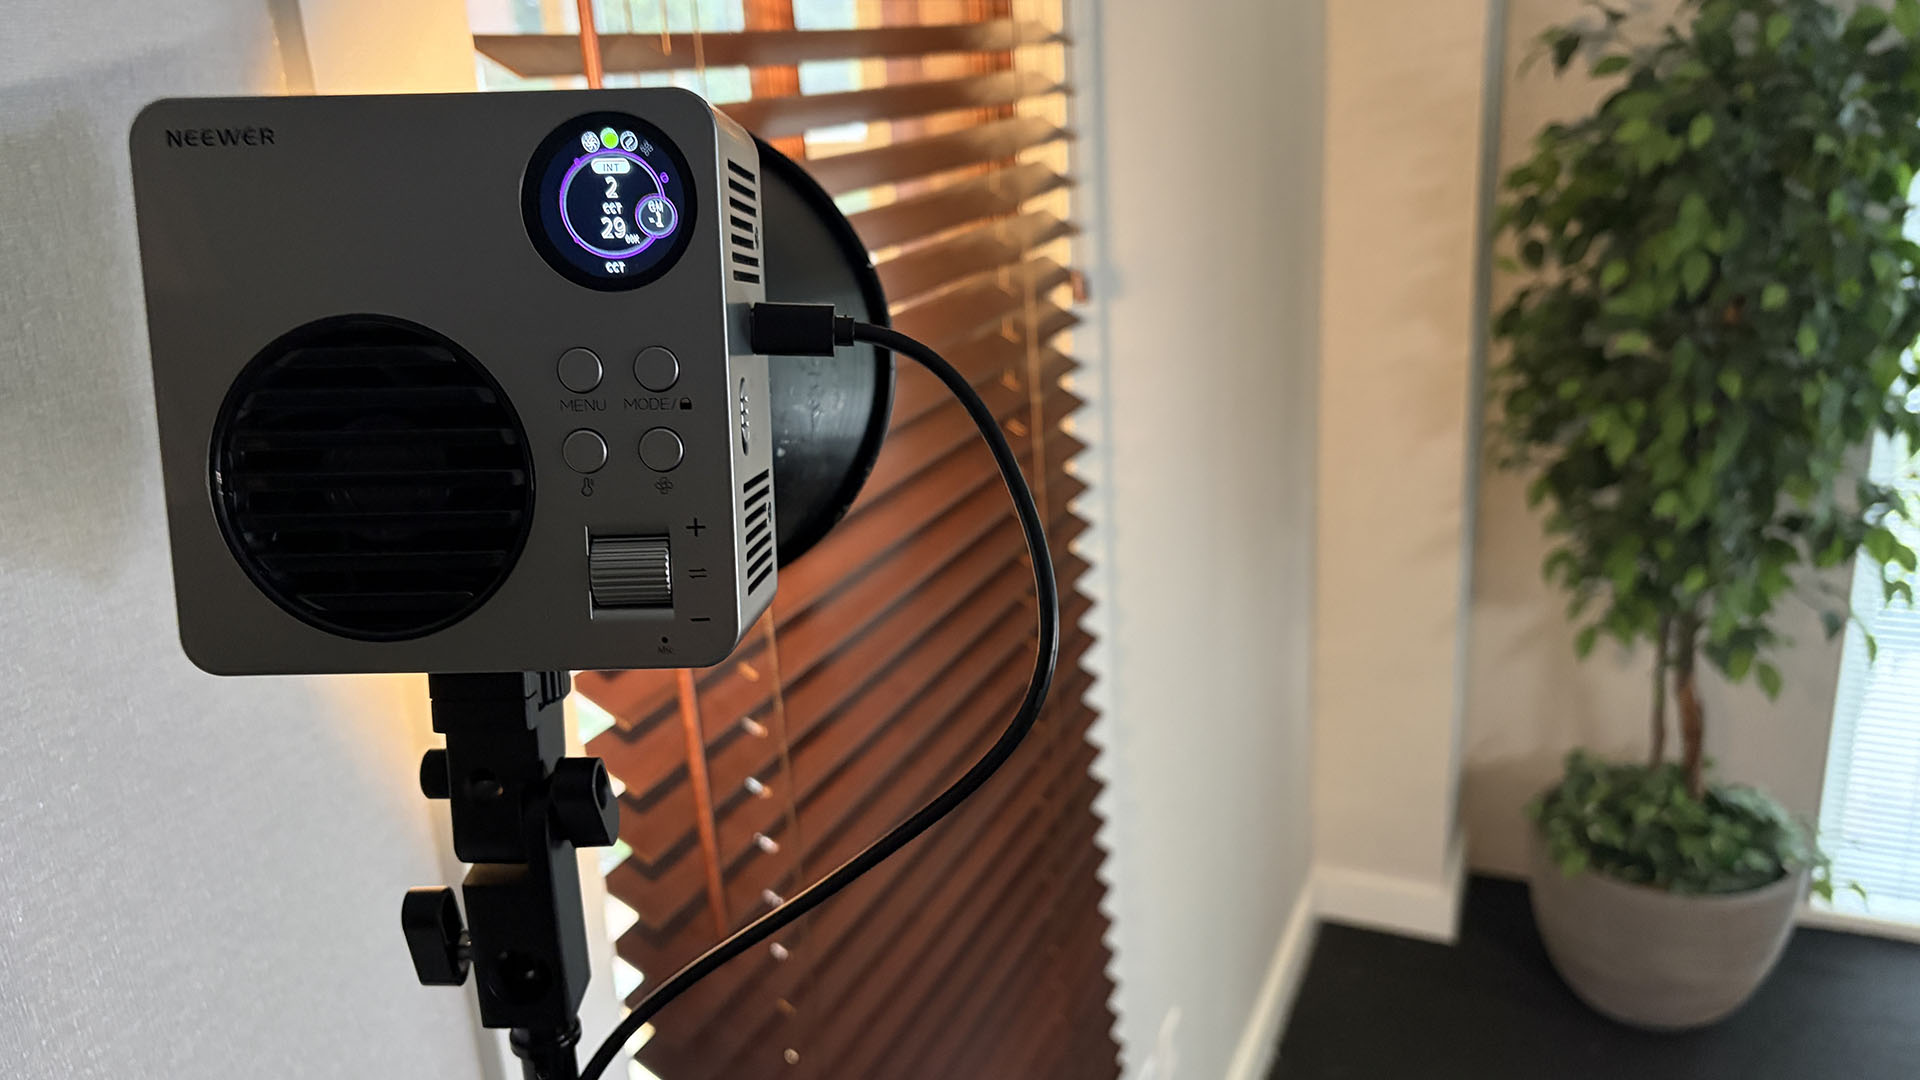
A Neewer HB80C added a small amount of warmth to the corner near the interior window. It was intentionally restrained: enough to create a gradient from the window into the room, but not enough to make the audience wonder where an orange light came from.
I first adjusted the camera white balance until the room felt natural. Then I changed the key's color temperature while watching the skin on the monitor, eventually reaching 7400K for this setup. The final value was not a preset or formula; it was the compromise that made the room and skin coexist naturally.
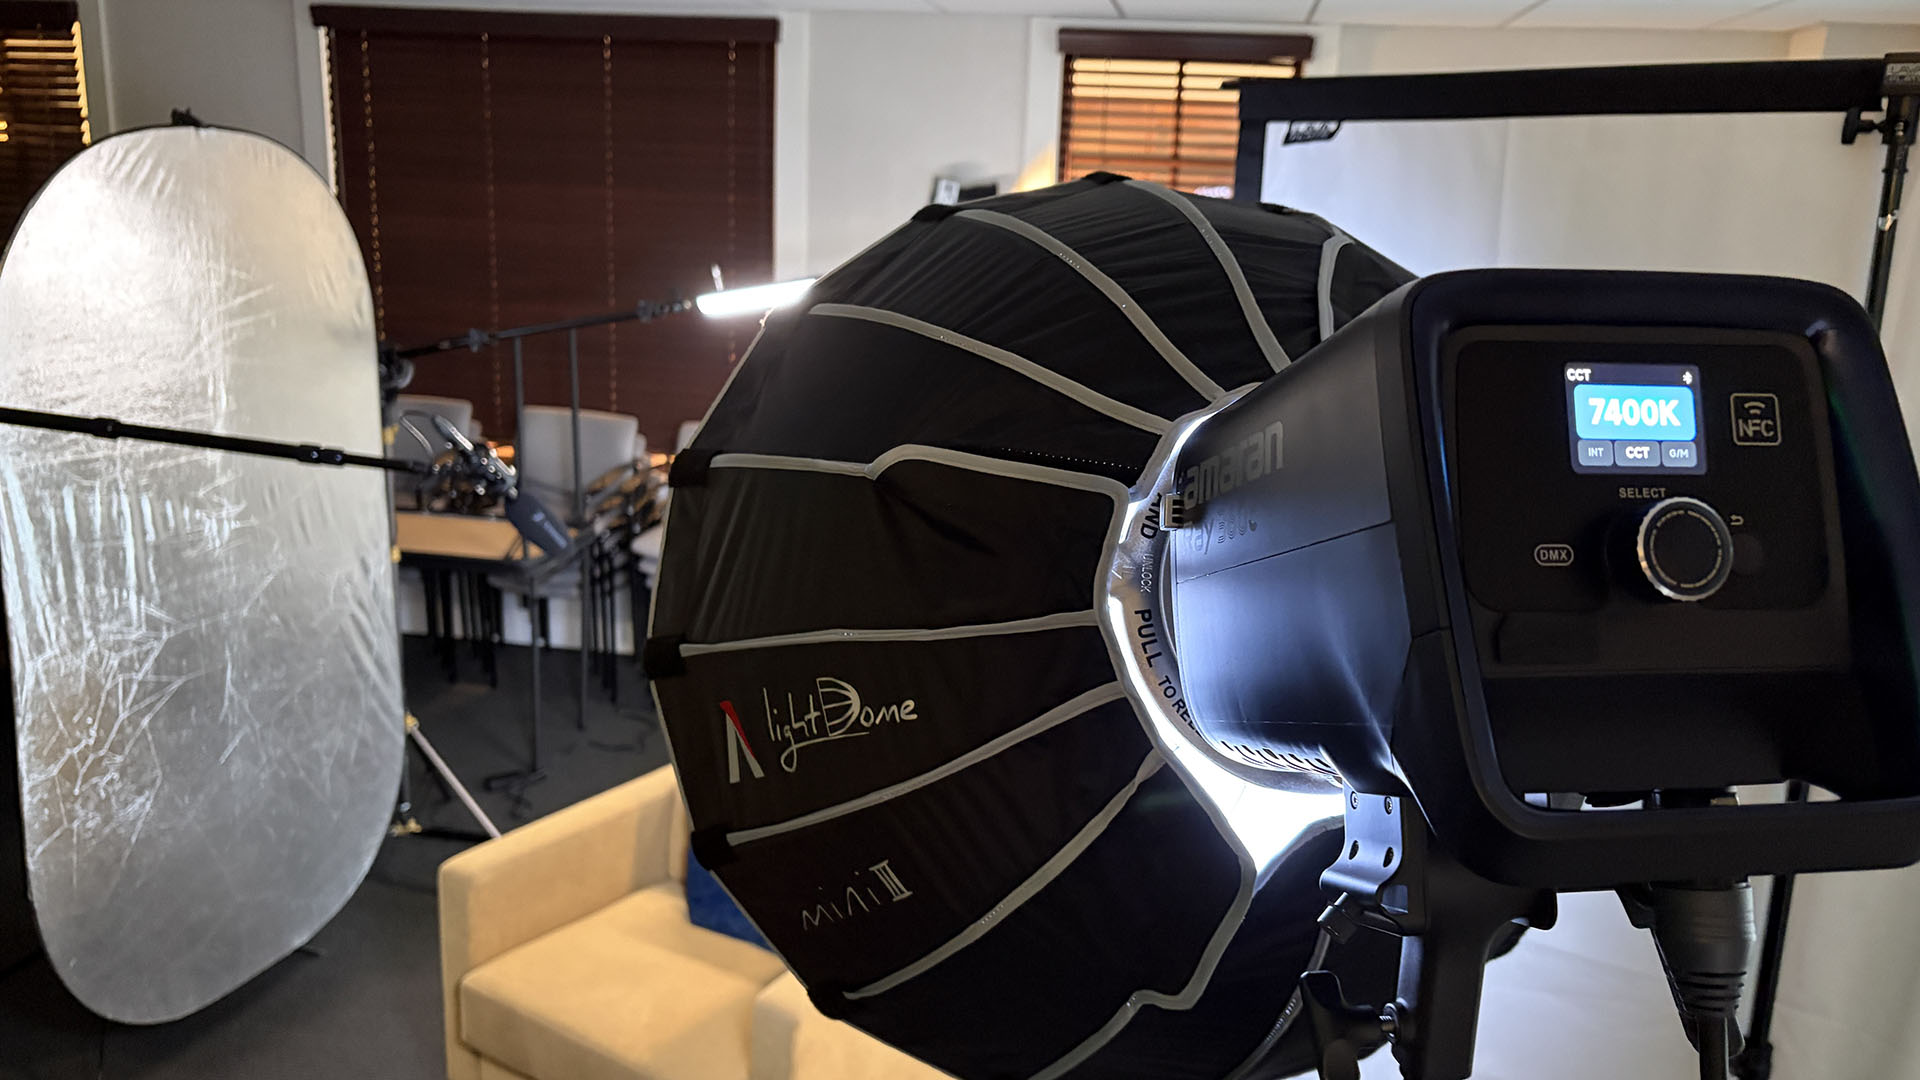
That is the useful way to approach mixed color temperature: decide what should look neutral, decide which color differences should remain visible, and adjust the sources relative to that choice.
Judge fill after the key and room are working
I make the fill decision late in the process. Once the key, room level, and background are established, I can judge whether the shadow side of the face needs to be opened or deepened.
For this interview, a silver bounce returned enough light to control the key-to-fill contrast. Moving the bounce closer increased the fill; moving it away reduced it. If the face had been too flat, I could have replaced the bounce with negative fill instead.
This is more flexible than committing to a fill ratio before seeing how the subject interacts with the location. The correct amount of contrast is the amount that supports the person and the story.
Small sources can finish the idea
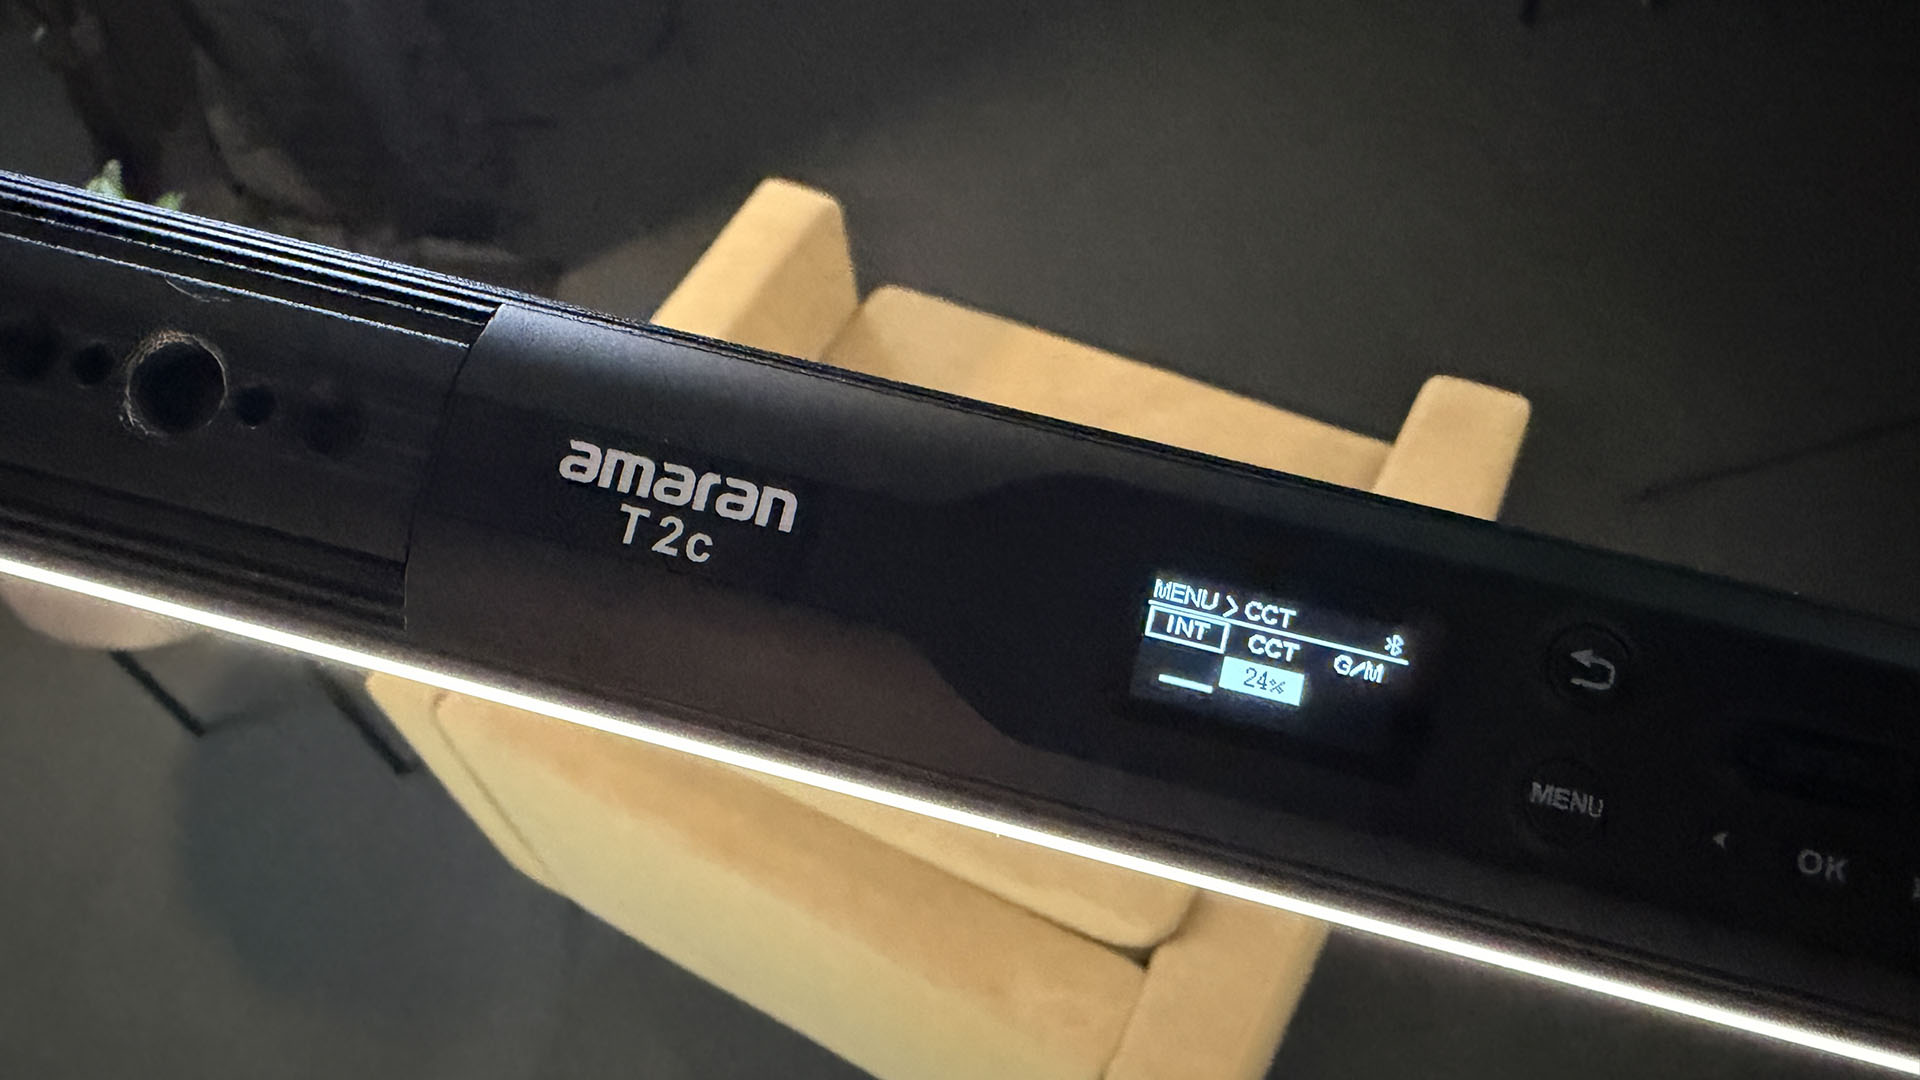
The remaining lights were not there to announce themselves. A tube above the subject, set around 4700K, created a subtle edge on the hair and shoulders. Its warmth felt plausible because the interior window had already established that color in the room.
An amaran Ray 60c added a small lift to the plant. Without it, the plant was dull; with too much, it would become an effect. The goal was simply to make the practical part of the frame feel a little more alive.
The light through the exterior window already created level on the subject's jacket and the tree behind him. Even the chair position became a lighting control: moving the subject toward or away from the window changed how much of that natural edge reached him.
This is the same location-first thinking used in How to Control Natural Light for Cinematic Outdoor Lighting: establish what the uncontrollable light is doing, then decide what to reinforce, subtract, or leave alone.
A repeatable story-first lighting workflow
- Define the emotional job of the image. Decide who the audience is and how the scene should feel before placing a fixture.
- Set the room's baseline. Study the ambient level, windows, practicals, and existing color contrast.
- Add the key and judge whether it belongs. Do not stop when the face reaches the correct number; ask whether the source feels plausible in the room.
- Rebalance before adding more equipment. Adjust camera filtration, ambient level, subject position, and key intensity as one system.
- Control spill. Flag or subtract light that lifts the background and erases separation.
- Motivate color from the location. Let windows, practicals, and architecture explain warm or cool accents.
- Choose fill late. Add bounce or negative fill only after the key and background relationships are visible.
- Finish with restraint. Use edge and accent lights only where they help the audience read the subject and space.
Good lighting disappears into the story
The best result is not an audience thinking about the number of fixtures or admiring a complicated diagram. It is an audience believing the environment, connecting with the person on screen, and staying engaged with what that person has to say.
Exposure keeps the image within a usable range. Lighting gives those values purpose. When direction, contrast, color, and separation all support the same idea, the cinematography can be beautiful without asking for attention.
Use the free Placing Your Exposure guide as an on-set reference for waveform, false color, stops, and IRE. For the complete camera and exposure workflow, explore Essential Camera Settings.
by Chris Tinard © cNOMADIC 2026
Learn more about cNOMADIC's cinematography philosophy and training at cNOMADIC.com.